
Bitbucket Pipelines
Bitbucket Pipelines provides integrated CI/CD for Bitbucket Cloud to automate your code from test to production. This workflow creates a change record in xMatters to monitor how changes impact your service health. You can then build automations to respond to additional changes in Bitbucket.
How it works
When an alert is generated in Bitbucket, it sends a JSON-formatted webhook to xMatters, based on user-defined alert rules. A Bitbucket trigger in xMatters parses the webhook and initiates a flow. The webhook includes essential alert data you can use to enrich notifications to users or when building automated tasks.
Install the workflow
The following instructions describe how to install the workflow through the xMatters one-click installation process.
- Go to the Workflow Templates page and click the BitBucket Pipeline Changes tile.
- On the Set up the Workflow tab, give the workflow a name that identifies its purpose (this must be unique in your instance), add an optional description, and set the default incident type (if applicable). Any built-in Initiate Incident steps in the workflow will automatically be set to the selected incident type.
- You can edit these later, if needed.
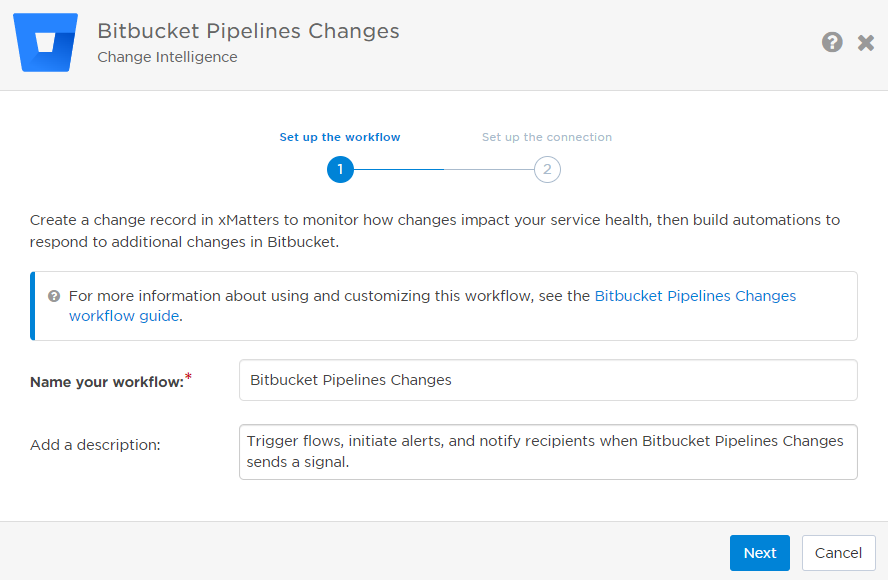
- You can edit these later, if needed.
- Click Next to set up the connection.
- Choose the authentication method. A trigger URL is generated based on the selected authentication method.
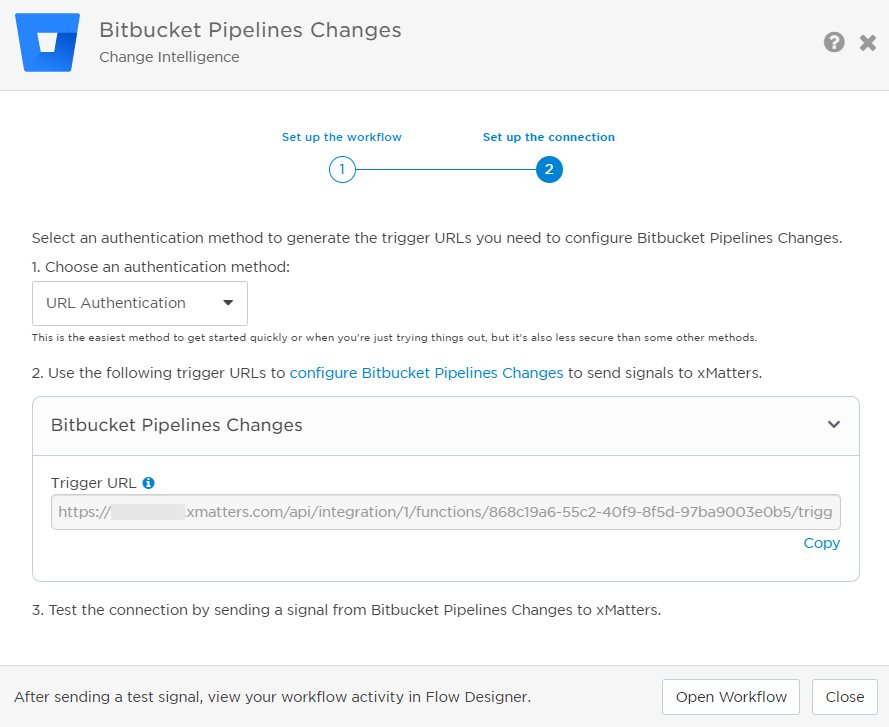
- Copy the trigger URL — you’ll use the URL to configure the webhook in BitBucket.
- The trigger URL does not include a recipients parameter, but you can add one to notify an impacted or associated service of the change.
- Send a test signal to the trigger URL to test the connection.
- Click Open Workflow to go to the workflow and customize it, or click Close to close the installation window.
Configure Bitbucket to send requests to the trigger URL
To have Bitbucket send alerts to the flow trigger, you need to configure a webhook and set it to use the trigger URL.
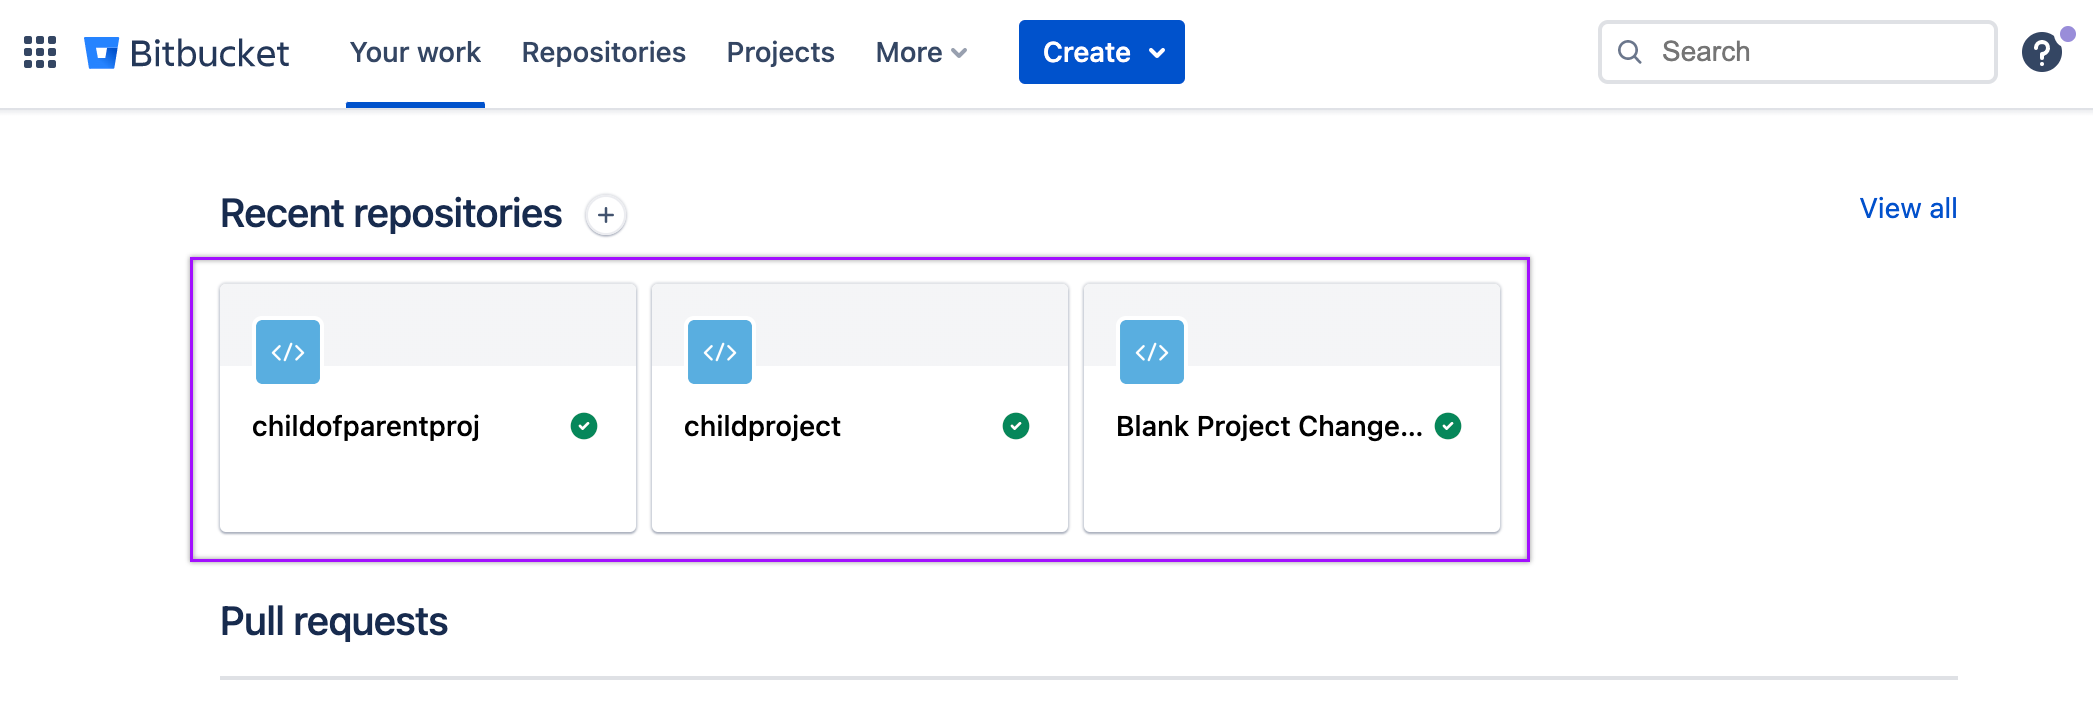
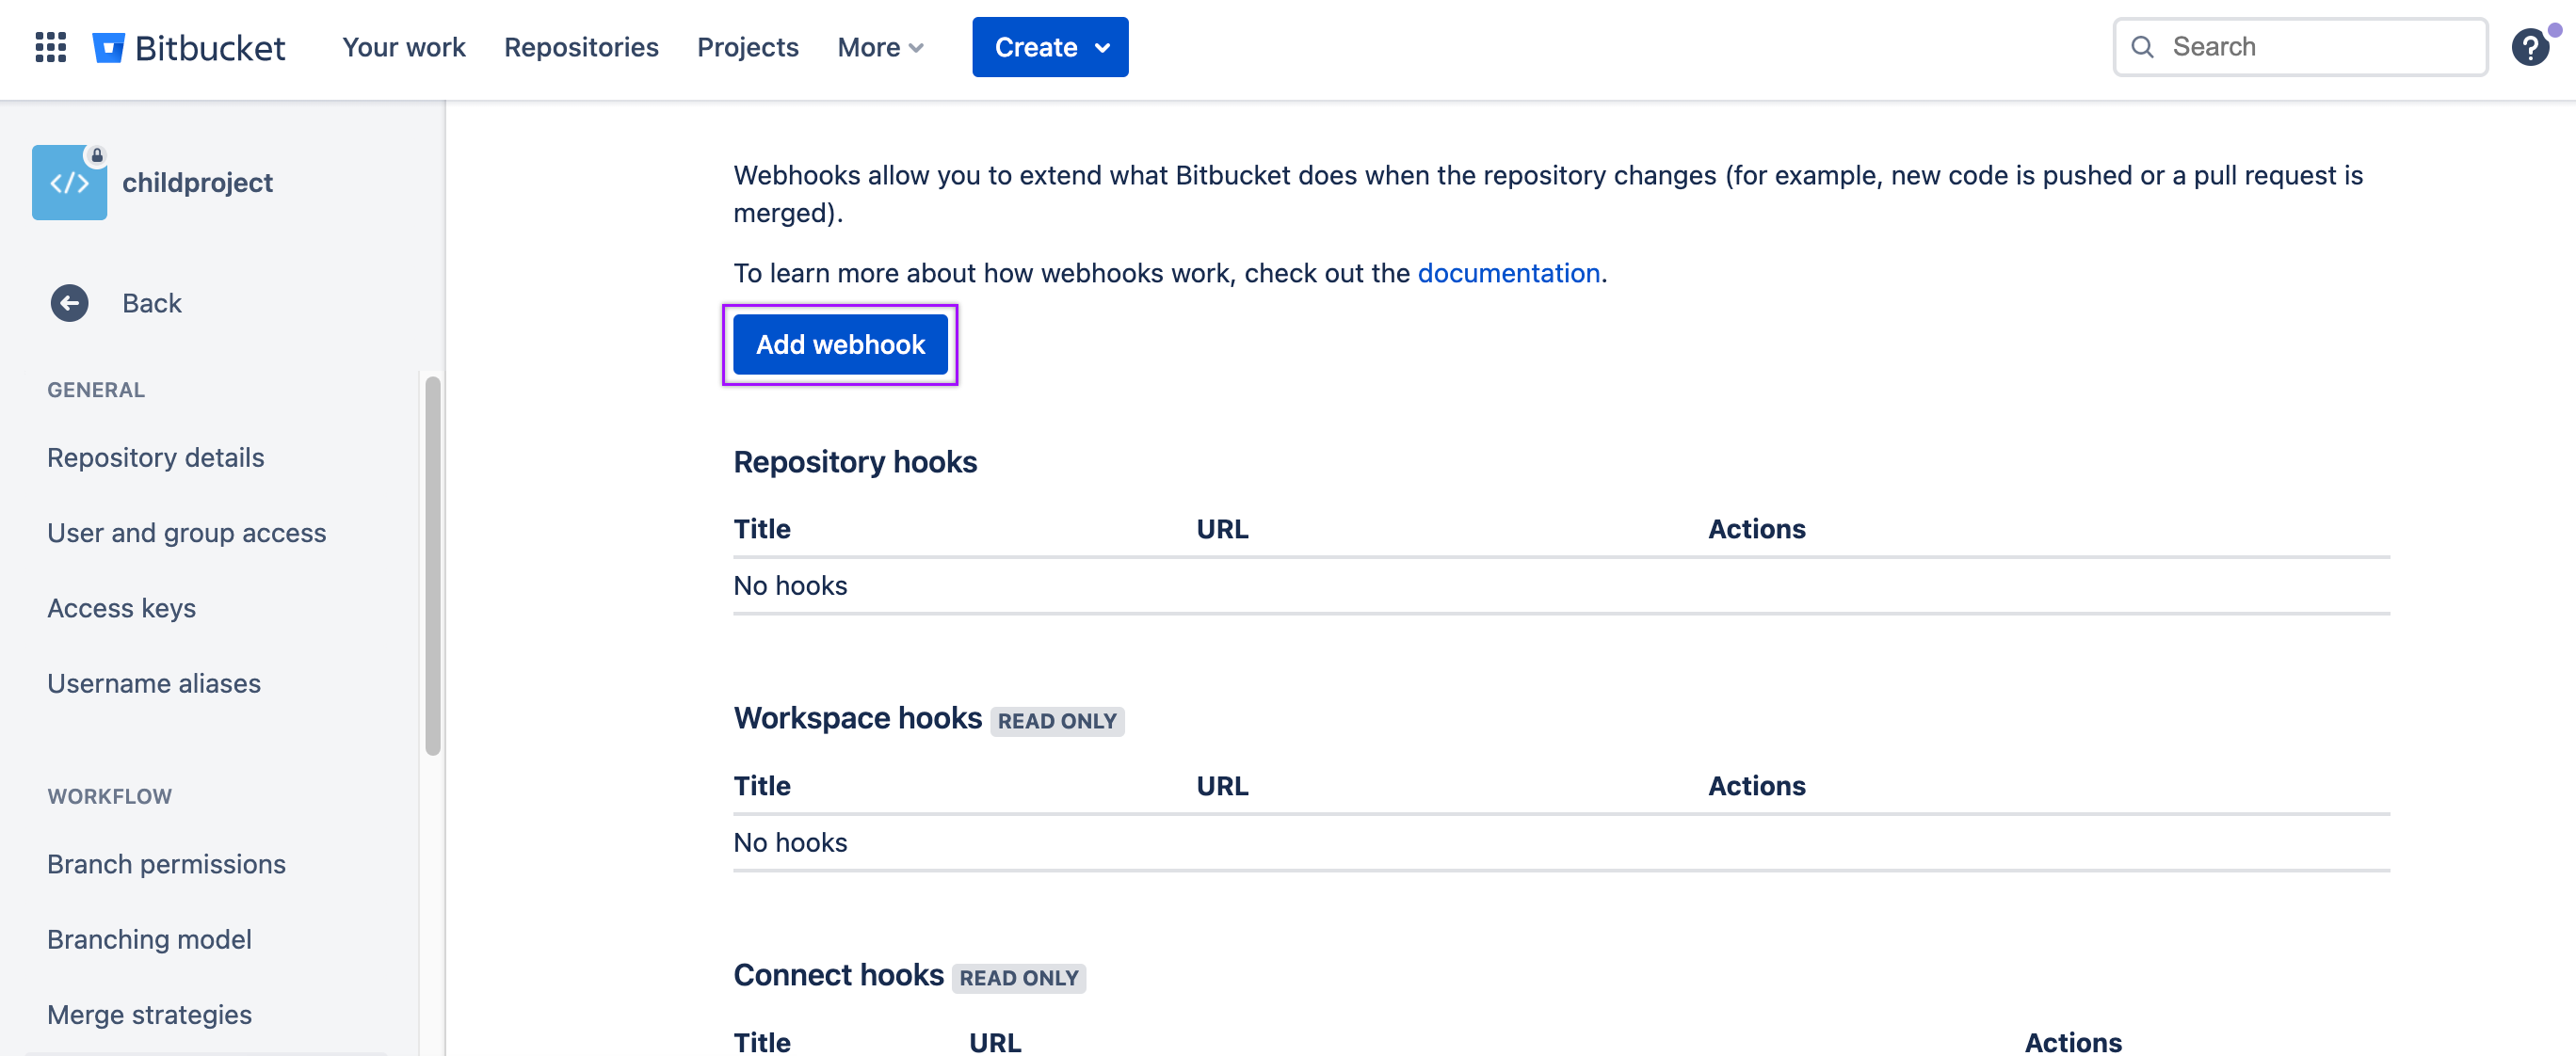
- In Bitbucket, select your repository.
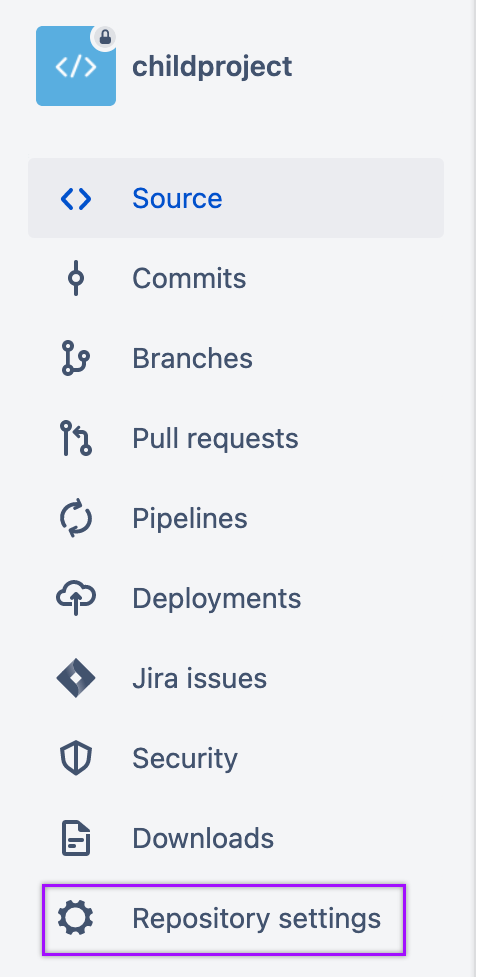
- From the menu, select Repository settings.
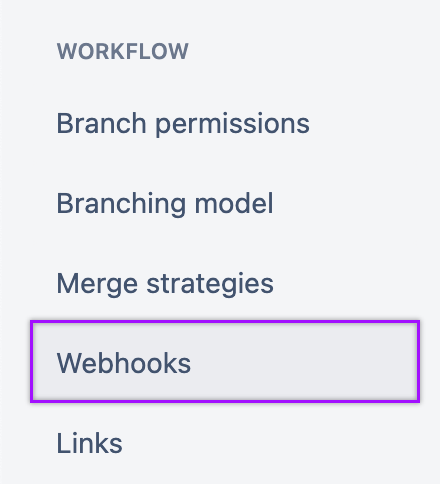
- From the Workflow menu, select Webhooks.
- Click Add webhook to create a new webhook.
- On the Add new webhook page, give the webhook a Title.
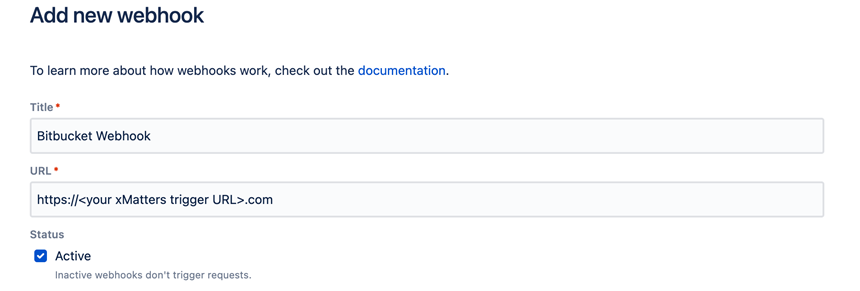
- In the URL field, add the trigger URL you copied from Flow Designer. Add the target name of a single service you want to notify when the change is received to the end of the URL.
- For URL authentication, use an ampersand to attach the service. For example, if you want to notify the Cassiopeia Service, you'd add &recipients=Cassiopeia%20Service to the URL.
- For other authentication types, use a question mark to attach the service. For example, if you want to notify the Antares Service, you'd add ?recipients=Antares%20Service to the URL.
- You must URL-encode any special characters or spaces in the target names.
- In the Status section, select Active.
- From the Triggers section, go to the Repository column select Build status created and Build status updated.
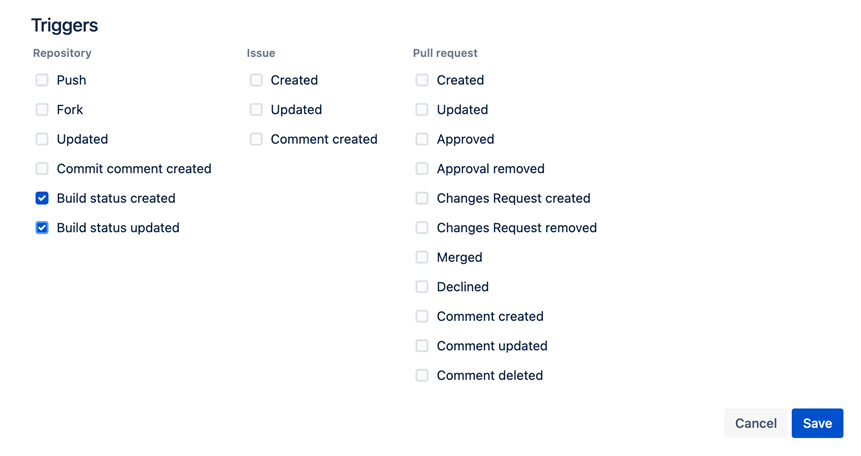
- Click Save.
The new webhook is saved and listed under the Repository hooks section of the page.
You're ready to use the webhook to trigger automated flows, including steps such as sending alerts and initiating incidents, though we always recommend testing before putting things into use.
Set the impacted or associated service
To set a recipient for this webhook, add the name of a single impacted or associated service to the end of the trigger URL in Bitbucket. The encoding used to add the service is based on the type of authentication you select in Flow Designer.
- For URL authentication, use an ampersand to attach the service. For example, if you want to notify the Cassiopeia Service, you'd add &recipients=Cassiopeia%20Service to the URL.
- For other authentication types, use a question mark to attach the service. For example, if you want to notify the Antares Service, you'd add ?recipients=Antares%20Service to the URL.
Remember to URL-encode any special characters, including spaces, in your service name.
After setting the recipient on the GitHub webhook, go to Flow Designer and open the Change Record step. Drag and drop the Recipients variable into the Associated Service field. When changes are received, the associated or impacted service is notified of the change.
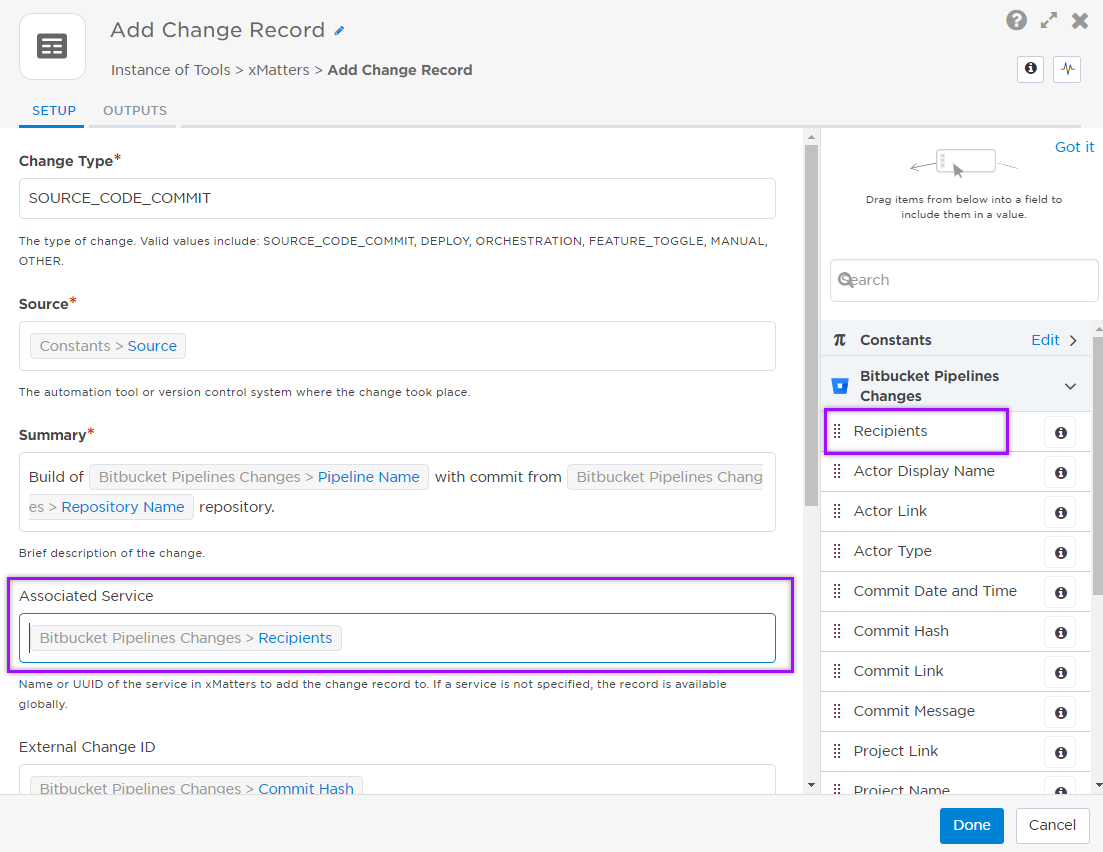
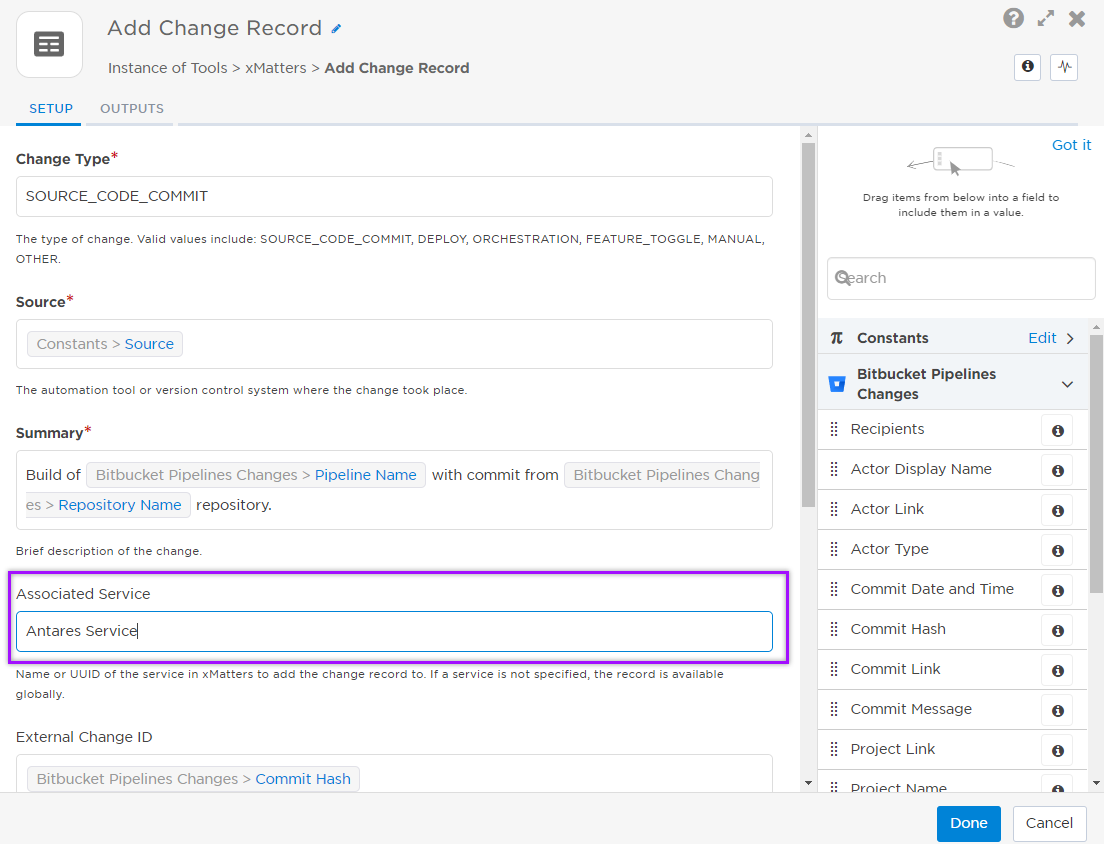
You can also manually add a service by typing its name into the Associated Service field.
Next Steps
Now that you've installed the workflow, you can use it as-is, or customize it to suit your needs better. Here are some examples of things you can add to the workflow to customize it:
- Use Slack, Zoom, and Microsoft Teams steps to add collaboration channels to the flow.
- Use the Bitbucket Pipelines Triggers trigger to build your own custom flows.