
BMC Control-M
BMC Control-M delivers business automation solutions to simplify diverse batch application workloads. By combining xMatters and BMC Control-M, you can automatically find and notify the right people to respond to job alerts.
This workflow lets you send actionable alerts to on-call resources when xMatters gets a signal from BMC Control-M. Responders can pause or re-run jobs with the press of a button, or you can build on the flow to perform automated resolution tasks.
Install the workflow
- Go to the Workflow Templates page and click the BMC Control-M tile.
- On the Set up the workflow tab, give the workflow a name that identifies its purpose (this must be unique in your instance), add an optional description, and set the default incident type (if applicable). Any built-in Initiate Incident steps in the workflow will automatically be set to the selected incident type.
- You can edit these later, if needed.
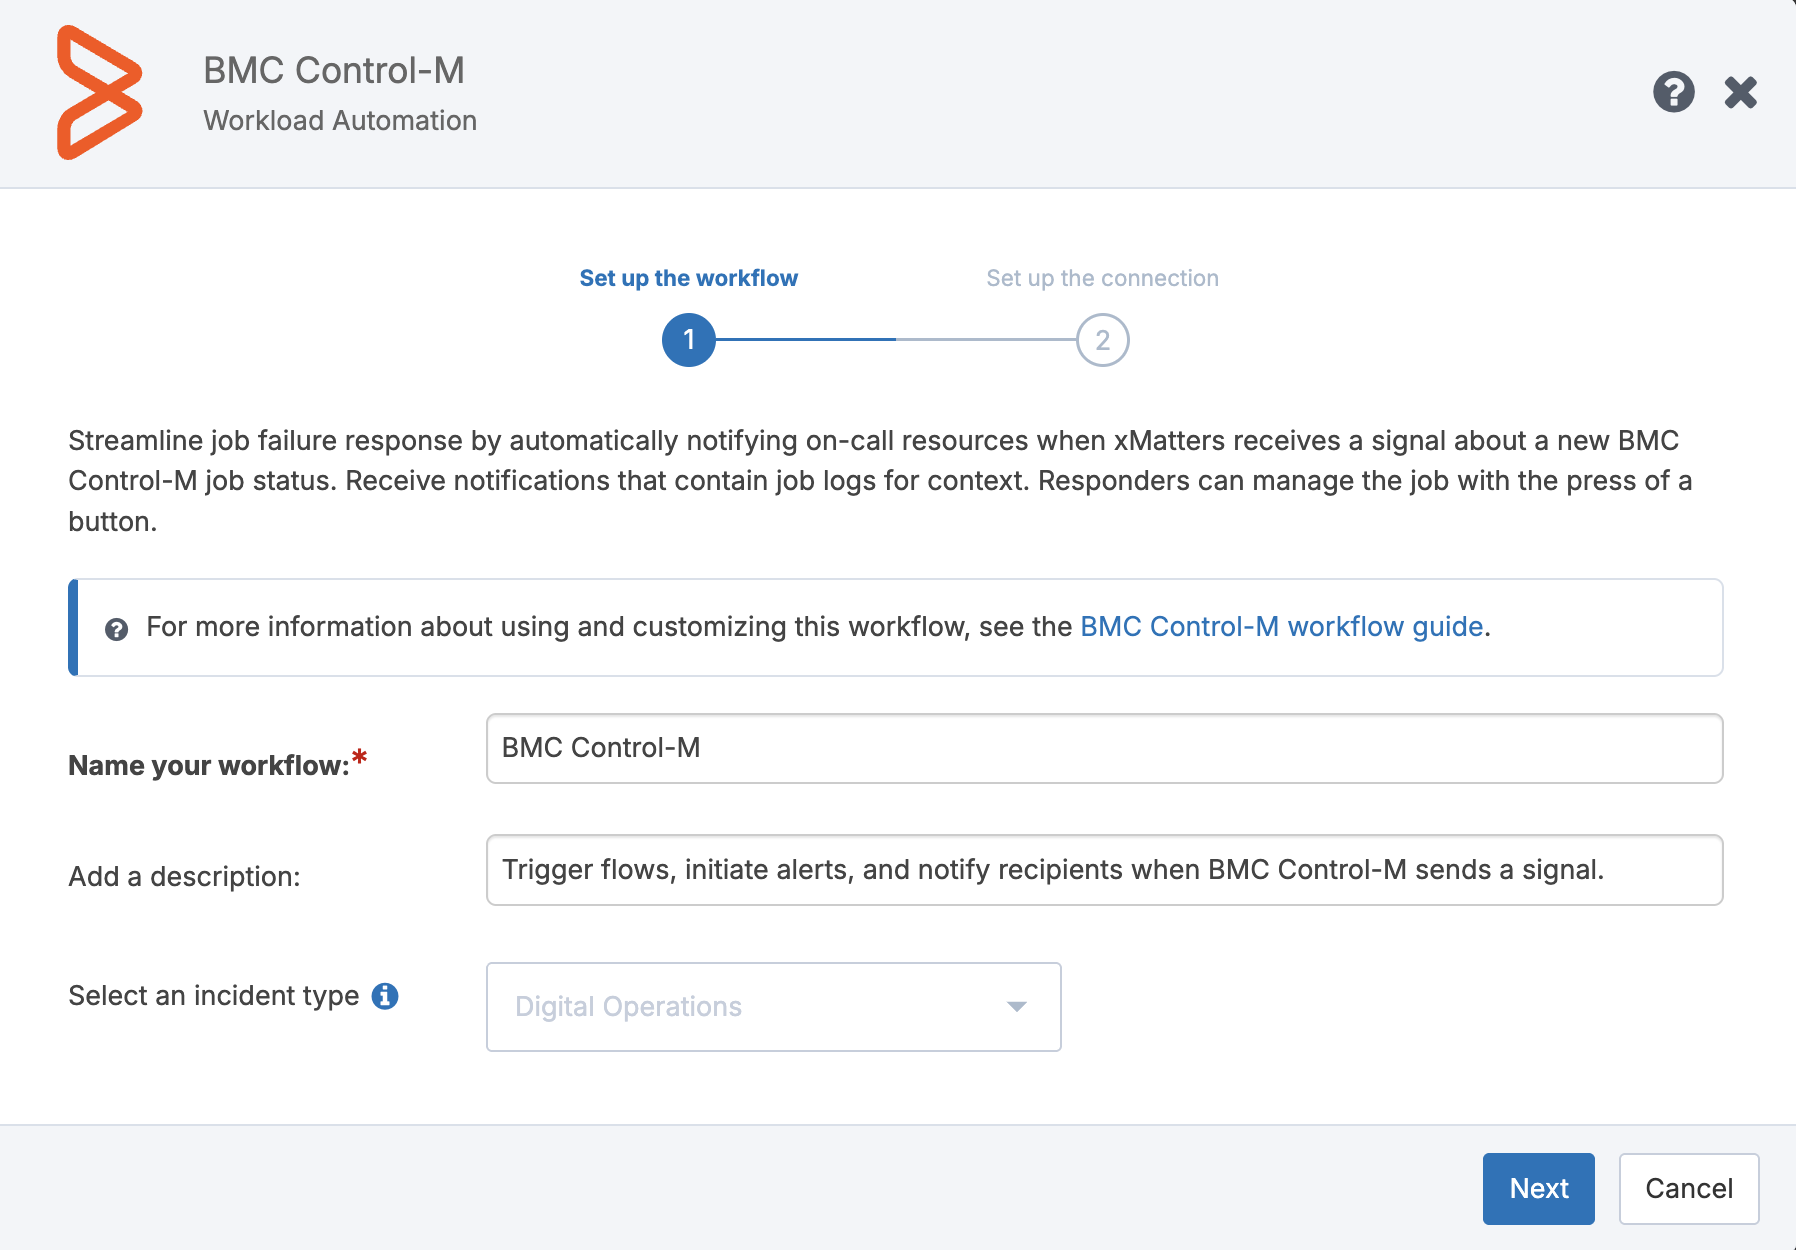
- Click Next to set up the connection.
- Copy the trigger URL — you’ll use it to configure the webhook in BMC Control-M.
- The trigger URL includes the recipients parameter, which specifies who should be notified. By default, this parameter is set to notify you (the logged in user), but you can set it to target any user or group you want.
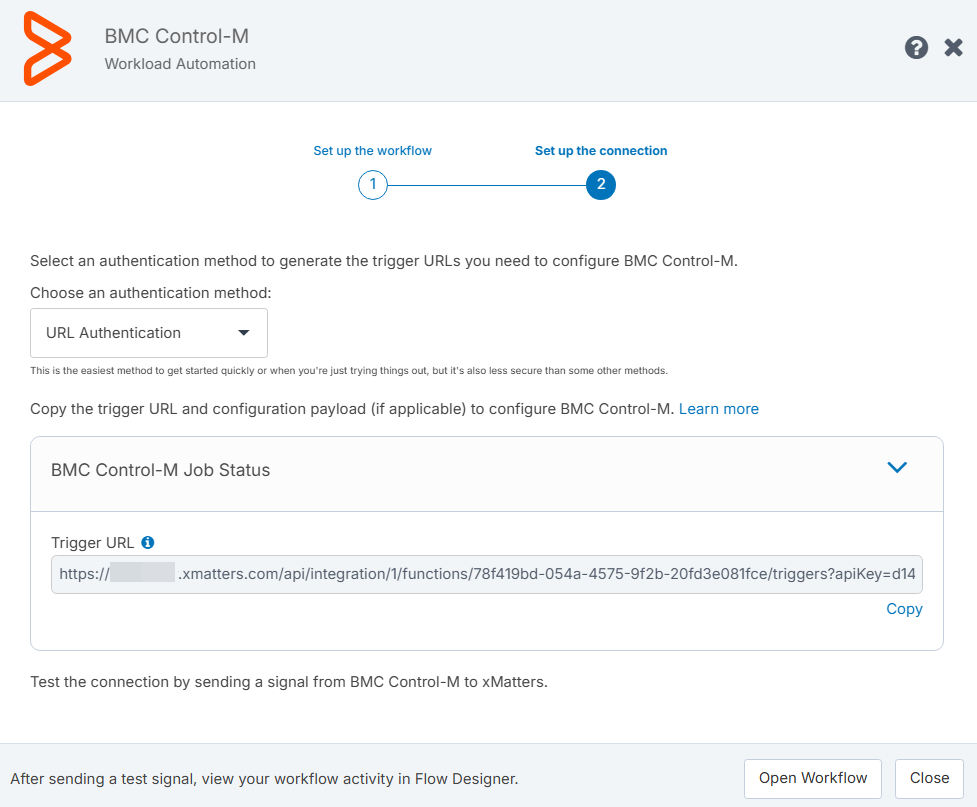
- Click Open Workflow to customize it, or Close to finish the install.
Configure BMC Control-M
The following instructions describe how to configure a BMC Control-M connection profile, create an API token, and use the xMatters plug-in to connect BMC Control-M with xMatters.
 Create a Control-M API token
The xMatters workflow uses the Control-M Automation API to retrieve job information and perform job actions. To create the API token in Control-M:
- Go to the Configuration menu and select API Tokens.
- Create a token with the appropriate permissions to access the required run service actions.
- Copy the token value to a secure location. You'll use the token when you configure the connection profile.
Import and configure the plug-in
- Download the xMatters_plugin.ctmai to an easy to find location.
- In Control-M, open the Application Integrator.
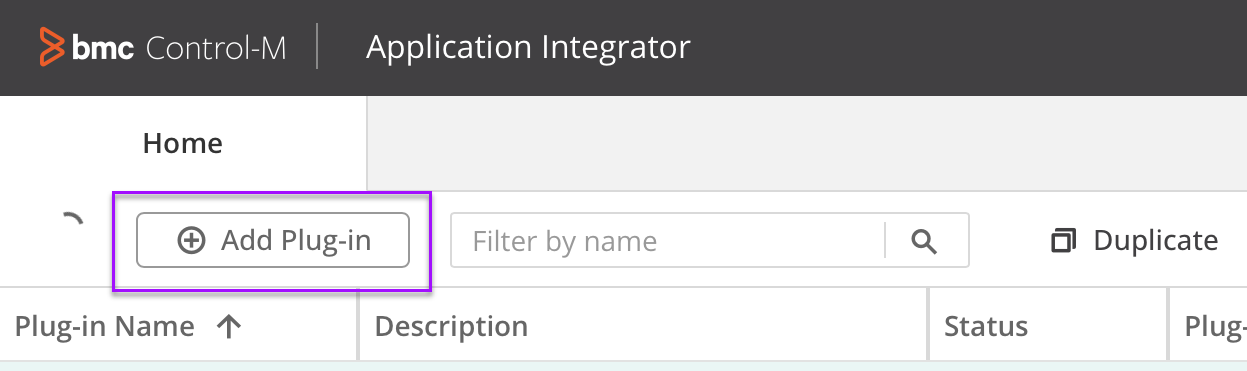
- Click Add Plug-in > Import from File, then navigate to the location of your saved xMatters_plugin.ctmai file.
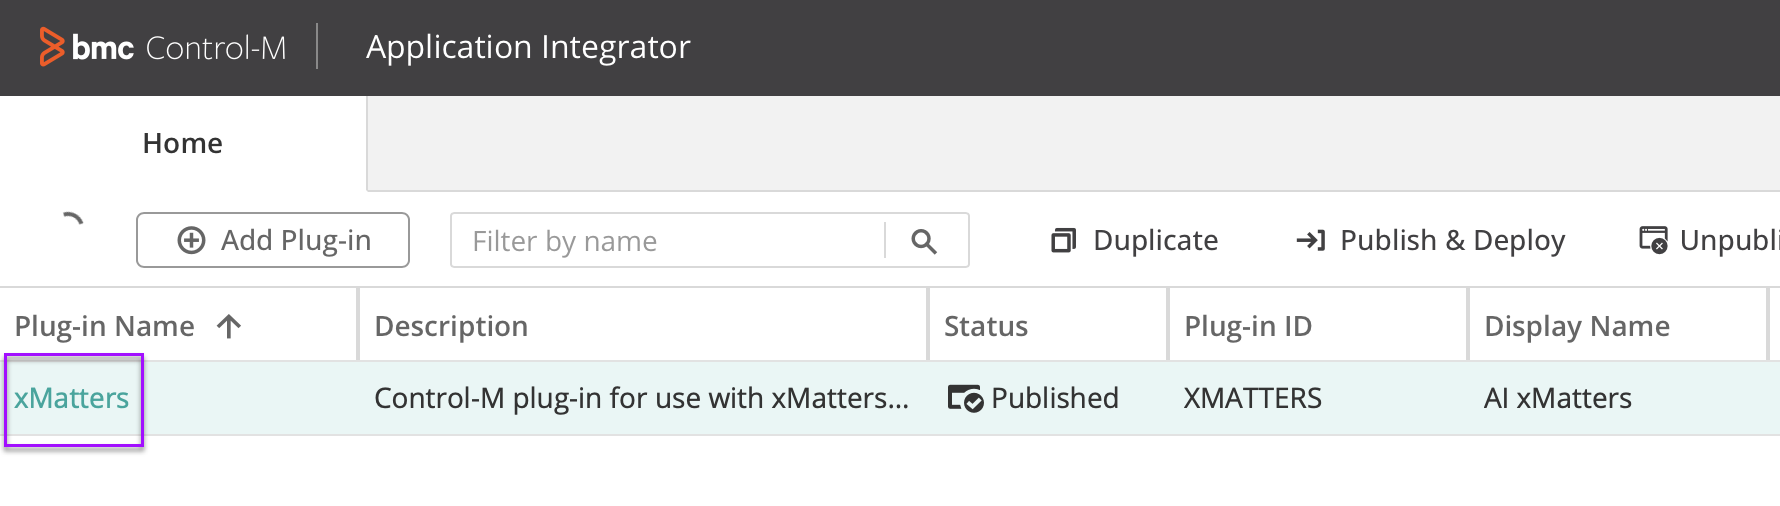
- When the file appears in your list of plug-ins, open it to review the attributes.
- Go to Attribute Management > Connection Profile Attributes, and ensure plug-in includes the following fields.
- triggerURL
- Username
- Password
- ctmHost
- ctmServerName
- ctmApiToken
- Select the ctmApiToken attribute and set the Default Field State to Visible.
- Save your changes.
Create the connection profile
The connection profile contains information on the authenticating user, as well as the trigger URL for the workflow.
- In Control-M, go to Configuration > Centralized Connection Profiles
- Click Add Centralized Connection Profile > AI xMatters and fill in the following fields:
- Connection Profile Name: xMatters
- triggerURL: Paste the trigger URL you copied when you installed the workflow.
- Username = Name of the authenticating user in xMatters.
- Password = Password of the authenticating user in xMatters.
- cmtHost = https://<your-bmc-instance>-aapi.us3.controlm.com/automation-api
- cmtServerName = The name of your server.
- ctmApiToken = Your Control-M API token.
- Click Add.
The connection profile is stored and ready for use. Make note of your Host, API Token, and Server Name as you'll need them to configure the workflow constant and endpoint in xMatters.
Publish and Deploy the plug-in
- Go to the Application Integrator and open the xMatters plug-in.
- Click Publish & Deploy.
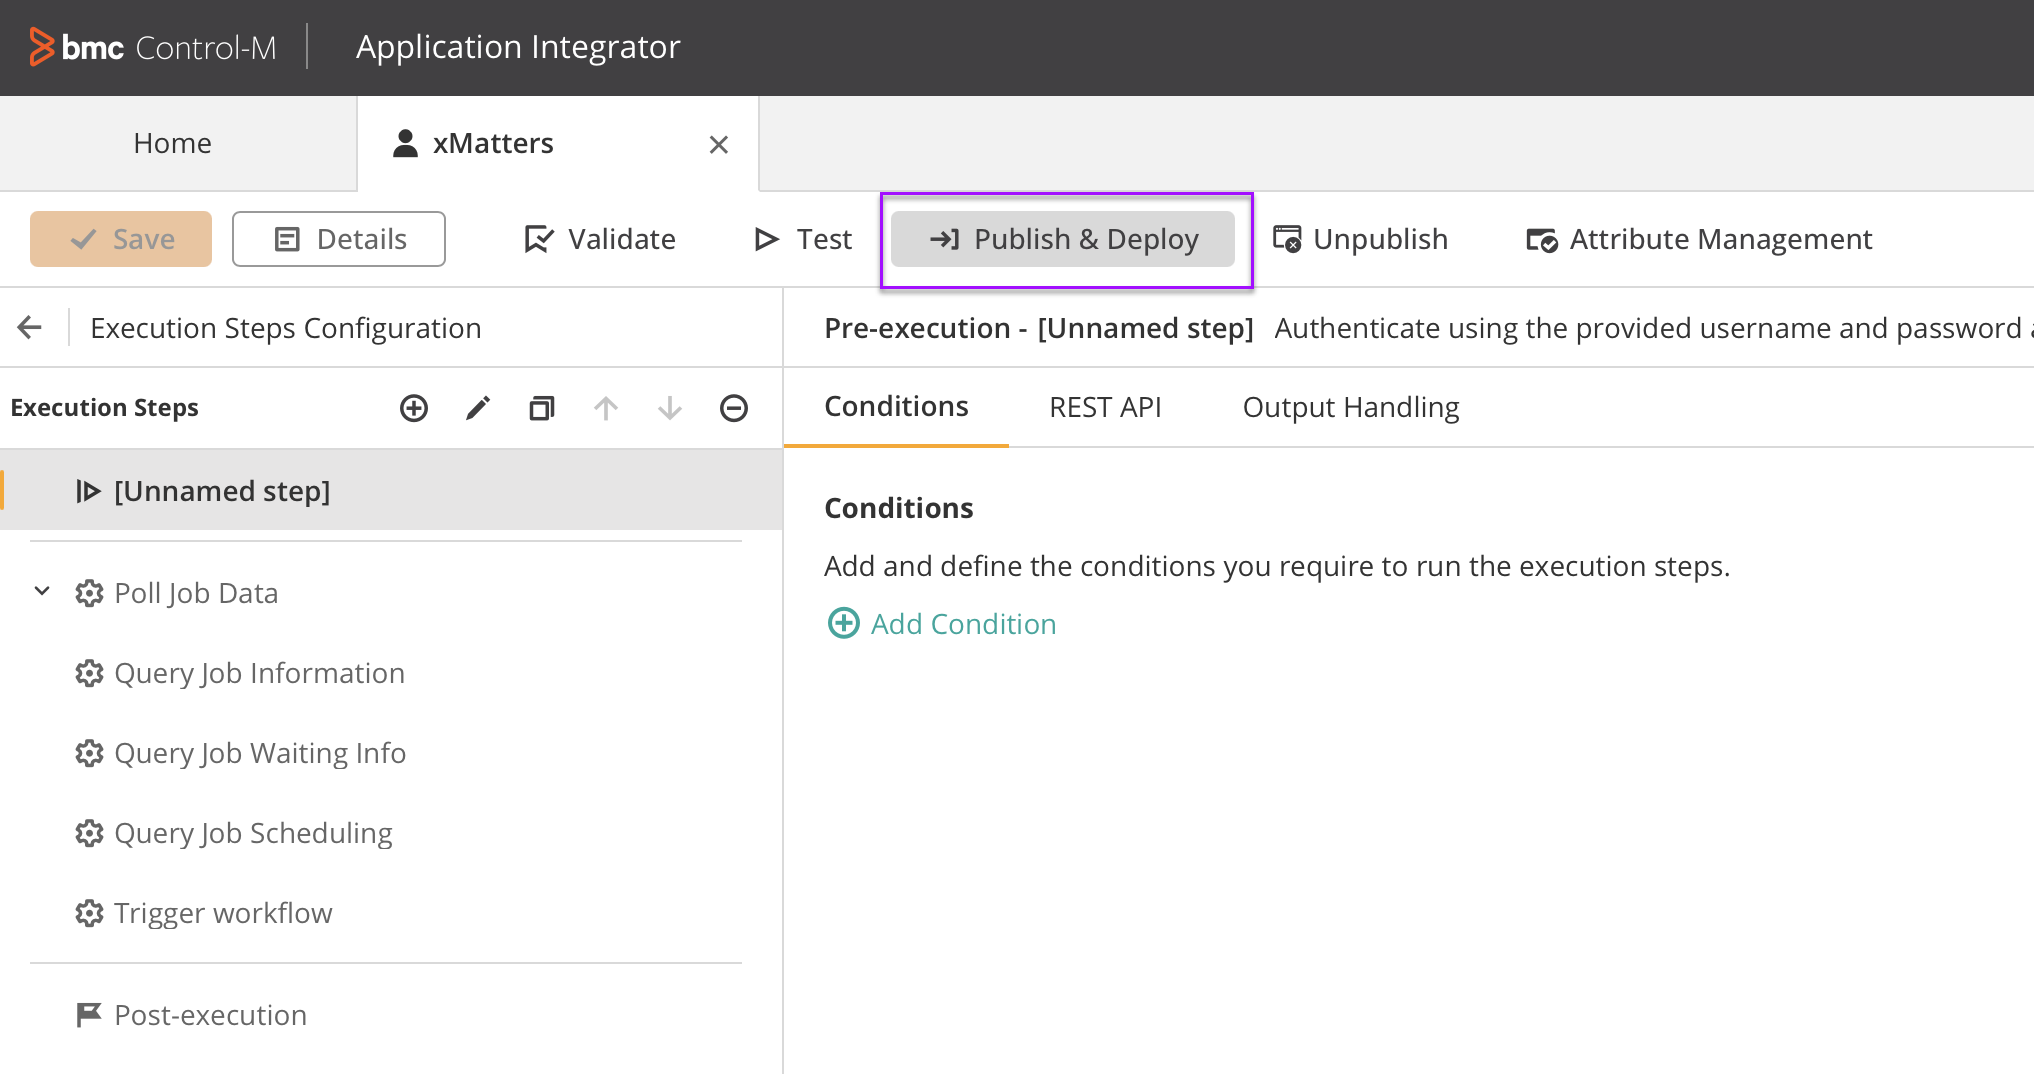
- On the Publish & Deploy panel, select which agent to deploy the plug-in to. You can deploy the plug-in to multiple agents, if required.
- Click Apply.
When the deployment process completes the plug-in is ready to use, though we always recommend testing before putting things into use.
Configure the xMatters workflow
To send responses to BMC Control-M you must set up a constant and endpoint in your xMatters workflow. You'll need the Host Name, API Token, and Server Name for these steps.
Configure the endpoint
- Open your BMC Control-M workflow.
- Click the Flow Designer tab, and open the BMC Control-M Job Alerts canvas.
- Expand the Components menu and select Endpoints.
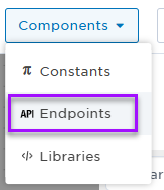
- Select the BMC Control-M tab, and fill in the following fields:
- Name: BMC Control-M
- Base URL: https://<your-bmc-instance>-aapi.us3.controlm.com
- Trust self-signed certificates: Leave the check-box disabled.
- Endpoint type: Token
- Header: Custom
- Token Header: x-api-key
- Token: The BMC Control-M API key token you created.
- Click Save then Close.
Configure the constant
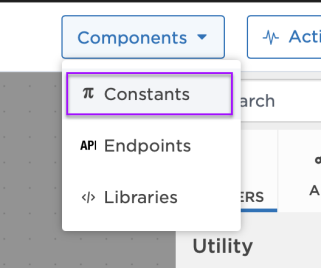
- Go to Components > Constants.
- Go to the Value field and replace the default value with the name of your BMC Control-M server.
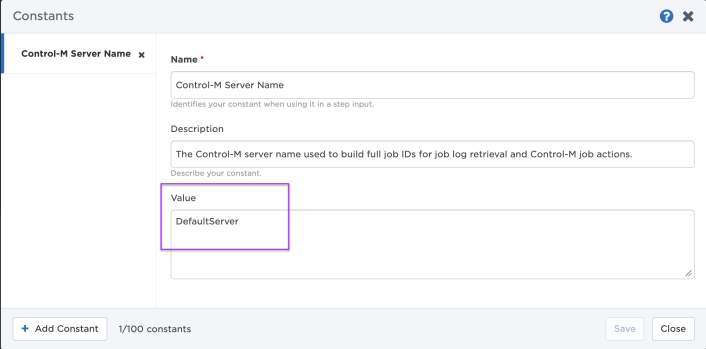
- Click Save, then Close.
Set recipients in the trigger URL
The trigger expects the recipients in the trigger URL. When you copy the URL from xMatters, it includes the recipients parameter: recipients=<yourname>. Of course, you don’t want to receive all the alerts.
To change the recipients for alerts from this webhook, swap out your name for the people or groups you want to target.
- For URL authentication, use an ampersand to attach recipients. For example, if you want to notify Emma Pearson and the on-call members in the group responsible for the Antares service, you'd add &recipients=epearson,antares to the URL.
- For other authentication types, use a question mark to attach recipients. For example, if you want to notify Barry Gull and the on-call members in the group responsible for the Cassiopeia service, you'd add ?recipients=bgull,cassiopeia to the URL.
Remember to URL-encode any special characters, including spaces, in your group names.
We recommend using groups so you can take advantage of the xMatters group features — rotations, escalations, and absences — to reach the right on-call people to jump on an issue.
How to use the workflow
The BMC Control-M workflow performs two-way communication between xMatters and BMC Control-M. When Control-M job enters a problem state, it sends a signal to xMatters, which creates a job alert. When a user receives notification about a job, their response in xMatters is sent back to BMC Control-M to hold, or rerun the job.
Notification responses and associated actions
When a signal is received from BMC Control-M and a new alert is created, the person responding to the notification has the following response options available:
- Hold Job: Pause the Control-M job and assign the alert to the user that responded.
- Rerun job: Rerun the Control-M job and assign the alert to the user that responded.
- Escalate: Immediately escalate the alert to the next on-call resolver.
- End Alert: End the xMatters alert and stop notifying all targeted recipients.
Next Steps
Now that you've installed the workflow, you can use it as-is, or customize it to suit your needs better. Here are some examples of things you can add to the workflow to customize it:
- Use Slack, Zoom, and Microsoft Teams steps to add collaboration channels to the flow.
- Change the severity of incidents created when a recipient selects the Initiate Incident response.
- Update the message sent to resolvers to include the information most relevant to your team.
- Use the BMC Control-M Job Status trigger to build your own custom flows.