Splunk
Splunk delivers operational intelligence software that monitors, reports, and analyzes real-time machine data.
When events meet predetermined criteria, this integration relays critical Splunk alert data to the correct people and systems to help coordinate and resolve incidents faster.
Do more with this integration
Incorporate this integration into your orchestrated incident resolution workflows with Flow Designer. After you create a configuration, the Flows tab appears. From there, you can build your flows — add new response options, connect to other apps, or even create new xMatters alerts based on activities in the flow — enriching the information injected by this integration along the way.
Flow Designer also includes a built-in Splunk trigger so you can automatically initiate flows when Splunk sends an alert to xMatters.
Get all your questions on integrating with Splunk answered — take a live, online workshop led by one of our xPerts.
Get started with Splunk
To install this integration in xMatters, simply go to Workflow Templates on the Workflows tab and start typing the name of the integration you're looking for to filter the list. Once you find it, click its tile then click Next to get to the configuration screen.
You can find information on using our app with Splunk IT Service Intelligence here.
How to set up a Splunk configuration
After you give your configuration a name and description, type a name to use when sending alerts (so you can easily tell which configuration or integration the alerts are from).
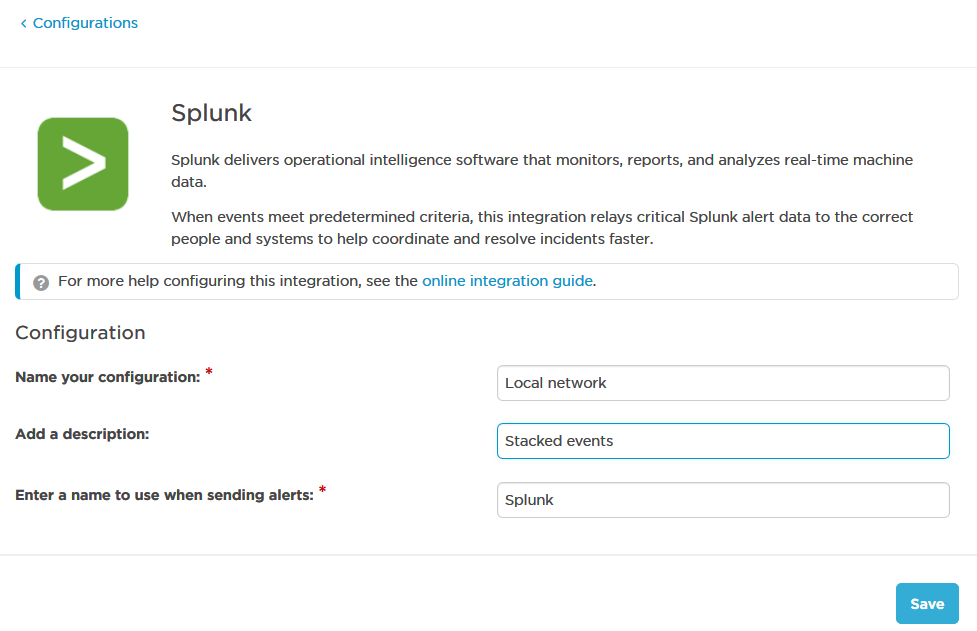
Once you save the configuration, xMatters displays the settings you need to configure Splunk:

You can now install the xMatters app from Splunkbase into your Splunk instance and, during installation, paste the provided URL into the Inbound Integration URL field. Then you just need to restart your Splunk instance, and you can start sending notable events to xMatters.
Be sure to select the xMatters app in Splunkbase, and NOT the xMatters Actionable Alerts for Splunk ITSI app.
You can download the xMatters app via the link in configuration page and then install it into your configuration, or you can use the following instructions to install the app from within Splunk.
If your Splunk is configured in a clustered environment, make sure you deploy the xMatters app at the deployer level, and not in the Search Head Cluster. See the Splunk documentation for more information on using the deployer to distribute apps.
- Log in to your target Splunk instance and click the Find more apps button on the home page.

- Search for "xMatters", and then select and install the xMatters app.
- The xMatters Actionable Alerts for Splunk ITSI app is used with the xMatters for Splunk IT Service Intelligence integration.
- Once the app is installed, click the gear icon next to Apps to open the list of installed apps.

- Click Set Up next to the xMatters app.
- On the set up page, paste the URL from the configuration page in xMatters into the Inbound Integration URL field, and enter the username and password of an user with the REST Web Service User role.
- If you're installing this integration into an xMatters trial or free instance, you can just use your own xMatters login credentials; there's no need to create a new user.
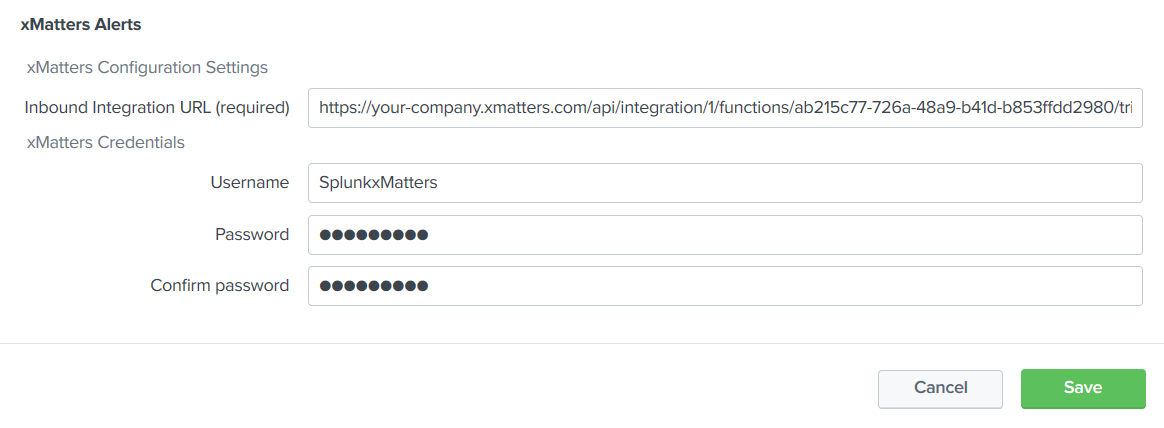
- Click Save.
You can now create Alert-type searches that automatically forward the details to xMatters whenever they are triggered.
To configure alert action notifications:
- In Splunk, create a new search (or modify an existing search) and save it as an alert (click Save As > Alert).
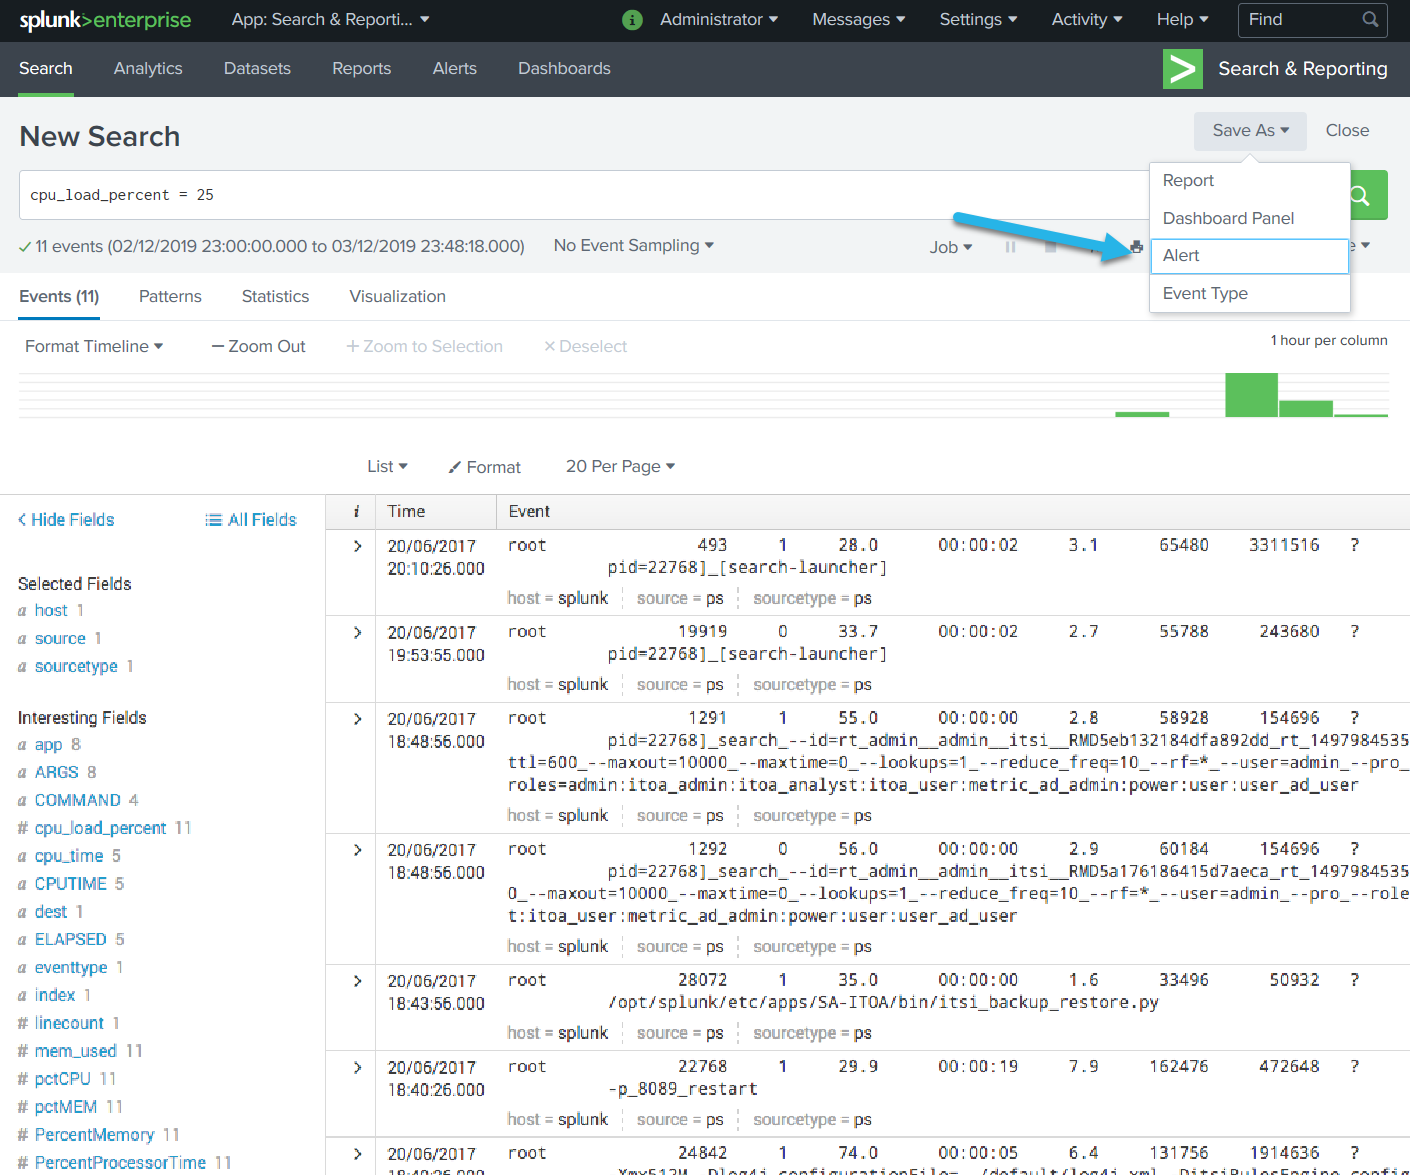
- Configure the alert settings, and then add an xMatters trigger action (click Add Actions > xMatters).
- Specify the xMatters people and groups (separated by semicolons) you want to notify about the Alert, and set the priority of the alert created.
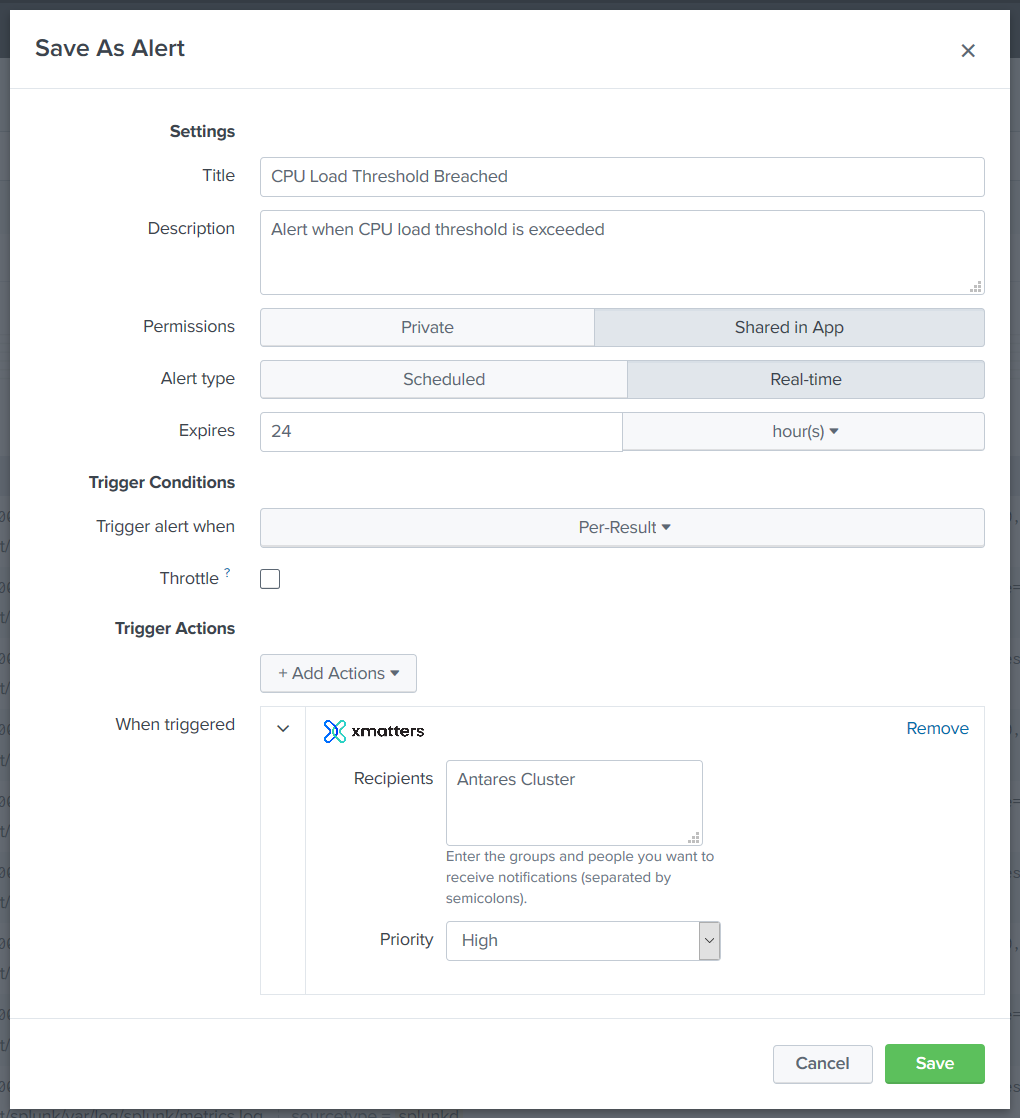
- Click Save.
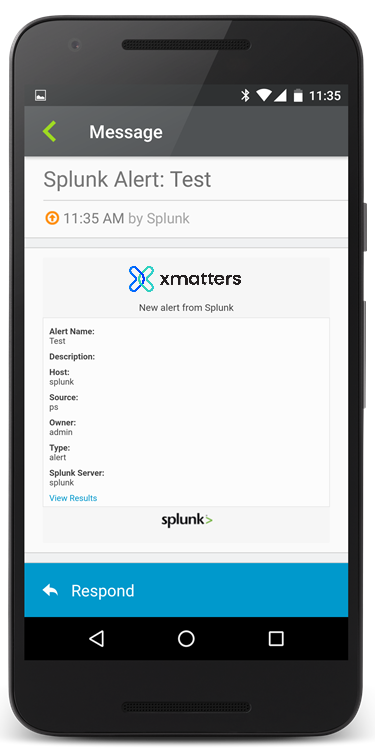
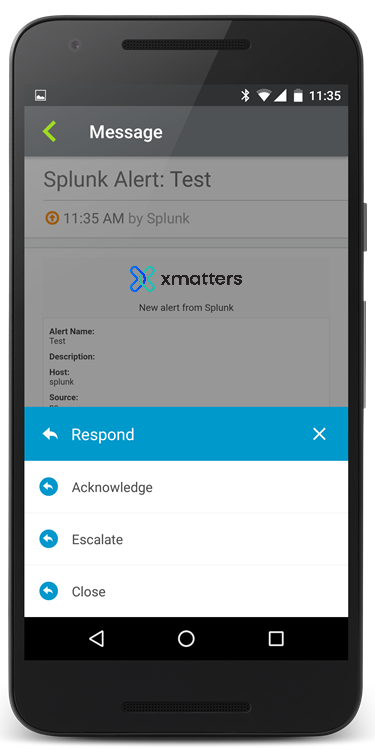
When the search is triggered, Splunk sends the alert details to xMatters, which notifies the recipients specified on the configuration page. Check out the samples at the top of this page to see what the notifications would look like in the xMatters mobile app.
Recipients can select from the following response choices:
- Acknowledge: assigns the incident to the responder, and stops notifying other recipients about the alert.
- Close: stops notifying all recipients and terminates the alert.
- Escalate: stops notifying the responder about the alert, and immediately escalates the notification to the next available group member defined in xMatters.
You can see full details of all notifications and responses on the Reports tab in the xMatters web user interface.
Troubleshooting
"Cannot find credential information" errors
You may encounter the following error message when configuring a connection from the xMatters app to Splunk:
ERROR: Delete user failed, cannot find the credential information with id : credential::xmatters_password:
This is due to a failed operation after the credential data is delivered. To resolve this issue, follow the direction in the support article here.
Extending your integration
Looking to do more with xMatters and Splunk? If you want to tailor the settings and notifications for the integration, you can convert it to a custom workflow.
