Synchronize with ServiceNow
The ServiceNow Data Sync allows xMatters to connect directly to the ServiceNow API to import user and role data. Administrators configure the sync by mapping ServiceNow roles to xMatters license types and defining how user properties should be handled. Default values can be set for missing or invalid data, and once the configuration is complete, the sync runs manually and generates a report showing processed records and any issues.
On the Admin menu, under Configuration, select Data Sync.

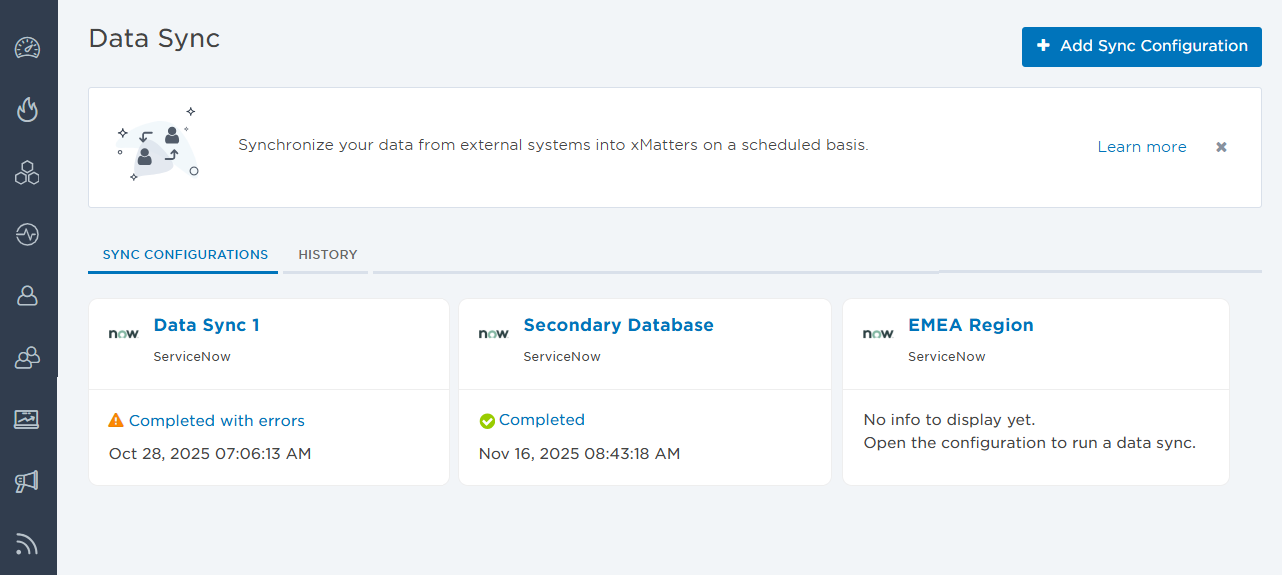
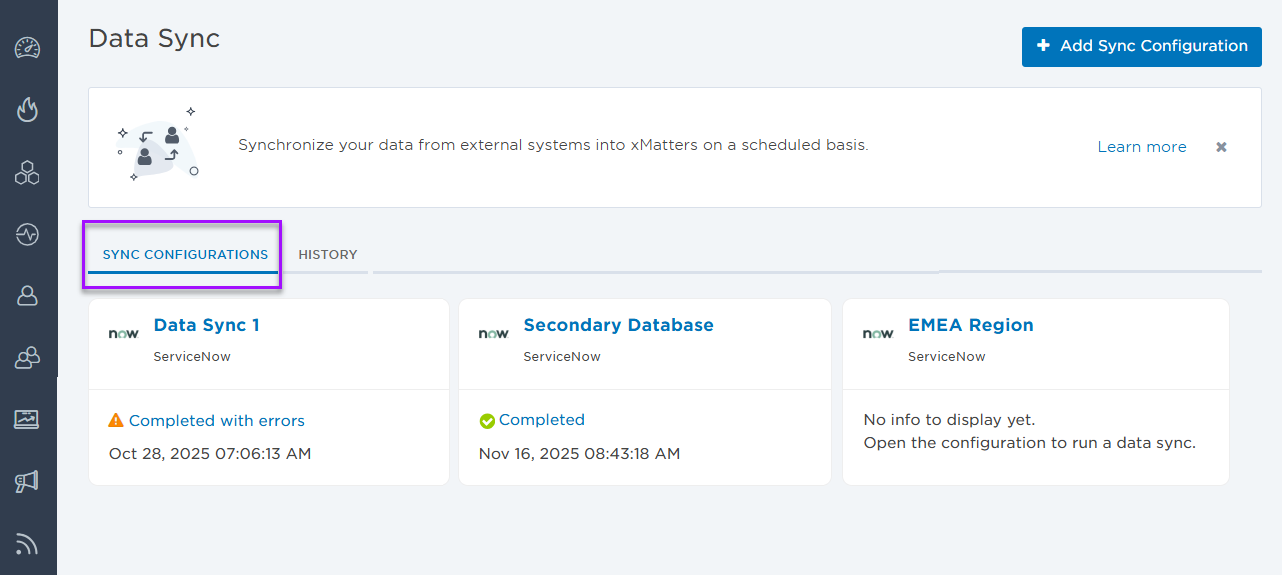
The Data Sync page is comprised of two tabs: the Sync Configurations tab displays all available configurations and the History tab shows you a report of all the syncs run for your data retention period.
On the Sync Configurations tab you can:
- Click the name of a sync to open its configuration settings page.
- See the status of syncs that are currently running.
- See the status and time stamp of completed syncs.
- Use the status link to the summary report of the completed sync.
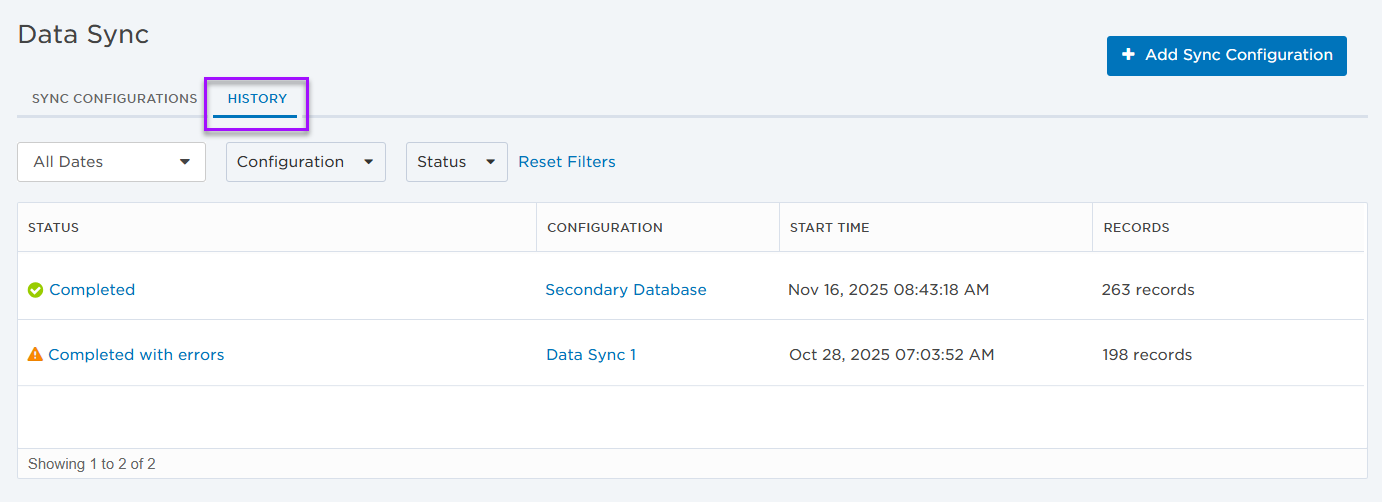
On the History tab, you can:
- View status of syncs that are currently running.
- Filter by date, configuration, or status.
- Click the name of the sync to open its configuration settings page.
- Click the status link to see a detailed report of the sync.
When you click the status link you'll see a detailed report containing the sync results, as well as any errors or warning that occurred during the sync.
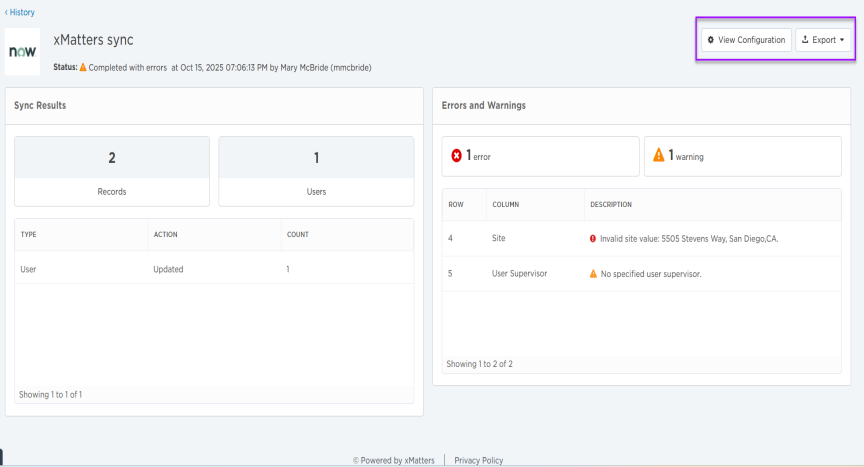
From this page, you can go to the sync configuration page or export the report. If you choose to export the report, you can select what to export as a .csv file:
- Export Sync Files: Exports only the user data of the sync.
- Export Error Report: Exports only the error and warning messages.
- Export Report and Sync Files: Exports both the user data and the error report.
Create and manage sync configurations
The following sections describe how to create, manage, and run a sync configuration.
To create a new ServiceNow data configuration:
- Go to Admin > Data Sync.
- Click Add Sync Configuration.
- On the Add Sync Configuration window, fill in the following fields:
- Name: A unique name for your sync configuration.
- Data Source: This field is not editable as the only available data sync is with ServiceNow.
- Authentication Method: This field is not editable as ServiceNow only accepts OAuth 2.0.
- Base URL: The base URL of the ServiceNow server to synchronize with.
- Username: Username of the authenticating user who has permission to execute requests in ServiceNow.
- Password: Password of the authenticating user.
- Client ID: Client ID of the authenticating user who has permission to execute requests in ServiceNow.
- Client Secret: Secret for the authenticating Client ID.
- Optional: Copy the redirect URL if you need to configure the connection between xMatters and ServiceNow. Once you authorize xMatters, ServiceNow sends you to the redirect URL with an authorization code.
- Click Save.
The configuration is created and you're redirected to the configuration settings page. The new configuration is added as a tile to the Sync Configurations page.
Once your configuration is created, you can configure how users and groups are synchronized.