Design example 4: email different images based on scenarios
The Tornado Scenario example showed how you can use scenarios to create multiple configurations of messages based on particular situations (such as different regions, recipients, or devices). You can also use this feature to send an email notification to users, but change an image in the message depending on the situation.
In this example, we'll create an email notification about our organization's new Emergency Response Plan and change the corporate logo for different site locations.
We'll do this by creating a text property as a placeholder for the URL of our image, and adjusting the HTML code to include an <img> tag around the text property to render it as an image in the outgoing message. This example builds on the communication plan design concepts introduced in the last example. As a result, steps are not included for tasks that have been covered frequently.
To use an image in your email message it must have an associated URL.
Add a new form named Emergency Plan Info to the Environment Event Response workflow created in design example one.
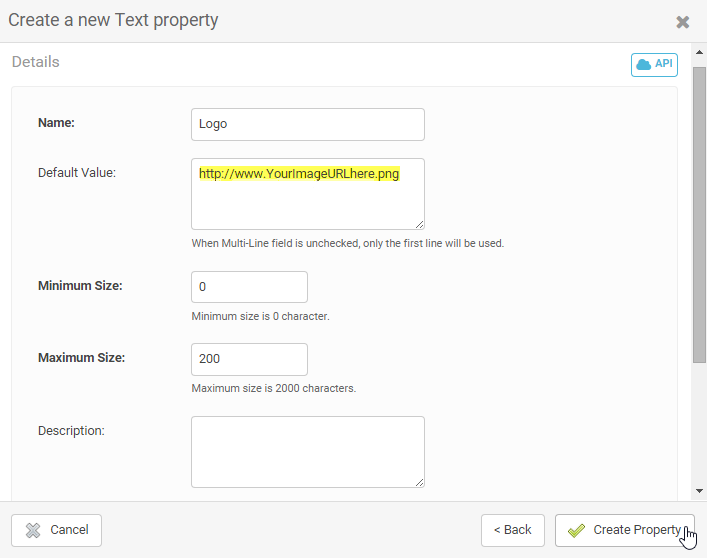
Create a text property as shown below to act as a placeholder in the message layout for the logo image. Replace the highlighted text with the URL of your image.
Add your new logo text property to the form layout.
Create your email message and include the logo text property. In this example, we've inserted the Logo property at the top of the email where we want our logo header to appear:
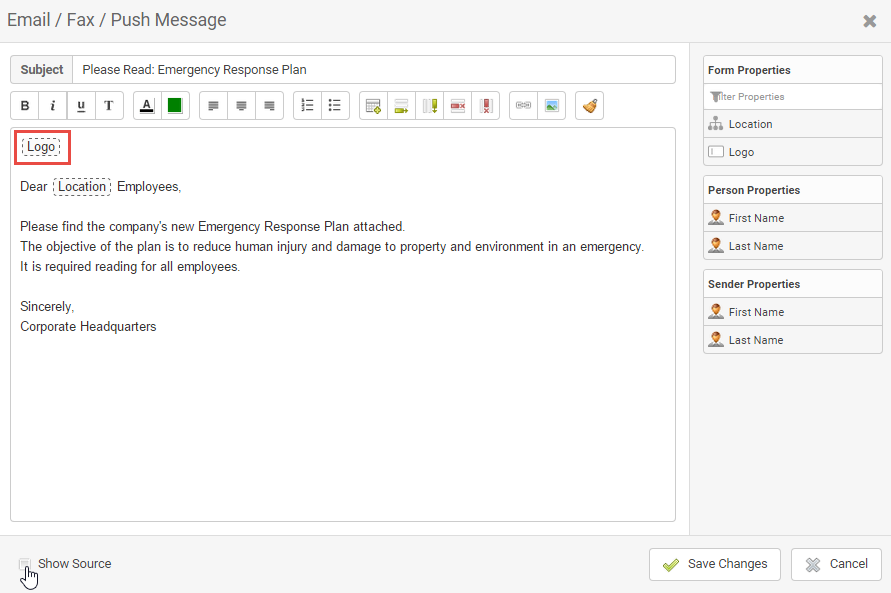
At this stage, the Logo property resembles other placeholders in the message.
When you drop the image property into an email message, xMatters assigns it an identifier. In this step we'll locate the identifier within the HTML source code of the message and wrap it in an <img> tag. The <img> tag ensures the recipient's email program renders the URL as an image rather than text.
You need to have other properties in the message (besides the image property) for this process to work.
Click Show Source at the bottom left of the Email / Fax / Push Message window. This will display the HTML source code for the message, as shown below:
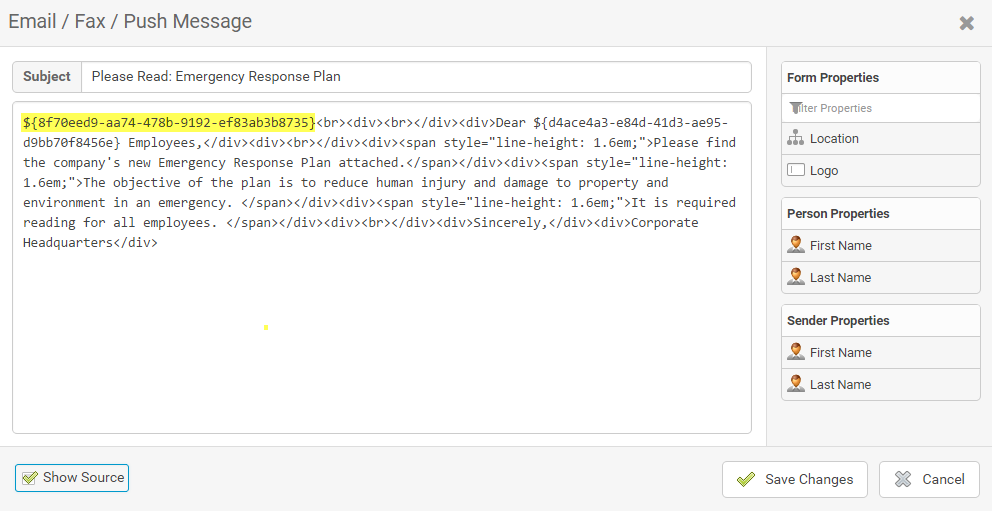
The HTML identifier for our logo property is highlighted in the code above. You can see a similar identifier for the Location property later in the message.
Wrap the identifier for the logo in an HTML image tag (highlighted in blue) so that it resembles the following:

Click Save Changes. The logo property now appears as a broken image icon in the message window, but the image will be displayed in the recipient's email when the message is sent.
We'll create three different scenarios to send the message to our company offices in Arkansas, Kansas, and Louisiana, using variations of the company's corporate logo.
Start by creating Scenarios for each company location:
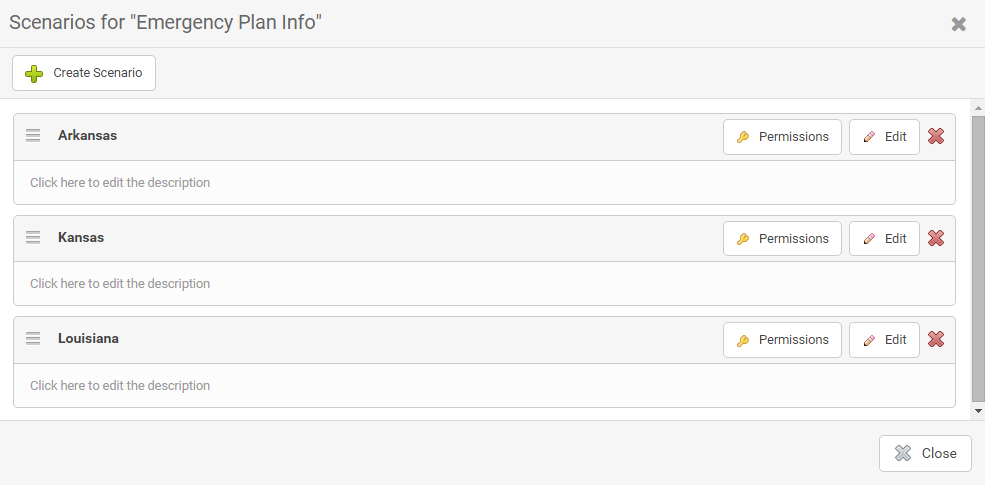
Edit each scenario and replace the saved URL with one that corresponds to an image for that scenario.
We'll can also attach a site-specific Emergency Response Plan to each scenario, which contains unique information, protocols, and maps for each geographic location.
Click Preview Message to view how the outgoing messages with your logos will appear to recipients:
