Manage flow canvases
The Flow Designer tab in a workflow is your entry point into creating canvases to design automated incident resolution flows using Flow Designer. It also lets you manage those canvases - rename them, give them a description so workflow developers know the purpose of a particular canvas, and, in some cases, delete them. You can also see at a glance how many flows there are in each canvas: each trigger on a canvas is represented by its icon below the canvas' description.
Create a canvas
The Flow Designer tab allows you to create an empty canvas where you can design automated flows.
- On the Flow Designer tab, click Create Flow Canvas.
- In the Create Flow Canvas dialog box, specify a Name and optional Description.
- Click Create.
In some instances, xMatters automatically adds canvases to the Flow Designer tab:
- Whenever you create a new Messaging form. The name you give the form becomes the default name of this canvas.
- During the migration of some legacy Integration Builder integrations; the canvas is named after the integration.
Edit the name and description
You can edit the name and description of a flow canvas to better reflect the contents of the canvas.
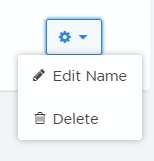
- Click the gear icon for the canvas and select Edit Name.

- Enter a new name and an optional description.
- The name must be unique within the workflow.
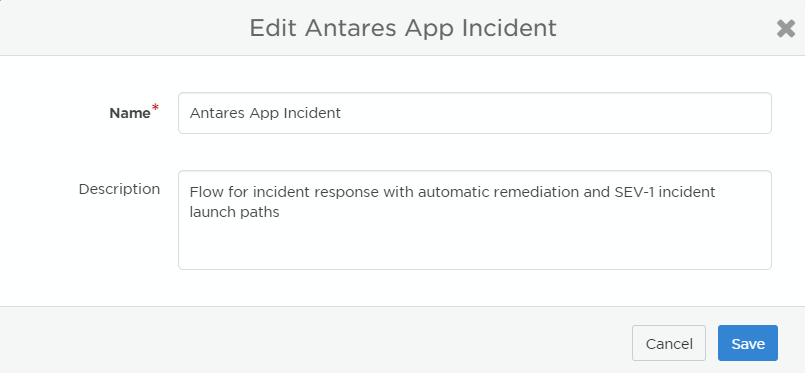
- Click Save.

The new name replaces the previous name wherever the canvas is referred to in Flow Designer.
Delete a canvas
Some canvases are created during the automatic migration of legacy Integration Builder integrations that weren't associated with a form. In this case, you also have the option to delete the canvas. This also deletes the associated integration in the Integration Builder — before you delete it, make sure you either no longer need the integration functionality or you've moved it to a flow on another canvas (we have instructions on how to fully convert inbound and outbound integrations to flows).
- Click the gear icon for the canvas and select Delete.
- Click Delete on the confirmation dialog (or Cancel if you've changed your mind).