BMC Control-M
The built-in BMC Control-M Job Status trigger initiates a flow when it receives a signal from the xMatters BMC Control-M plugin, either before or after a parent job executes. Outputs include information about the parent job.
- Go to the Triggers tab in the palette, expand the App Triggers section and drag the trigger onto the canvas.
- Double-click the trigger (or click the pencil icon).
- Set the authenticating user. Alternatively, you can create an integration user to use as the authenticating user.
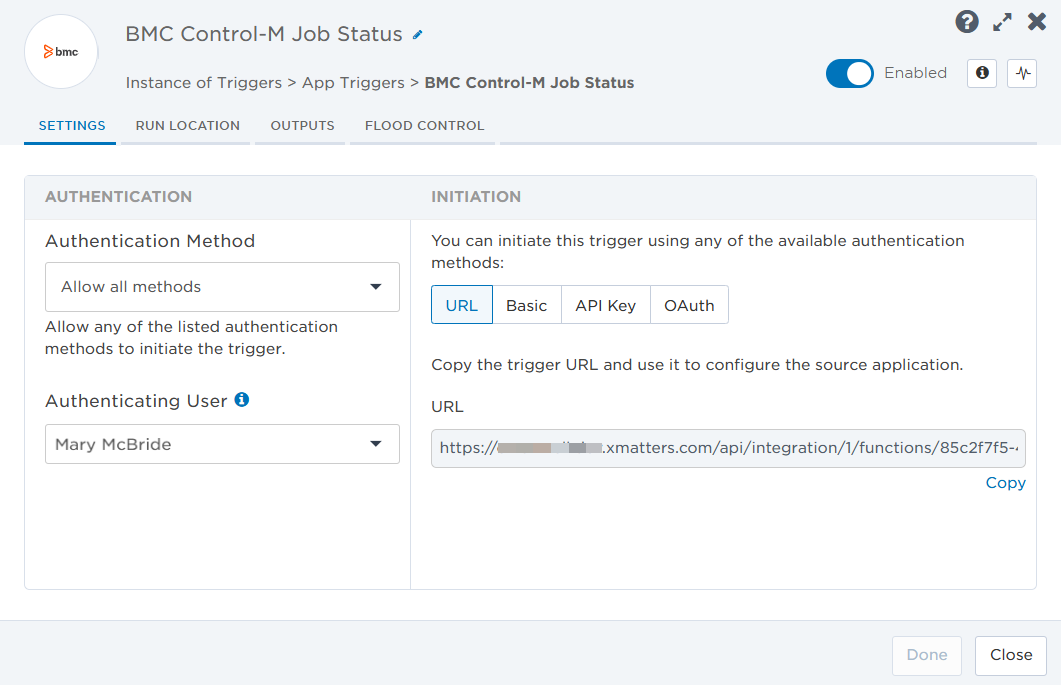
- Copy the URL — you'll use this when you modify the connection profile file.
- Click the Flood Control tab to edit the trigger's default flood control settings. For more information about these settings, see Trigger Flood Control.
- Click Done.
- On the flow canvas, connect the steps you want to run when xMatters receives a request to that URL.
You're now ready to configure BMC Control-M to target the trigger.
Configure BMC Control-M to send requests to the trigger URL
Before you can use BMC Control-M with either the trigger or steps, you must modify the configuration files and deploy the BMC Control-M plugin file.
To begin configuring the BMC Control-M plug in, download the following files to an easy-to-find location on your computer.
- xMatters_plugin.ctmai - a configurable Application Integrator Plugin file.
- xMattersConnectionProfile.json - a configurable file that provides connection information between BMC Control-M and xMatters
The following sample files contain the variable declarations required for the plug-in and are referenced in the deployment instructions. We recommend using these files as the basis for your own job files or to test the deployment of your configuration.
- xmCustomersJobSample.json - a sample job a you might run.
- xmattersJobSample.json - a sample of the xMatters that calls the plugin.
Now that you have the configuration files on your system, let's configure them with the appropriate settings.
- Go to the location of the xMattersConnectionProfile.json file.
- Open the file in a text editor program.
- Replace the placeholder text for each variable with valid values for your BMC Control-M instance.
Variable Name Description AI-triggerURL The webhook URL you copied from the Control-M trigger in Flow Designer. AI-username Username of the authenticating user. AI-password Password of the authenticating user. AI-ctmHost The specific Control-M host name. AI-ctmServerName The specific Control-M server instance name. AI-ctmServerName Name of the Control-M server instance. AI-ctmApiToken API token used as the x-api-key header on every Control-M request. - Save your changes.
- Open the xmCustomersJobSample.json in a text editor program.
- Replace the placeholder values for RunAs and Host with valid values for your system.
- Save your changes.
- Repeat steps 5 - 7 for the xmattersJobSample.json file.
Now that the configuration files are ready, lets deploy them in BMC Control-M. The following instructions require access to the BMC Control-M Automation API , and Command Line Interface. If you require instructions on the Automation API or Command Line interface, see the BMC Control-M documentation.
- On the Workbench welcome page, open the Application Integrator.
- Go to Get Started > Import.
- Select the xMatters_plugin.ctmai plugin file from its location on your computer and click Open. The plug-in automatically opens in a new tab.
- Click Publish & Deploy.
- On the Publish & Deploy panel, select which agent to deploy the plug-in to. You can deploy the plug-in to multiple agents, if required.
- Click Apply.
- Open the Command Line Interface.
- Deploy the configuration files using the following commands:
- ctm deploy xmattersConnectionProfile.json
- ctm deploy xmattersJobSample.json
- ctm deploy xmCustomersJobSample.json
- In the Command Line Interface, run the following command: ctm run xmCustomersJobSample.json
BMC Control-M displays a Publish & Deploy status modal that shows you the progress of the plug-in deployement. When deployment is complete, click Close.
If the deployment is successful, you will see an output similar to the following for the Connection Profile:
[
{
"deploymentFile": "xmattersConnectionProfile.json",
"deploymentState": "DEPLOYED_CONNECTION_PROFILES",
"deploymentStatus": "ENDED_OK",
"successfulFoldersCount": 0,
"successfulSmartFoldersCount": 0,
"successfulSubFoldersCount": 0,
"successfulJobsCount": 0,
"successfulConnectionProfilesCount": 1,
"successfulDriversCount": 0,
"isDeployDescriptorValid": false,
"deployedConnectionProfiles": [
"XMATTERS_CONNECTION_PROFILE"
]
}
]
Now let's run a job using the job sample file to verify the connection between BMC Control-M and xMatters.
Once the configuration and deployment are complete, you can create your own job files, or modify the sample files to run jobs.
Outputs
The BMC Control-M Incidents trigger has the following outputs you can use as inputs to steps further along the flow.
|
Label |
Description |
|---|---|
| Application | User-defined application of the job. |
| Cyclic | Whether the job executes at defined cyclic intervals. |
| Description | Description of the job. |
| End Time | Timestamp of when the job run finished in BMC Control-M. |
| Estimated End Time | Estimated time when the job is expected to finish running. |
| Estimated Start Time | Estimated time when the job is expected to begin running. |
| Execution Time Zone | Time zone where the job was executed. |
| Job Type | Type of job. |
| Number of Runs | Number of times the job has run. |
| Parent Folder | Folder in BMC Control-M where the job resides. |
| Ran As | Username of the user that is authorized to execute the job. |
| Rerun Every | Amount of time to wait between job reruns or cyclic executions. |
| Run Date | Date that the job ran. |
| Run ID | Unique ID of the BMC Control-M job run. |
| Run Where | Agent host ID and host group where the job executes. |
| Start Time | Timestamp of when the job run began in BMC Control-M. |
| Status | Status of the job in BMC Control-M. |
| Sub Application | User-defined sub-application of the job. |
| Submission Window | A specified period of time when the job can execute. |
| Waiting Info | Reasons why the job did not run. |