Splunk Alerts
The built-in Splunk Alerts trigger initiates a flow when it receives a signal from Splunk, either from the xMatters Actionable Alerts app or from a generic Splunk webhook.
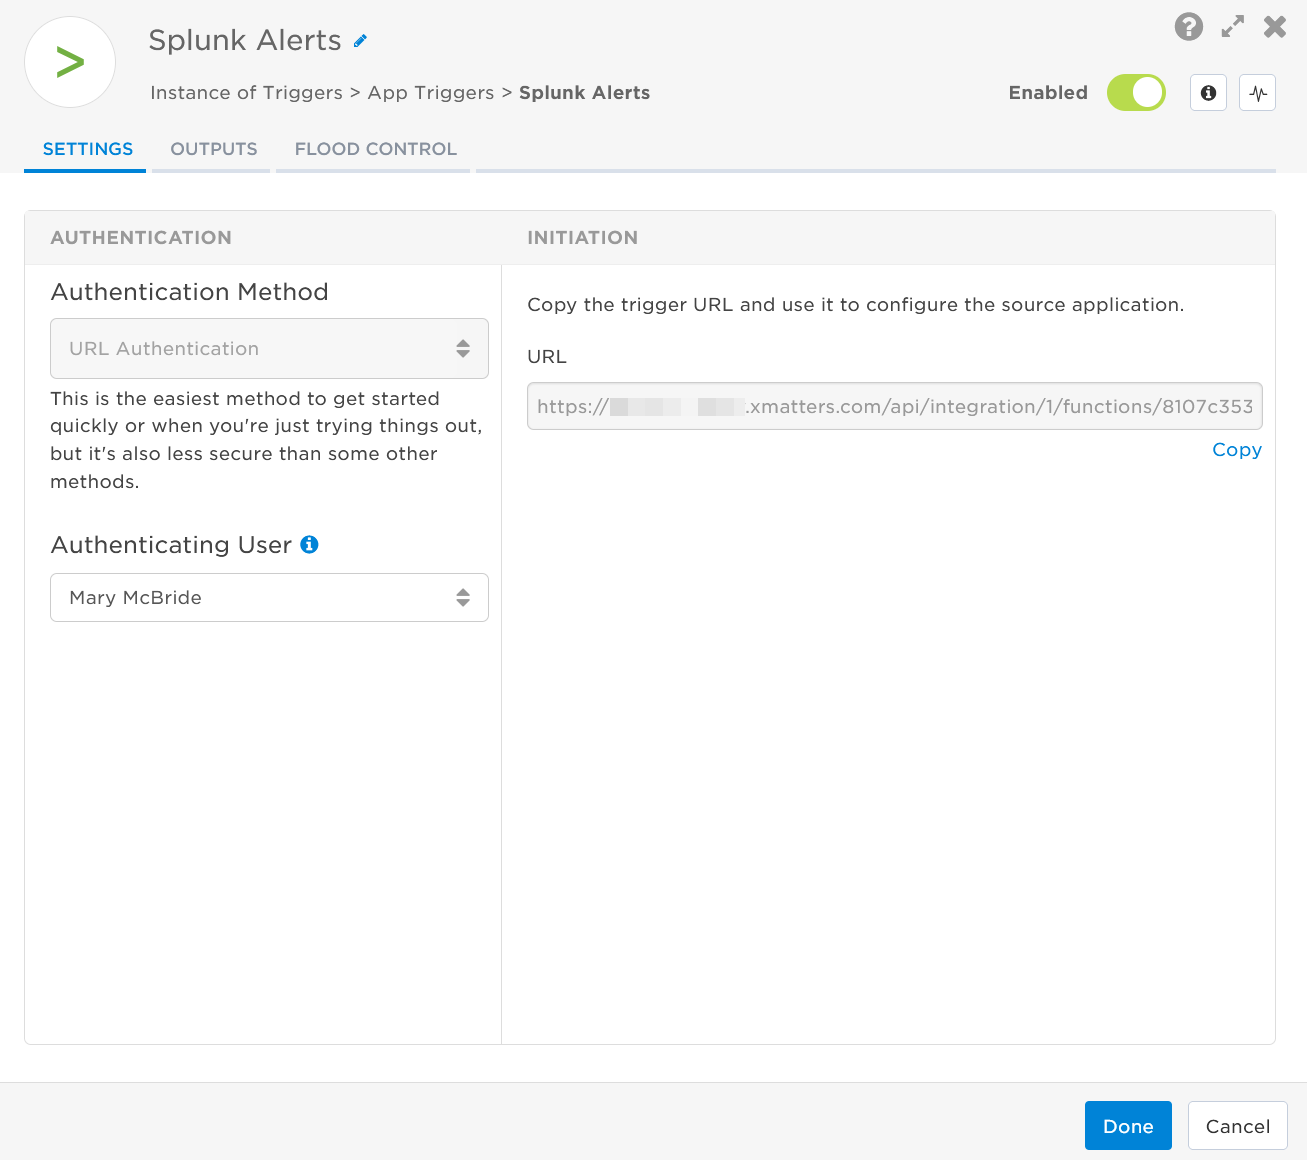
After you add the trigger to a flow canvas, copy the trigger URL then head over to Splunk and configure the xMatters Actionable Alerts app or a generic webhook to use the URL.
To use the xMatters Actionable Alerts app, you need to have it installed in your Splunk instance — you can find our instructions here.
Add the Splunk Alerts trigger to the canvas
- Go to the Triggers panel in the palette, expand the App Triggers section and drag the trigger onto the canvas.
- Double-click the trigger (or click the pencil icon).
- Set the authenticating user, and then copy the URL — you'll use this to set up the app or webhook in Splunk. Alternatively, you can create an integration user to use as the authenticating user.

- Click the Flood Control tab to edit the trigger's default flood control settings. For more information about these settings, see Trigger Flood Control.
- Click Done.
- On the flow canvas, connect the steps you want to run when xMatters receives a request to that URL.
You're now ready to configure Splunk to target the trigger.
Configure Splunk to send requests to the trigger URL
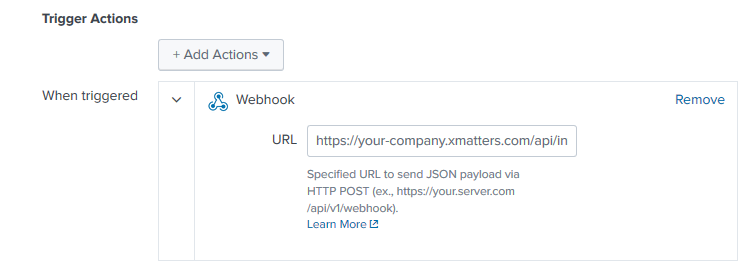
To have Splunk send alerts to the flow trigger, you need to either configure the xMatters Actionable Alerts app to use the trigger URL or enter the trigger URL when you create generic Splunk webhooks.
Should I use the app or a generic webhook?
That depends on what your workflow is and what's most important to you.
The app lets you select the priority and pre-define recipients for each alert action you configure to use the app. However, the app only supports one URL, so any Splunk alerts that use the app would point the same trigger.
You can have as many generic webhooks as you want point to multiple triggers. However, you wouldn't be able to set the priority on the Splunk side. But you could add a switch or custom step to your flow canvas before any Create Event step that looks at an output of the trigger and sets the priority or recipients based on that (for example, a switch step looks at the Result Host output and triggers different Create Event steps with different recipients based on the value).
- Configure the app as outlined in the "How to install the xMatters integration in Splunk" section of our installation instructions, entering the trigger URL in the Inbound Integration URL field.
- Create the searches you want to trigger a request to xMatters and save them as alerts, selecting the app as the alert action and setting the recipients and priority to pass to xMatters. See "How to use this integration" for more details.
- Save a search as an alert, selecting "Webhook" as the alert action.
- Copy the trigger URL from the step settings into the URL field.

- Click Save.
Outputs
The trigger has the following outputs you can use as inputs to steps further along the flow.
|
Label |
Description |
|---|---|
|
App |
Name of the app in Splunk where the search originated. |
| Search Owner | Username of the person who created the search. |
| Search Name | Name of the search that triggered the alert. |
| Result Link | A link to the search results that triggered the alert. |
| Result Source Type | Source type of the search result. |
| Result Host | Host associated with the search result. |
| Result Source | Splunk source log containing the search result. |
| Splunk Server | Splunk server where the alert originated |
| Recipients | For alerts from the xMatters Actionable Alerts app: the list of recipients configured in the alert action. |
| Priority | For alerts from the xMatters Actionable Alerts app: the priority specified in the alert action. |