Manage incident attachments
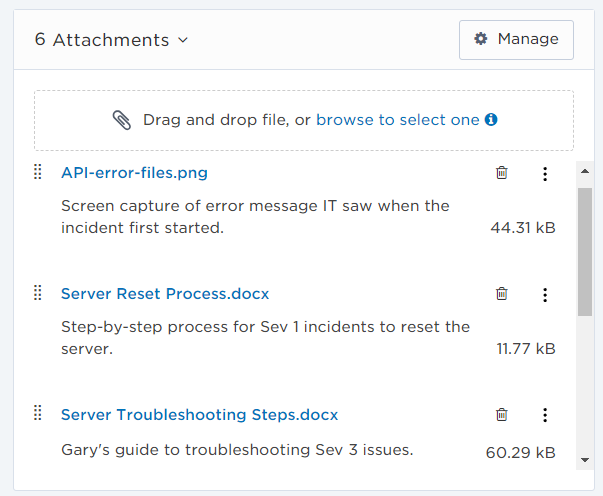
When an incident is in progress, giving users additional information in the form of attachments can help resolve incidents more quickly. Attachments can be videos or screen captures of an error or process documents users need to resolve the incident. For resolvers or stakeholders who might be added to an incident later in the resolution process, attachments can provide invaluable background information.
The number of allowed attachments and their file size limits is based on your pricing plan.
The following file types are available as incident attachments:
- Images: BMP, GIF, ICO, JPEG, PNG, SVG+XML, TIFF
- Multimedia: MP3, MP4, WAV, MOV, AVI, WMV, MPG, MPEG, VOX
- Microsoft Office: DOC, DOCX, XLS, PPT etc.
- Open Document: ODT, ODS, ODP, ODG
- Other: CSV, HTML, TXT, XML, XMLA, PDF, ZIP, X-ZIP, BIN
Changes to attachments are logged in the timeline.
There are four ways to add files to your incident:
- Drag and drop the file anywhere on the Incident Console.
- In the Attachments section click browse to select one to locate the file in your system.

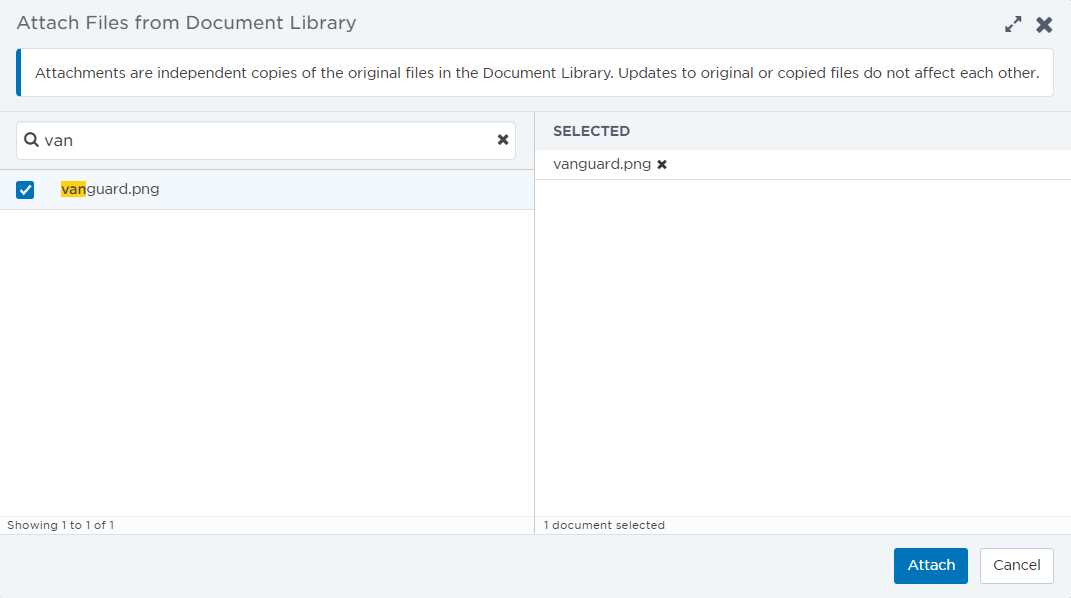
- In the Attachments section click choose from the Document Library to search for and select files in your xMatters Document Library.
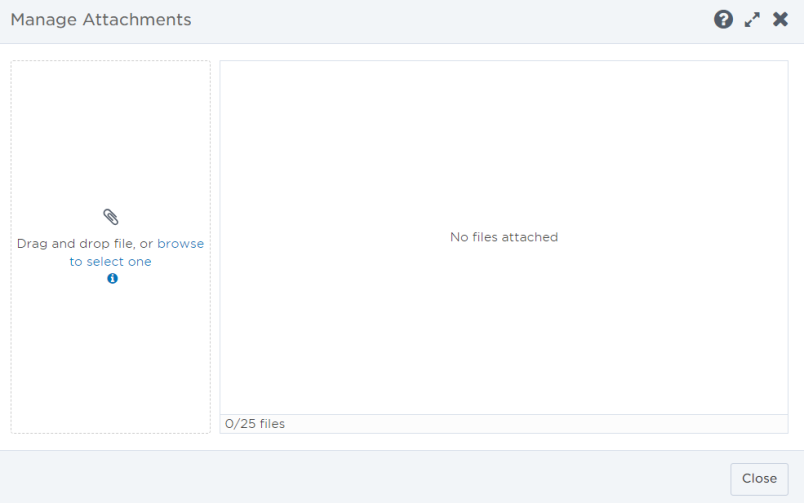
- Click Manage to open the Manage Attachments window. You can then drag and drop or browse to the file location. If you need to edit an attachment name after it's added to the incident, you can do so in the Manage Attachments window.
Unique attachment names are recommended. If an identically named file is uploaded, its name is appended with a numerical variable. At this time, attachments must be added to an incident one at a time.
To access the Manage Attachment window, click Manage located on the right-hand side of the Attachments section header.

The Manage Attachments window displays the name of each attachment, when it was attached and by whom. On this window you can:
- Scroll through the list of attachments.
- Add files by drag and drop, or browse to the file location.
- Delete the attachment using the garbage can icon located to the right of each attachment.
- Expand the options menu, located to the right of each attachment name, to edit the attachment name and description or copy a preview link.
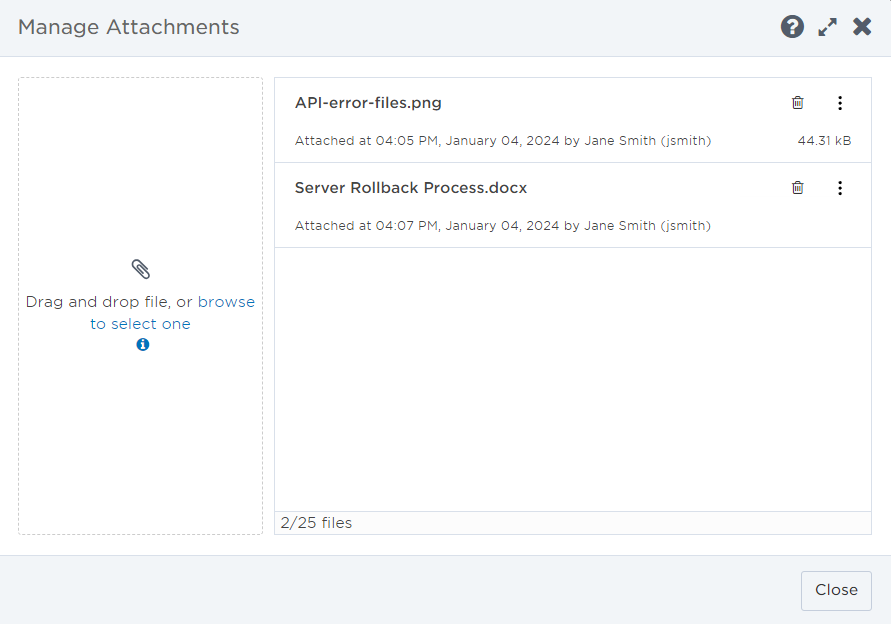
To return to the Incident Console from the Manage Attachments window, click Close.
When files are first attached to an incident, only the file name is displayed to users in the Incident Console.
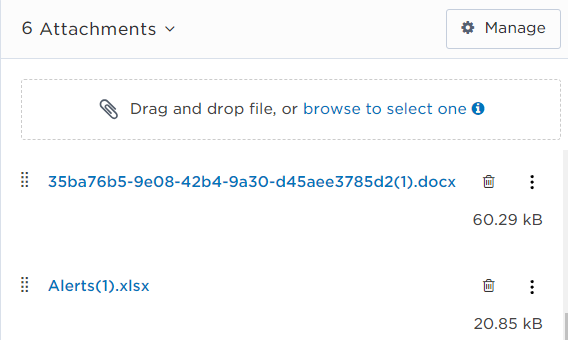
To make attachments more useful for incident resolvers, you can edit the name and add a description in the Manage Attachments window.
To edit an attachment name:
- Click Manage to open the Manage Attachments window.
- Expand the option menu for an attachment and select Edit.
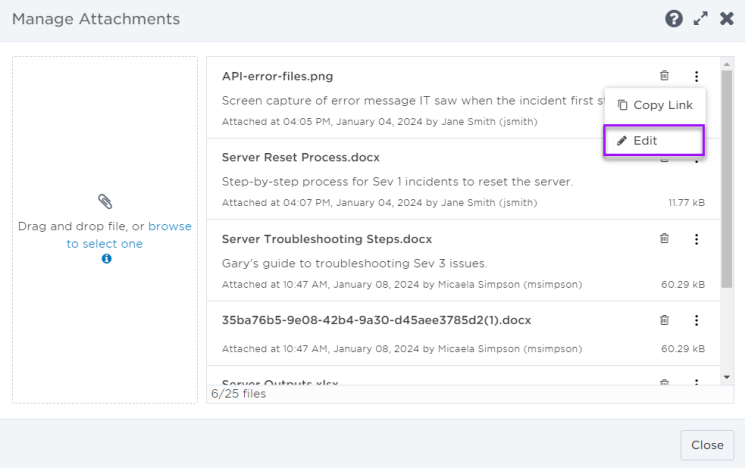
- Make changes to the file name and description.
- File names must be unique for each file type. For example, you cannot have two files called MIM_1.docx, but you can have a file called MIM_1.docx and one called MIM_1.ppt because the extension types are different.
- The file type cannot be edited.

- Click Save.
Attachments appear on the Incident Console in the order in which they're added to the incident. You can modify the order of attachments so the most important or useful attachments are visible at the top of the list. To modify the order of attachments on the Incident Console, grab the handle icon next to its name and drag it into a new position in the list.
Changing the order of attachments is not logged as a change in the timeline.
You can preview or download an attachment from the Incident Console, and preview it from the Manage Attachments window.
To preview an attachment from the Incident Console, click its name in the attachments list. Depending on the file type, the preview link will either display the attachment in a browser window or download a copy of the attachment for your review.
If you need to send an attachment preview to someone else in your company, you can expand the options menu and select Copy Link, then send the link to another person or group.
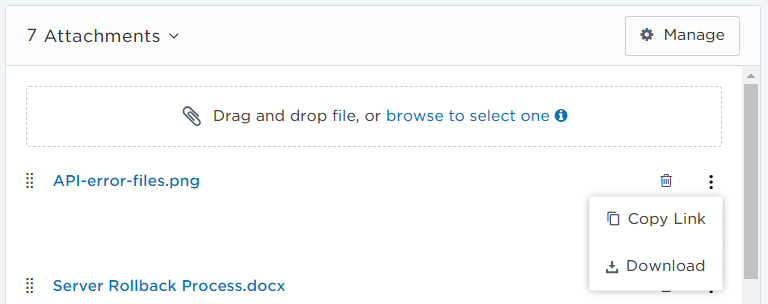
If an attachment is no longer required, you can delete it either from the Incident Console or the Manage Attachments window.
- In either the Incident Console or the Manage Attachments window, go to the right of the attachment name and click delete (represented by a garbage can icon).

- Click Delete on the confirmation window to permanently remove the attachment from the incident.
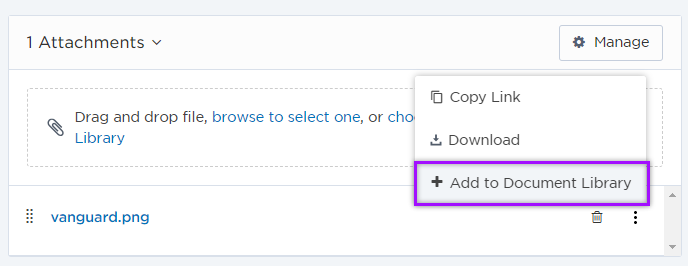
If you upload an attachment and want to save it to your xMatters Document Library to use again in future incidents, you can add it directly from the Incident Console.
To add a file to the document library from the Incident Console
- Next to the name of the file you want to add to the Document Library, click the ellipsis menu.
- Select Add to Document Library.
