Manage the Document Library
During an incident, teams not only need to be aware of any developments or updates, but also need access to the right tools and data to enable resolvers to mitigate issues as quickly as possible. Creating a library of frequently used files (such as runbooks or action plans) allows incident commanders to easily locate and attach files to an incident so teams can quickly locate the resources they need directly from the Incident Console. To ensure only the right people have access to specific information, files can be organized into folders with access permissions.
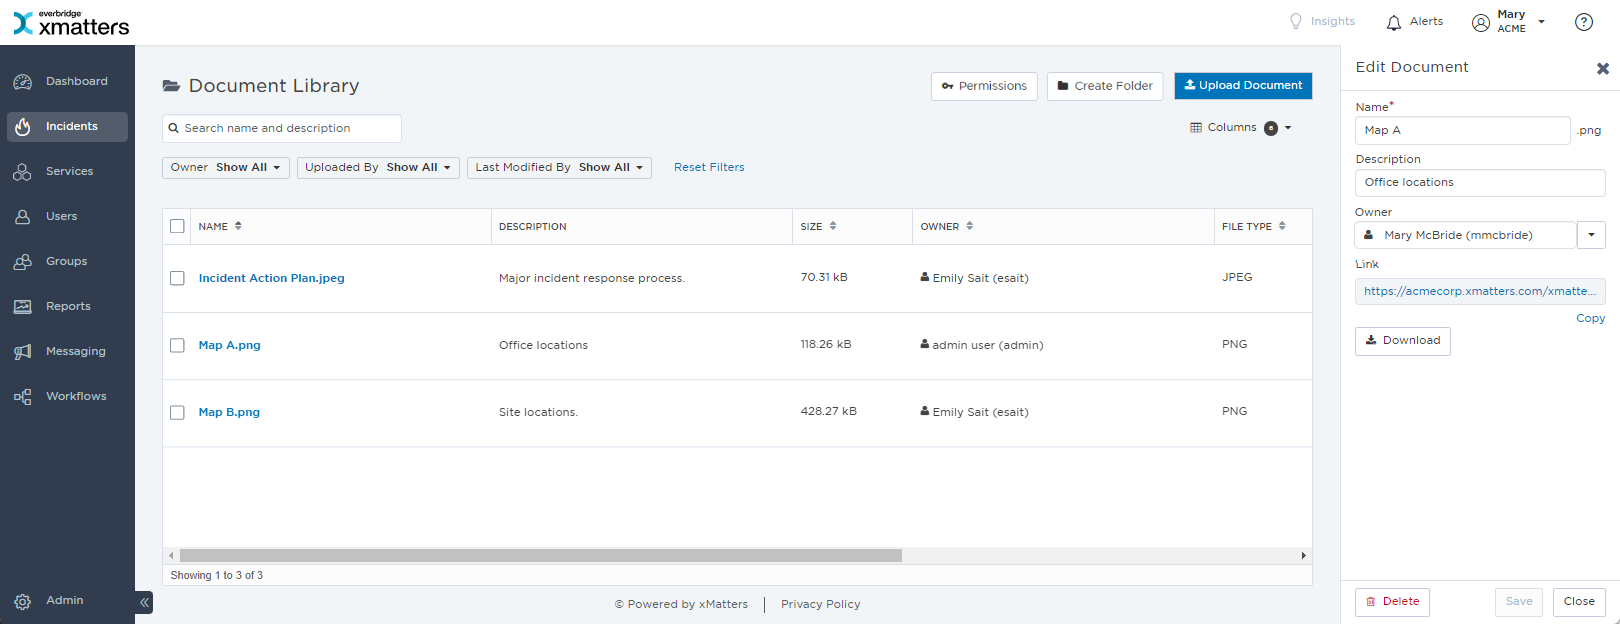
In the Incidents menu, under Configuration, click Document Library.
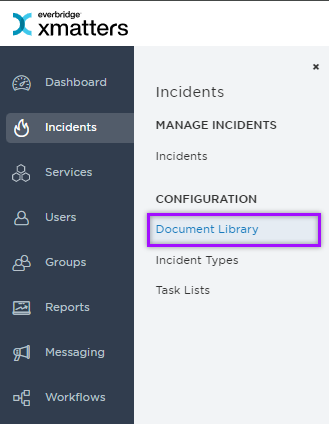
The Document Library includes the following columns:
| Column | Description |
|---|---|
| Name | The name of the file. |
|
Description |
The description of the file. |
| Owner | The user assigned as the owner. |
| Uploaded By | The user who uploaded the file to xMatters. |
| Last Modified By | The user who most recently updated the file in xMatters. |
| Size | The size of the file (in bytes). |
You can upload new files to use in future incidents.
To upload a file from the Document Library:
- From the Document Library, click Upload Document.
- Navigate to the location of the document on your computer.
- Click Open.
Files can also be added directly to the Document Library from the Incident Console.
- From the Document Library, click the name of the file you want to edit.
- From the side panel, do one of the following:
- Update the Name, Description, or Owner.
- Click Copy to copy the file's URL link to the clipboard.
- Click Download to download a copy of the file to your local machine.
- Click Save.
- From the Document Library, click the check box next to the names of the files you want to delete.
- Click Delete.
- In the confirmation window, click Delete to confirm your choice.
- From the Document Library, click the check box next to the names of the files you want to assign an owner.
- Search for and select a user to assign as the owner of the selected files.
- Click Save.
To search the library
- From the Document Library, click the search bar at the top of the page.
- Type at least two letters of a search term to populate list of matching documents. (Documents within a folder displays the breadcrumb trail.)
To filter the library:
The available filters allow you to narrow the files list based on matching specific criteria. For example, you can use filters to find files of a specific file type or owned by a certain user. Apply one or more filters to narrow down the list of files. If you apply multiple filters, xMatters only returns files that match all of the specified filter criteria.
The following table describes the available filters in the Document Library and their values:
| Filter | Values |
|---|---|
|
Uploaded by
|
|
| File Type |
|
| Owned by |
|
| Last Modified |
|
To share a file link:
- From the Document Library, click the name of the file you want to download to open the side panel.
- Under Link, click Copy to copy the file link to your clipboard.
Files stored in the Document Library can be downloaded for easier access or to share with stakeholders outside of xMatters.
To download a file from the Document Library:
- From the Document Library, click the name of the file you want to download.
- In the side panel, click Download.
Folders
You can use folders in the Document Library to organize your files into a hierarchy so they can be easily located. Access permissions can also be applied so only certain roles can access, modify, or delete specific document folders. When viewing a folder, you can easily see the hierarchy and navigate between levels by following the breadcrumb links at the top of the page.

- From the Document Library, click Create Folder.

- Type a Name.
- Click Create.
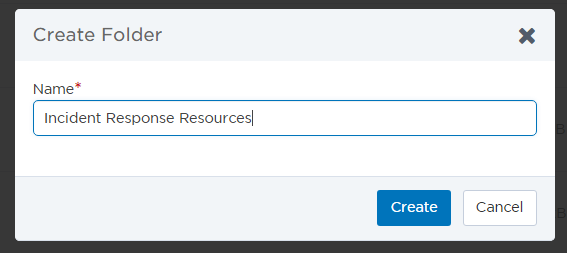
Once you have created a folder, you can move files from the main library into the folder.
To move files into folders:
- From the Document Library, click the check box next to the names of the files you want to move.
- Click Move to Folder.
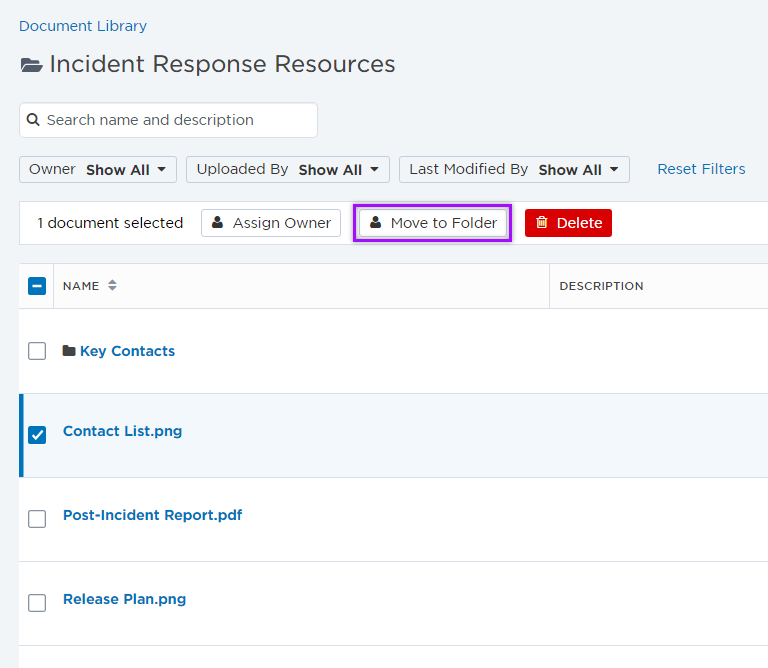
- Navigate to the folder you want to move the files to.
- Click Move Here.
- From the Document Library, click the check box next to the names of the folders you want to delete.
- To delete the folder and its contents, click Delete.
- In the confirmation window, click Delete.
Permissions
You can set permissions on individual folders, or on the whole library to give specific users, groups, or roles access to only the files they need to use.
For example, your internal IT team has a file that contains instructions for restarting your main server, as well as the home phone number of the Director of Engineering. That document should only be accessed by the IT team during a specific type of incident, but without folder permissions on the Document Library, everyone has access to the file.
You can set permissions for users, groups, or roles on the whole Document Library, and on individual folders within the library. This way people only see the files they need to use, and don't get bogged down sifting through files that don't concern them.
One important thing you should know: while permissions are set at the folder level, file owners always have full "Manage" permissions for their files no matter where the file is located, or what permissions are set on the containing folder.
These instructions apply to both the main Document Library, and any sub-folder created in the library.
- From the Document Library or folder, click Permissions.
- Search for and select users, groups, or roles.
- Next to the name of each user, group, or role use the drop-down menu to set whether they can Use Files (permission to view and attach the contained files) or Manage Files (permission to upload, edit, and move files, update permissions, and assign ownership). The default permission setting is Use Files.
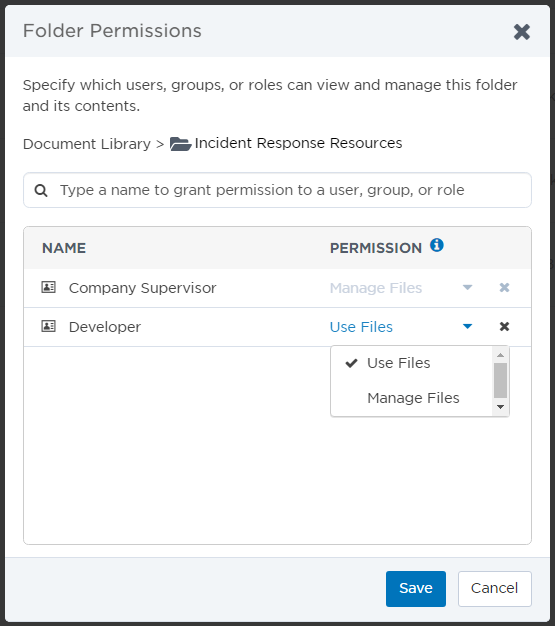
- Click Save.