Manage status pages
Status pages streamline communication between service owners, incident resolvers, and other stakeholders by providing a centralized location to view status updates for incidents and services. A status page is easily accessible; simply share its permanent link to members of your organization involved with the issue at hand. With a simple yet comprehensive layout where you can easily find the information you need, status pages can function as a single source of truth that reduces support and update queries, thus giving resolvers more time to focus on incident mitigation and resolution.
Status pages are available in Advanced plans.
The following sections describe the actions you can perform in the Status Pages list:
In the side navigation menu, click Status Pages.
To quickly sort the status pages in your list, do one or more of the following:
- To sort the content of a column alphabetically, click the column header. (Click the header again to reverse the sort order.)
- To change the width of a column, move the pointer over the edge of the column in the header and, when the re-size icon appears, click and drag the column to the desired size.
- To rearrange the columns, click and drag a column header to a new location in the table.
- If the list contains more entries or columns than can be displayed on your screen, scroll horizontally or vertically. The system automatically loads more data as you scroll down the page.
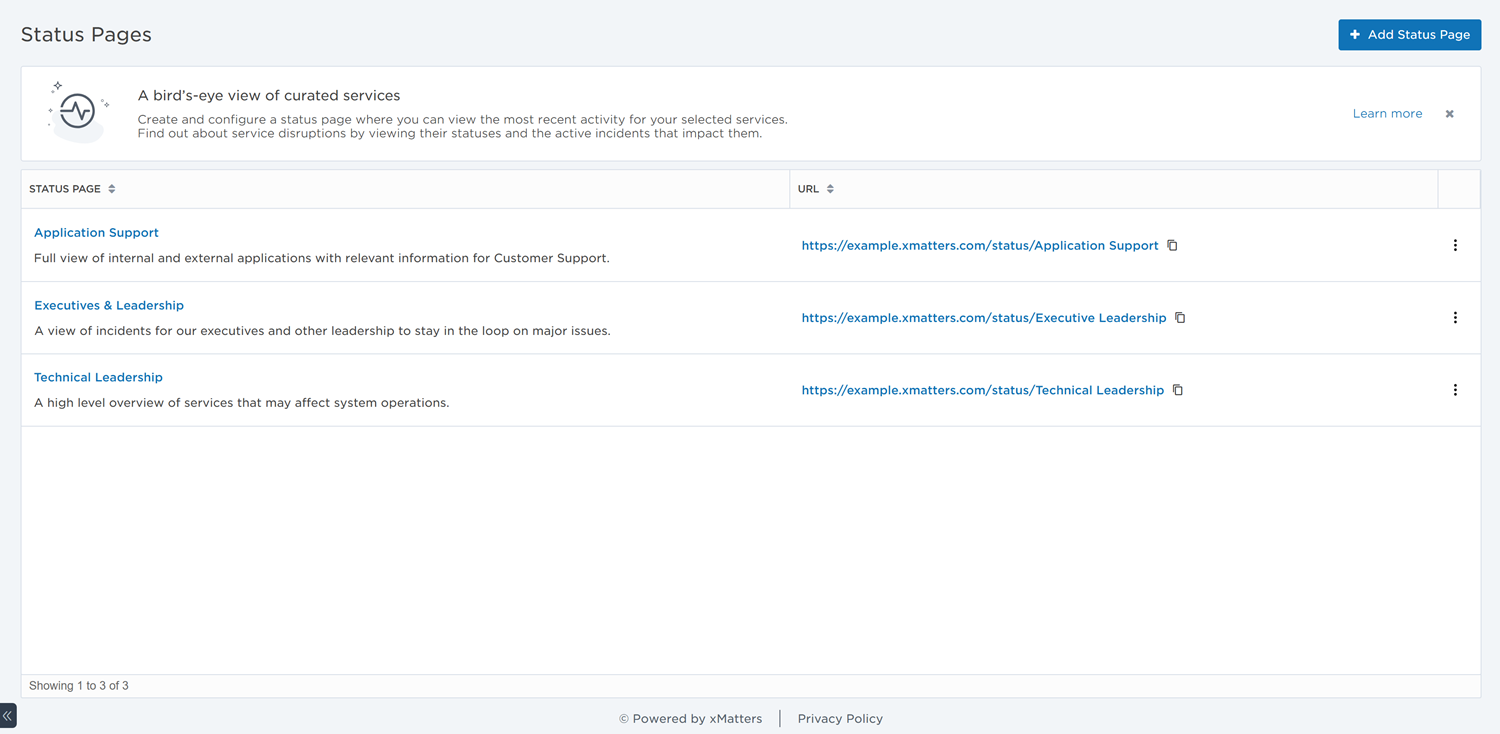
The Status Pages list includes the following columns:
- Status Page: The status page's name and description.
- URL: The permanent link to view the read-only status page display.
- Visibility: The accessibility of the status page (Internal or Public). Public status pages are available for Advanced plans.
To add a new status page:
- In the Status Pages list, click Add Status Page.
- Type a name for the new status page in the Name field
- Type a URL Name which will be included in the default URL of your status page. You cannot change the URL name once you create a status page, so choose wisely.
- Add a brief Description (optional).
- A description that explains the type of stakeholders who view the status page can be helpful for users adding incidents and services to the page.
- Choose the Visibility of your status page. You cannot change the visibility of a status page after you create it.
- Set the visibility to Internal if you want to limit page viewers to only users with xMatters accounts.
- Set the visibility to Public if you want to make the page accessible to anyone with the page link. You can configure public status pages to only be accessible by users with verified email addresses.
- Public status pages are identified by the Public label on its details page.
- Public status pages are available for Advanced plans.

- Click Add.
To modify an existing status page, click its name in the Status Page list to open its details page. On the details page, you can add services and incidents that may impact the services added to the status page.
You can also click its options menu (vertical ellipses icon) and select Edit.

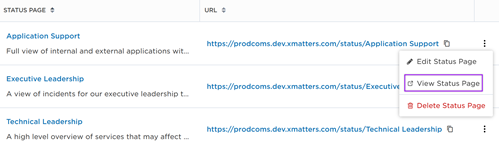
To view the status page read-only display (as stakeholders would see it), click its URL in the list. You can also click its options menu (vertical ellipses icon) and select View.
To share the status page read-only display link with other resolvers and stakeholders, click the Copy URL icon beside its URL on the list.

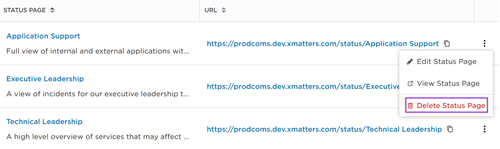
To delete a status page, click its options menu (vertical ellipses icon) and select Delete.