Configure email and caller ID overrides
Users with sufficient permissions can configure a specific email Sender Display Name and Outgoing Caller ID. Setting the email sender display name and caller ID helps recipients recognize that they are receiving a notification from xMatters.
This topic describes how to set the default email sender display name and outgoing caller ID for a company. Workflow designers can override these for individual forms.
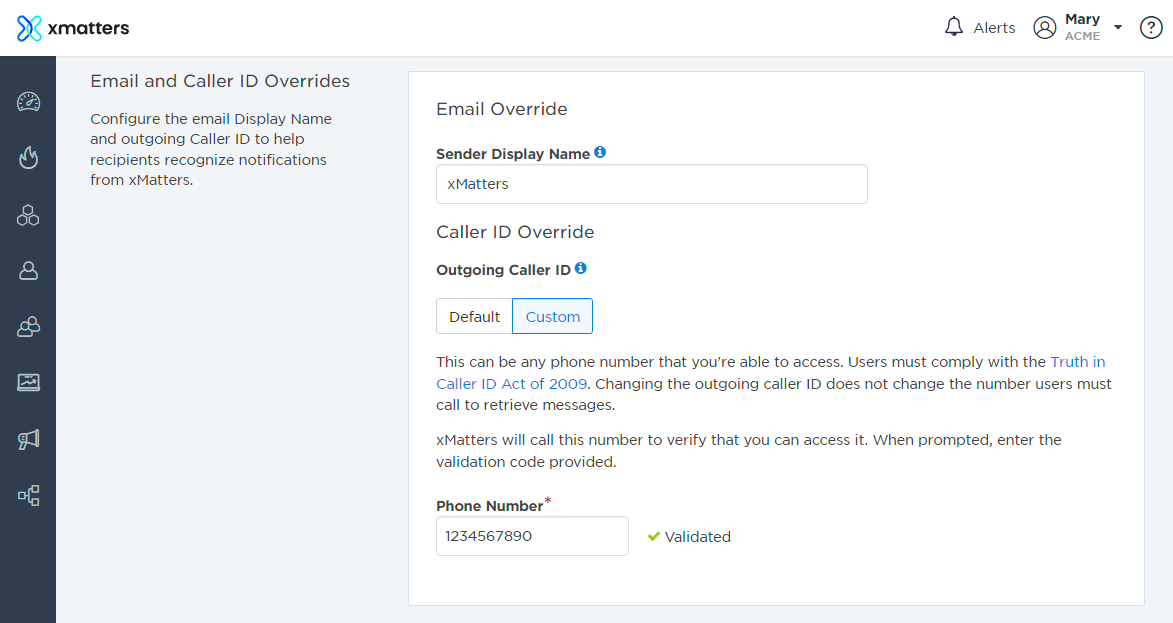
Email Override
The Email Override section of the Company Details page allows company administrators to define the email sender display name for email and app notifications. To change this, type the name you want to use in the Sender Display Name field.
Example: If the email is sent from "no-reply@company.xmatters.com" and the Email Sender Display Name field is set to "MyCompany Alerts", then the email sender address is "MyCompany Alerts <no-reply@company.xmatters.com>". Most email clients display this as "MyCompany Alerts".
It's also possible to customize the prefix of your xMatters email address (the part before the '@' symbol). This is useful if you've got multiple xMatters companies that you'd like to distinguish between, such as BCM and IT instances, or non-production and production environments.
Example: If your emails are all sent from "no-reply@company.xmatters.com", you could configure one company's emails to come from "notifications@company.xmatters.com" and the other company's email from "testing@company.xmatters.com".
To customize the prefix of your email address, contact Customer Support.
Caller ID Override
The Caller ID Override section of the General Settings page allows company administrators to select one of the following ways to define the default caller ID (if your company is configured to allow users to call in to xMatters to check their messages, you may want use the call-in number as your outgoing caller ID):
- Default: the default xMatters caller ID. xMatters determines this number based on how your company is configured.
- Custom: any phone number that you are able to access. xMatters phones this number and prompts you to enter a validation code.
To display a name instead of a phone number, register the phone number in the caller name identification database for your region. In the United States, this is the CNAM database.
Configure a custom outgoing caller ID
This option allows you to use any phone number that you have access to. When you select a custom number, xMatters phones the number and prompts you to enter a verification code on your phone's keypad.
Use the format +[optional_country_code][area code][phone number] to specify the custom phone number. The number cannot include spaces or non-numerical characters except for "+" when the optional country code is provided. Even though the country code is optional, testing has found that including the country code improves the reliability of the caller ID function.
Example custom phone numbers
+17775551212
7775551212
+442012345678
2012345678
To configure a custom outgoing caller ID:
- On the Company Details page, locate the Outgoing Caller ID section and select Custom.
- Type the phone number that you want to use as an outgoing caller ID.
- xMatters displays a dialog that contains a validation code. Make a note of this validation code before you dismiss the dialog.
- Wait for xMatters to call the custom phone number, and enter the validation code on your phone's keypad when you are prompted to do so.
If you do not successfully validate the phone number, wait several minutes for the call sequence to complete and then try again.