Alert steps
Get Alerts
Use the Get Alerts step to get the alerts IDs of the 50 most recent alerts in xMatters that match search criteria such as status, priority, or the value of an alert property. You can combine search criteria to narrow your results or add multiple status or priority values to broaden the search.
- Drag a Get Alerts step onto the canvas.
- Double-click the step to open the setup screen (or move your cursor over the step and click the pencil icon).
- Edit the Step Label to give the step a unique label for the particular flow.
- Fill in the search criteria to find the alerts whose IDs you want to return and pass along the flow. You must include at least one of Status, Priority, or Property Name.
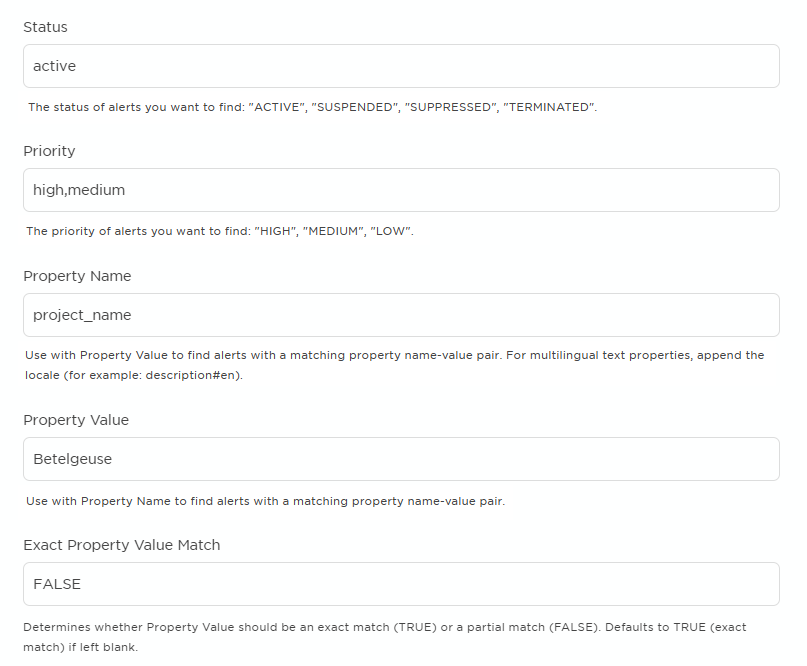
- Status: Search for alerts by their status (active, suspended, or terminated). You can include multiple, comma-separated values to find alerts matching any of the statuses.
- Priority: Search for alert by their priority (low, medium, or high). You can include multiple, comma-separated values to find alerts matching any of the priorities.
- Property Name, Property Value, and Exact Property Value Match: Use these fields together to find alerts with a specific value for the specified property name. You can only include one value per field. Exact Property Value Match sets whether the property value needs to be an exact match (true) or can be a partial match (false); this defaults to true if left blank. If Property Name is blank, the other two fields are ignored; if Property Name is set but the other two fields are blank, all alerts with a matching property name are returned.
- Plan Name: Search for alerts created by forms in a specified plan. You can include multiple, comma-separated values to find alerts created by any of the listed plans.
- Form Name: Search for alerts created by the specified form. You can include multiple, comma-separated values to find alerts created by any of the listed forms.
- Click OK.
- Click Save on the canvas.
Here's an example search that would return all active alerts that were high or medium priority where the value of the project_name property was either "Betelgeuse App" or "Betelgeuse 2.0" (because Exact Property Value Match is false):
| Output | Description | Example |
|---|---|---|
| Alert IDs | A comma-separated list of alert IDs for up to 50 alerts that match the search criteria. These IDs are the same as the IDs that identify the alert in the web user interface (for example, in the Tracking report). | 18960003, 18964000, 18964002 |
| Number of Alerts IDs Returned | The number of matching alert IDs returned in the Alert IDs output. | 50 |
| Total Alert Count | The total number of alerts found that match the search criteria. | 57 |
Terminate Alerts
Use the Terminate Alerts step to terminate up to 50 alerts, using their alert IDs. You can use the Get Alerts step earlier in the flow to retrieve the IDs for the alerts you want to terminate. When you terminate alerts in xMatters, it stops all processing, including canceling any active notifications, and cannot be resumed.
The Terminate Alerts step has no outputs.
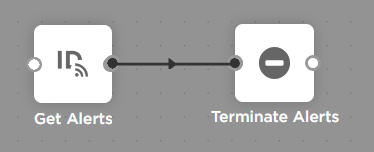
- Drag a Terminate Alerts step onto the canvas and connect it to a previous step that provides the IDs of the alerts you want to terminate in an output (for example, a Get Alerts step).
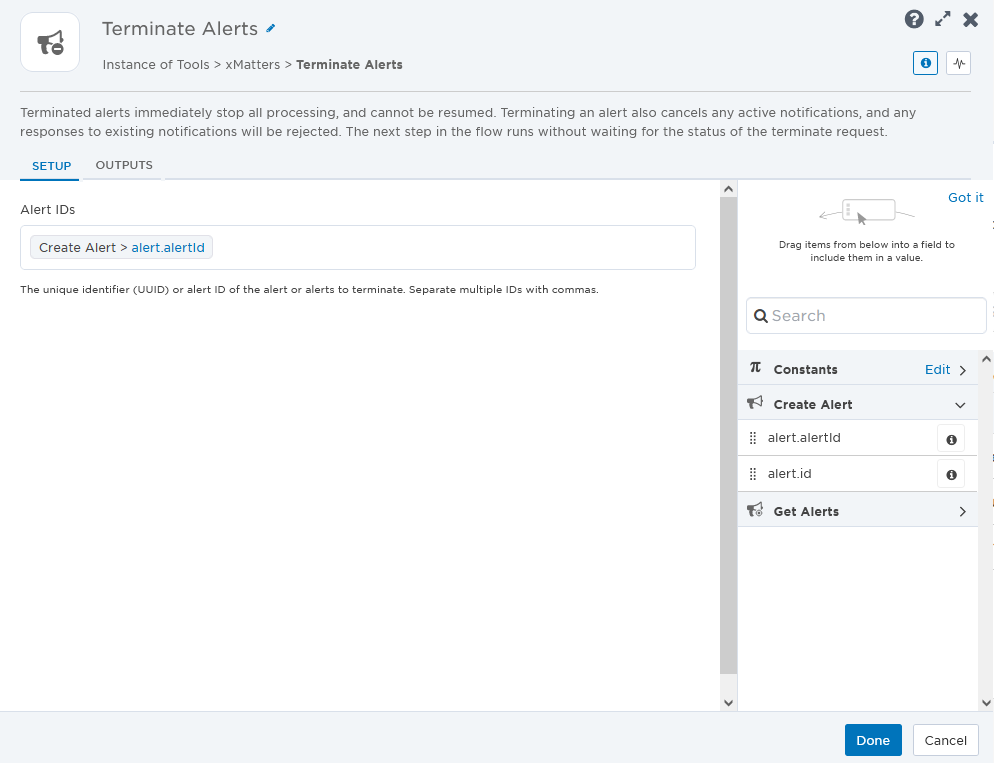
- Double-click the step to open the setup screen (or move your cursor over the step and click the pencil icon).
- Edit the Step Label to give the step a unique label for the particular flow.
- Drag the output that provides the IDs of the alerts you want terminate into the Alert IDs input.
- Click OK.
- Click Save on the canvas.
Map Alert Priority
The Map Alert Priority step lets you map the priority levels from an external system to xMatters alert priority levels. You can use the output of this step to set the priority when configuring a connected step, like the Create Alert Using a Form step.
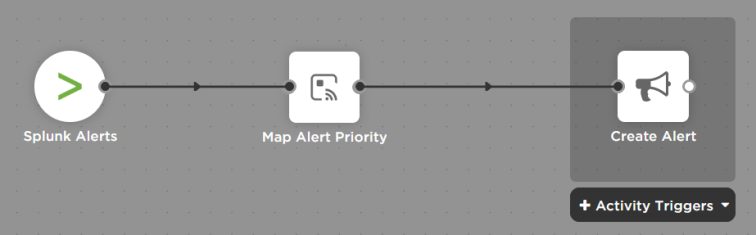
- In the Tools tab, under xMatters, drag the Map Alert Priority step onto the canvas and connect it to your flow.
- Double-click the step to open the setup screen (or move your cursor over the step and click the pencil icon).
- Enter a step label to identify it in your flow.
- Identify the Input Parameter from the external system whose values you'd like to map to xMatters priority levels.
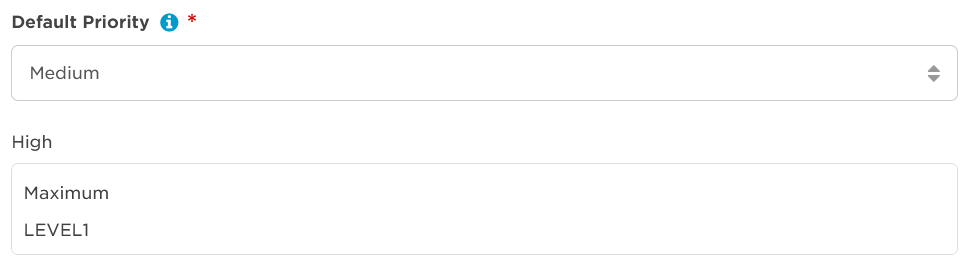
- Select the Default Priority level to use if the runtime value of the input parameter does not match one of the values mapped for each xMatters priority level.
- Specify which values of the input parameter map to each xMatters priority level (High, Medium, and Low).
- You can map multiple levels to a priority level by entering each value on a new line.
- Under Priority Mapping Rules, select if you'd like either, or both, rules to apply:
- Allow Partial Matches: If selected, the values mapped to each xMatters priority level can be contained in the runtime value of the input parameter. For example, in the screenshot below, if the runtime value of the input parameter is "1-Maximum", then a "High" priority level is assigned as the output of the step (because "Maximum" is defined as one of the values that maps to the High priority level, and it is contained in the input parameter value).
- Case Sensitive: If selected, priority mappings consider letter case. In the example below, a runtime value of "level1" for the input parameter would not map to the High priority level (because "level1" and "LEVEL1" are not considered a match) and the default priority level "Medium" would be assigned as the output of the step.
- Once you're happy with the settings, click Done.
- Click Save on the canvas.
| Property | Description |
|---|---|
| Priority | The mapped priority level. |