Run automations
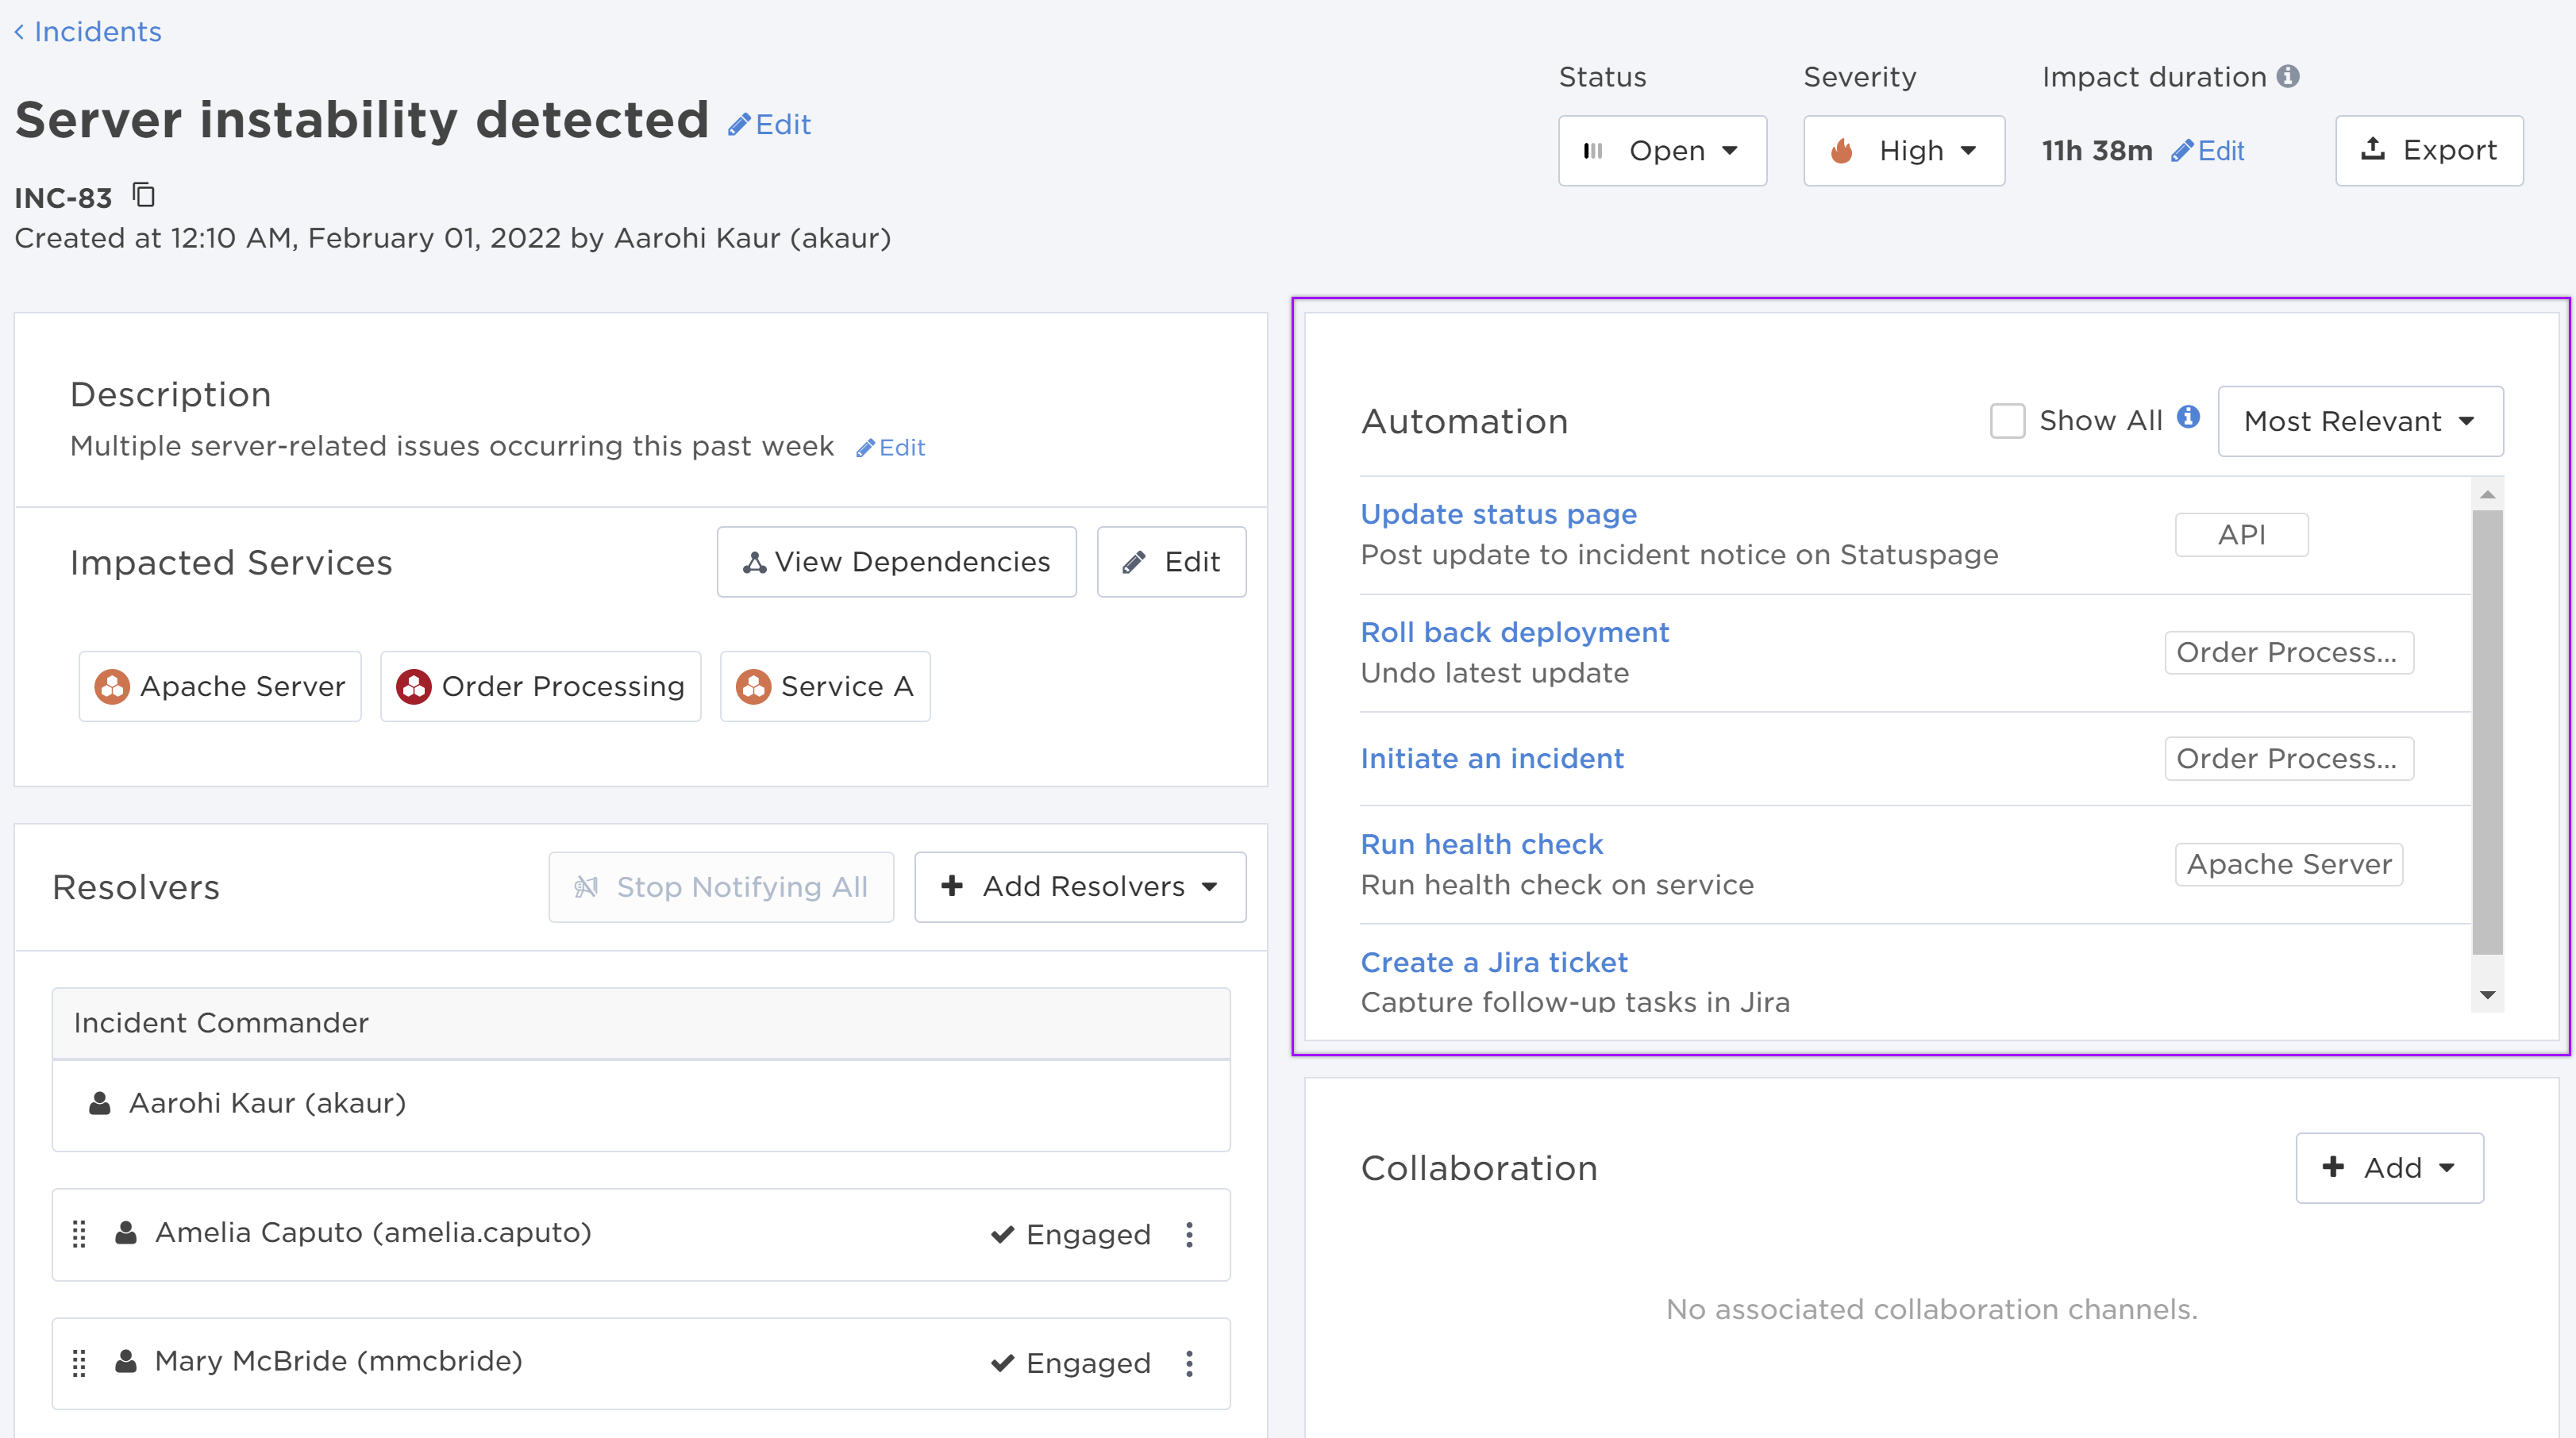
Automations are a quick way to run pre-built flows of common tasks related to an incident—such as notifying resolvers, sending alerts, and creating Jira tickets—without interrupting your incident management process. You can view a complete list of automations available for an incident in the Automations section of the Incident Console.
The ability to create and run automations is available in Base and Advanced plans.
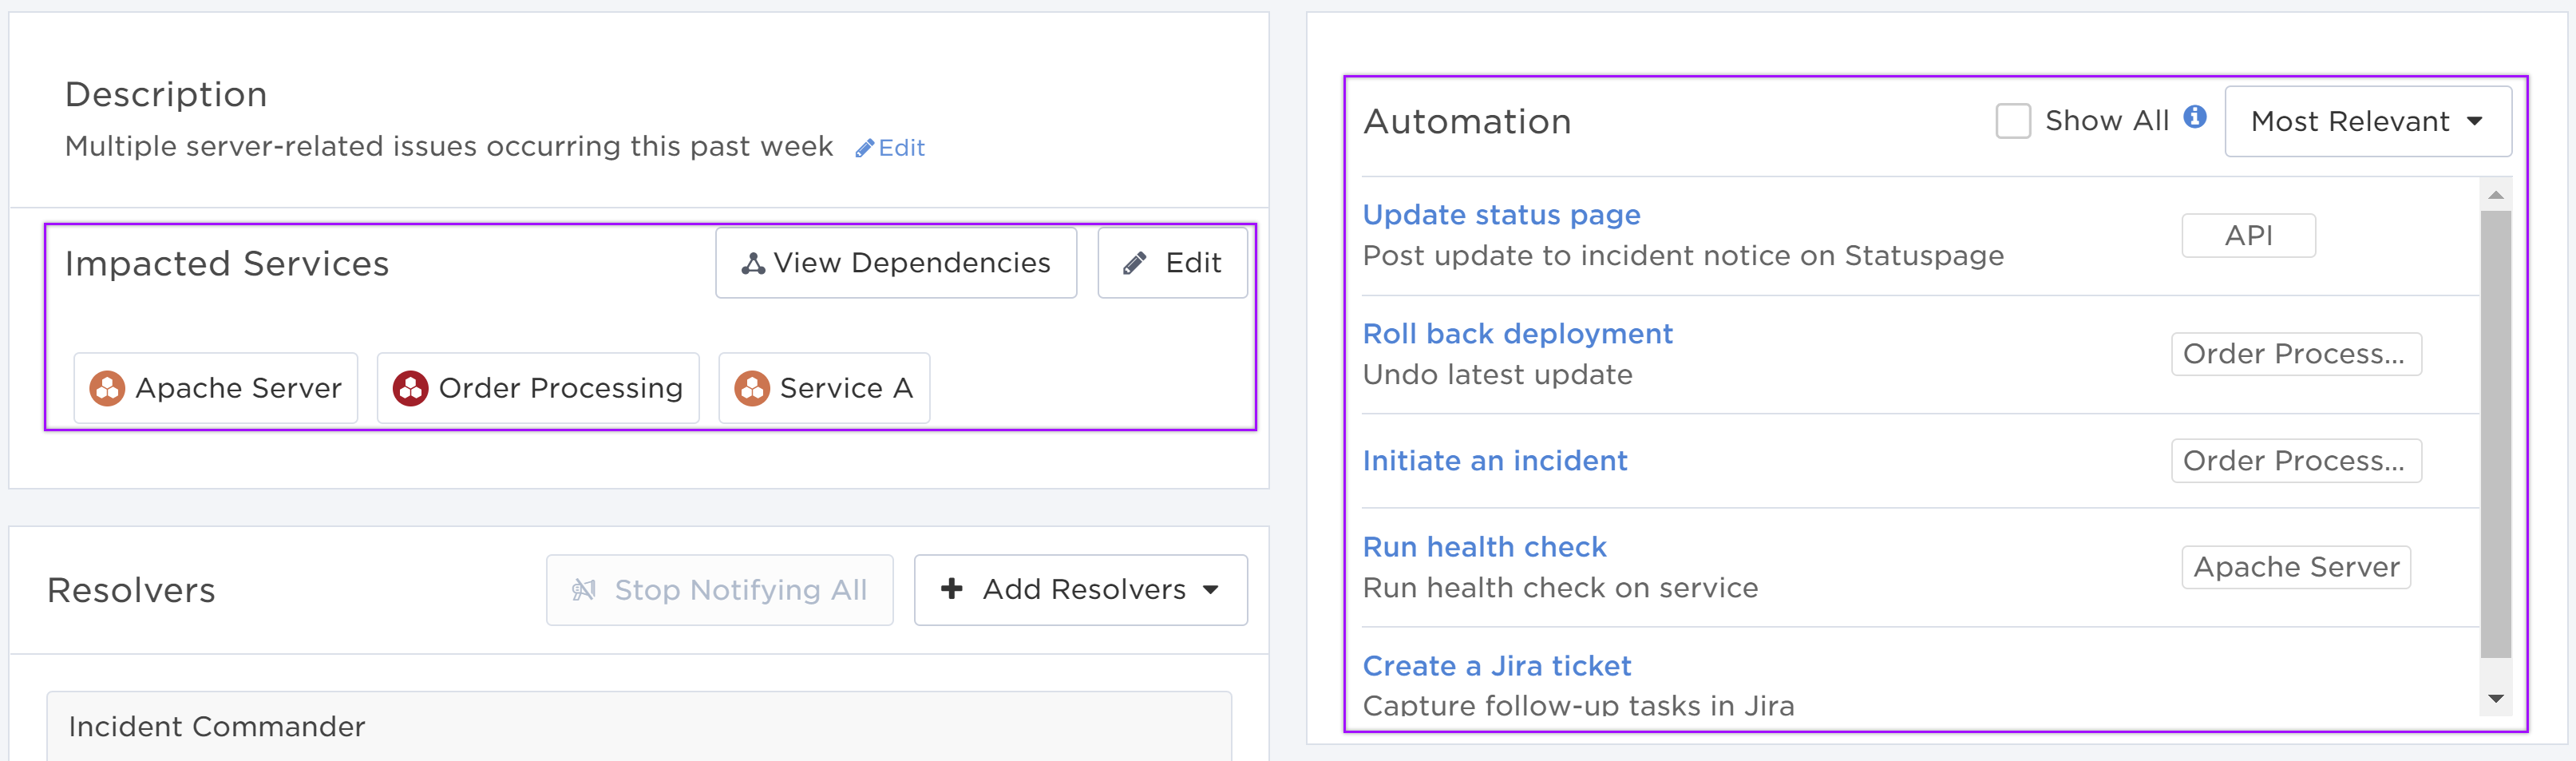
Automations may also be available for common tasks related to an impacted service, such as rolling back a previous deployment, running health checks, and collecting logs for information purposes. While you can run these automations from the Automations section of the Incident Console, they are also accessible from the Impacted Services section of the Incident Console and from the incident service dependencies map.
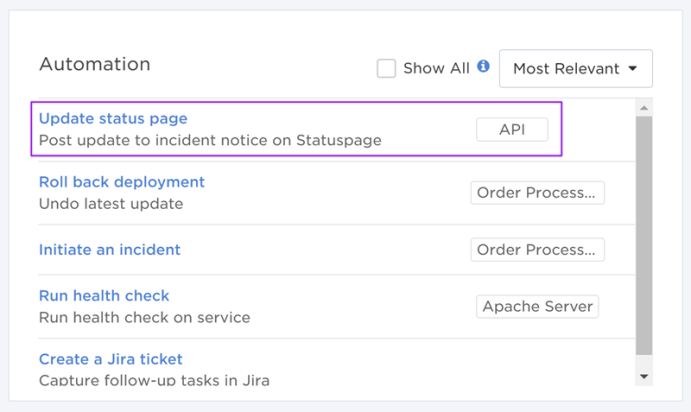
Click the name of an automation in the Automations section of the Incident Console.
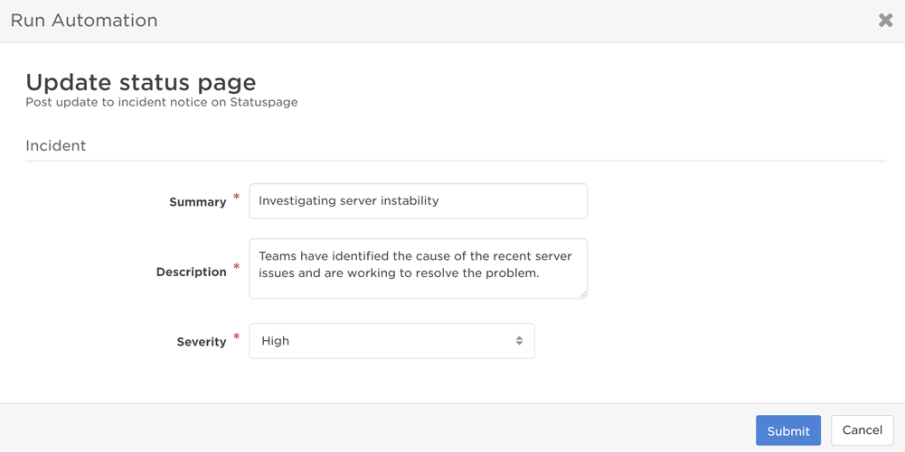
Fill out the form with the required details and click Submit to run the automation.
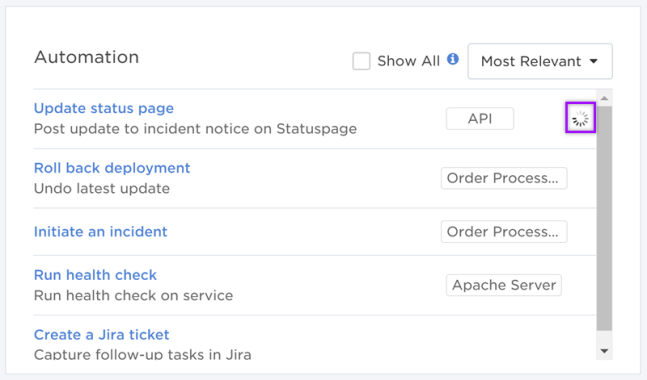
When an automation is in progress, a spinner icon will appear beside the automation. The icon disappears when the automation has either succeeded or failed.
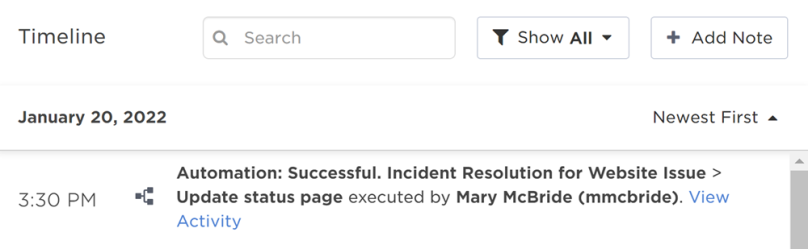
The status of the automation (success or failure) is recorded on the incident Timeline, along with the user who initiated the automation. You can also see the details of the automation system request by clicking View Activity, which will take you to the Activity panel in Flow Designer.
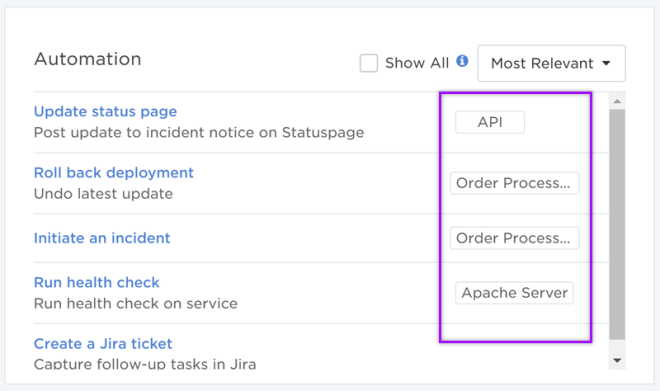
If an impacted service is associated with an automation, a label with the service name appears beside the name of the automation.
Create and manage automations
To create an automation, you need to build a flow on your Flow Designer canvas connected to an Incident Automation trigger with an associated Flow Trigger form. When you configure the settings of the incident automation trigger, you can manage which users can run the automation, add or remove the automation from the Incident Console and the incident service dependencies map, and associate a service with the automation.
To add an automation to the Incident Console, you need to build a flow connected to an Incident Automation trigger. The automation will be named after the Flow Trigger form associated with the trigger. All automations within a workflow are available for all incidents triggered by the same workflow.
To remove an automation from the Incident Console, disable the associated incident automation trigger in Flow Designer or on the associated form. If you disable the trigger, the automation will be removed from all incidents triggered by the workflow.
When configuring an Incident Automation trigger, you can choose to associate a service with an automation. When you arrange the automations on the Incident Console by ‘Most Relevant’, the automations associated with services are prioritized and sorted at the top of the Automations section. Note that you can only associate one service with each automation.
If you delete a service associated with an automation, that automation will no longer be prioritized when sorting the Automations section by 'Most Relevant'.
The description of the associated Flow Trigger form functions as the automation description, which appears below the name of the automation on the Incident Console.
There are two ways to sort the Automations section of the Incident Console: Default and Most Relevant.
- Default: The order of the Flow Trigger forms on the Forms tab of the workflow page. Depending on your permissions, you may not be able to access or manage workflows.
- Most Relevant: Arranges automations by their associated service (if you associated a service with the automation). Impacted services with the highest severity-related incidents will be sorted at the top of the list.
In this example, the Automations section is sorted by 'Most Relevant', so automations are grouped by their associated service. The 'API' service is impacted by higher severity-related incidents than 'Order Processing', so automations associated with the 'API' service are sorted higher in the list even though it is not an impacted service for this incident.
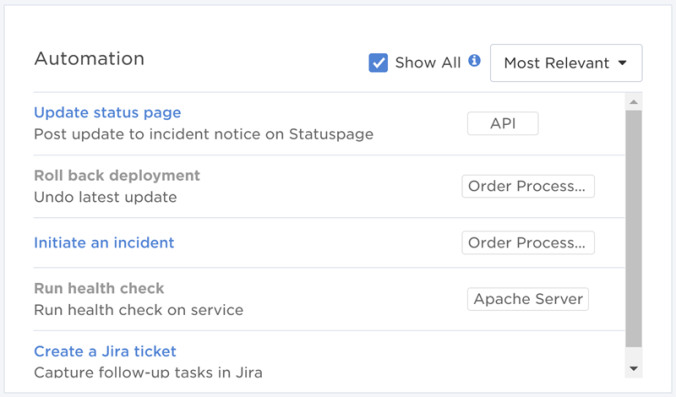
By default, the Automations section only displays the automations you have permission to run. If you want to see all the available automations for an incident, select the Show All check box. Automations you cannot run will be disabled.
When configuring an Incident Automation trigger, you can choose which users and roles can run the automation. The trigger must be enabled before you can run the automation on the Incident Console or on an incident service dependencies map.
Limit usage to service owners
If you associate a service with an automation when configuring an Incident Automation trigger, you can choose to limit the usage of the automation to the members and supervisors of the group that owns the service.
xMatters Agent permissions
If any of the steps in your automation flow are configured to run on the xMatters Agent, you must be a registered user of all agents within your flow to be able to run the automation.
xMatters plan availability for automations
Automations are available for Base and Advanced plans.
Share automations
You can share automations that were created in one workflow for use in other workflows. Other resolution teams in your organization can take advantage of a shared automation built for a task applicable to their incidents. For example, if you need an automation that updates your organization's status page as an incident progresses, you can use an existing automation from another workflow that has been shared to your workflow. This also streamlines your incident management process by reducing the number of automations you need to manage—you only need to update the original shared automation, and the changes will apply to all the workflows that use it.
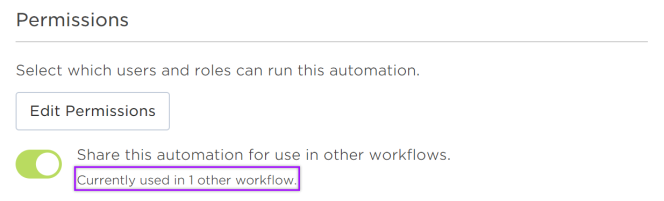
To share an automation in your workflow for use in other workflows, open the Incident Automation trigger for your automation in Flow Designer and enable the toggle under the Permissions section. Once the toggle is enabled, users with permission to access the automation can add it to other workflows. If the share toggle enabled on the trigger, you can see how many workflows are currently using the shared automation.
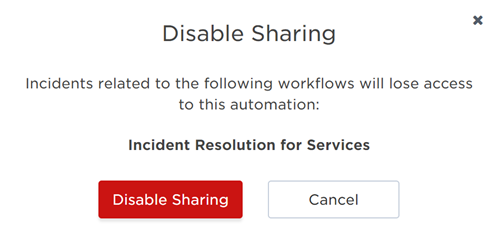
If you decide to turn off the toggle and stop sharing the automation, a modal will pop up with a list of the workflows that are using it and may potentially break if you disable sharing.
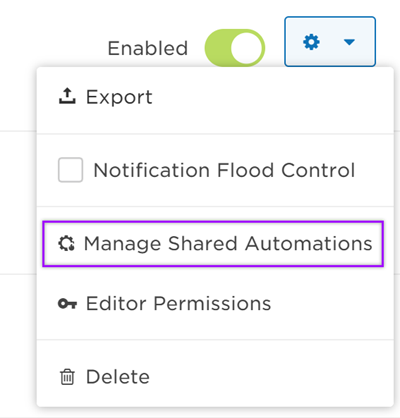
Once an automation is shared with other workflows, you need to add it to your workflow to use it. On the main Workflows page, click the gear icon of the workflow you want to add the shared automation to and select Manage Shared Automations.
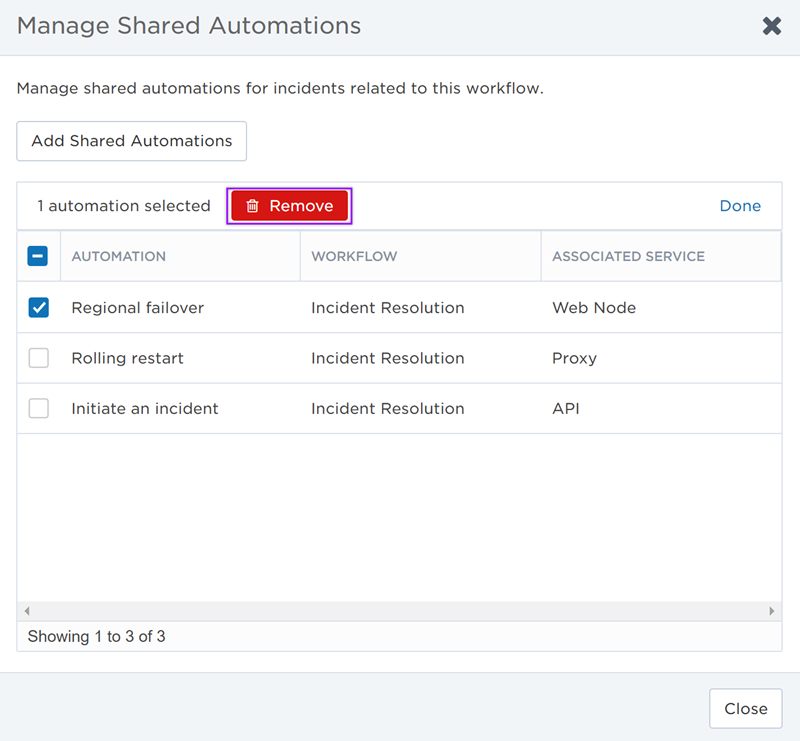
In the Manage Shared Automations modal, you can view a list of shared automations that have already been added to the workflow and are ready for use. Each shared automation entry includes its original workflow and the service associated with it, if applicable.
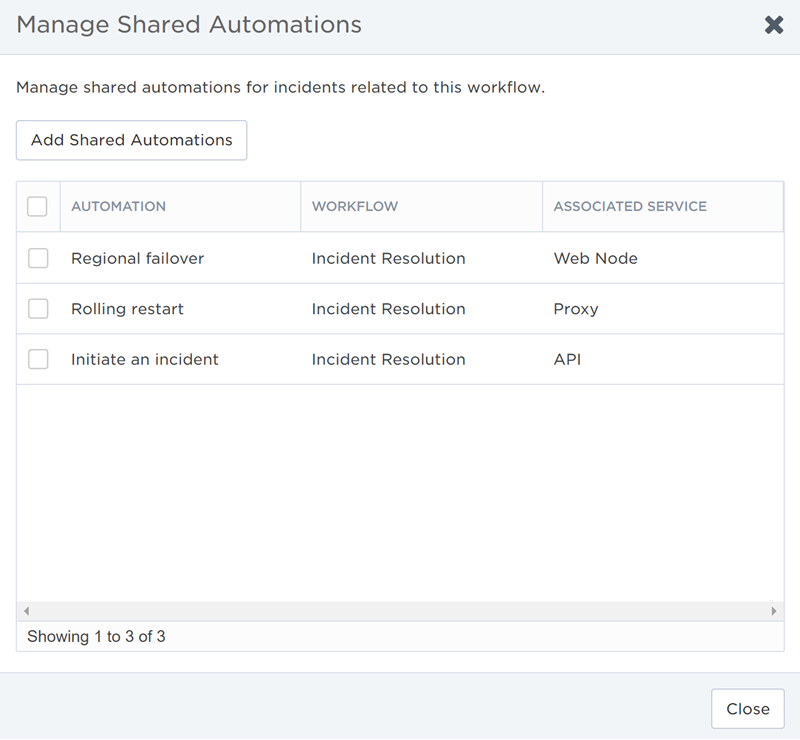
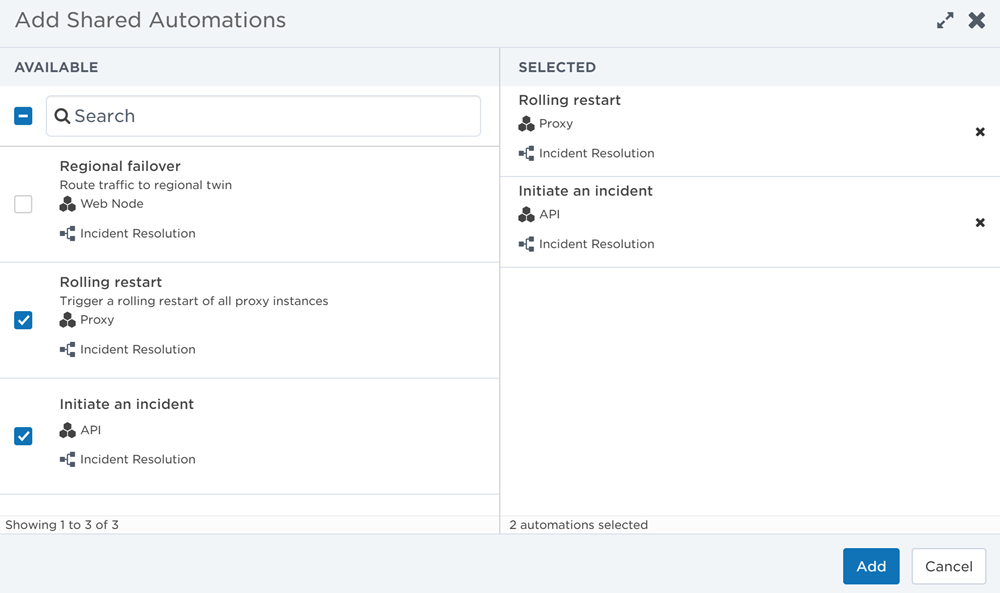
To add a shared automation to your workflow, click Add Shared Automations to open a modal where you can view the automations that have been shared for use in this workflow. Select from the list of available shared automations then click Add.
To remove a shared automation from your workflow, select it from the list and click Remove. The shared automation can be re-added to your workflow later.
Once you've added a shared automation to a workflow, it will appear on the Incident Consoles of any incidents related to that workflow. Users with permission to run the shared automation can now use it alongside the other automations on the console!