Manage incident playbooks
Playbooks offer Base and Advanced plan users a straightforward way to maintain and understand a standard set of tasks that all incidents should run through. For example, every incident that's created may require you to assign a scribe, identify the incident commander, and assess the severity and impacted services as first steps. When an incident is initiated, xMatters compares the incident's severity and impacted services with the playbooks you've configured. If the incident matches the playbook's conditions, the specified plays are automatically added to ensure the incident team has the steps and milestones available immediately when they open the Incident Console.
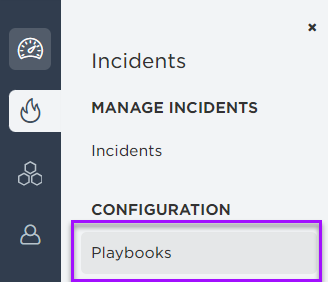
On the Incidents menu, under Configuration, select Playbooks.
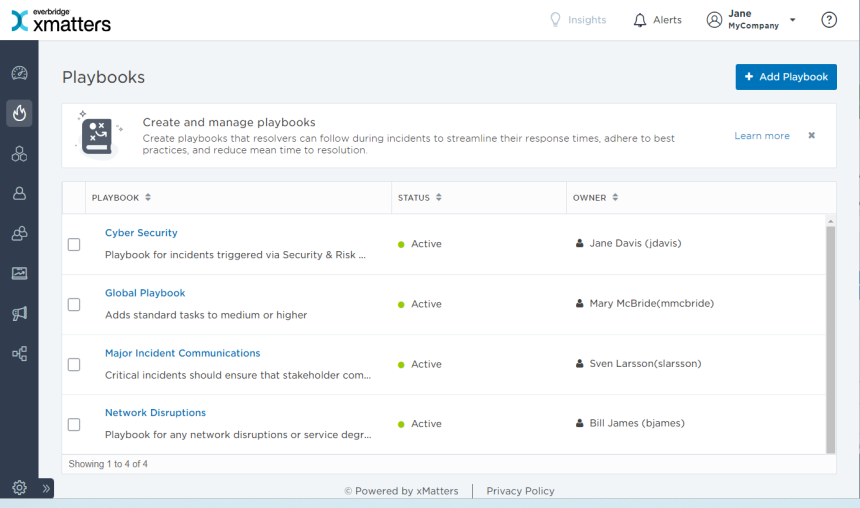
To more easily view data in the list, do one or more of the following:
- To sort the content of a column in alphabetical order, click the column header. (Click the header again to reverse the sort order.)
- To change the width of a column, move the pointer over the edge of the column and when the re-size icon appears, click and drag the column to the desired size.
- To rearrange the columns, click and drag a column header to a new location on the table.
- If the list contains more entries or columns than can be displayed on your screen, scroll horizontally or vertically. The system automatically loads more data as you scroll down the page.
The Playbooks list includes the following columns:
|
Column |
Description |
|---|---|
|
Playbook |
Name of the playbook. |
| Status |
Status of the playbook. Available options are:
|
| Owner | First and last name of the user who owns the playbook. By default, the user who creates the playbook is its owner, but users with appropriate permissions can assign a different owner upon playbook creation. |
You can create playbooks from the main Playbooks page.
To create a playbook:
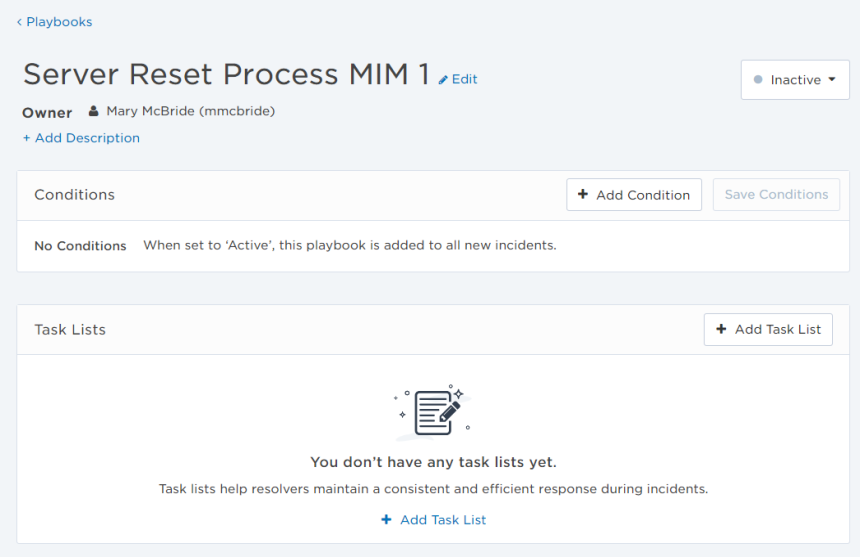
- On the Playbooks page, click Add Playbook.
- Give the playbook a unique name and add a description. The description field is optional, but gives users specific information in cases where multiple playbooks have similar names.
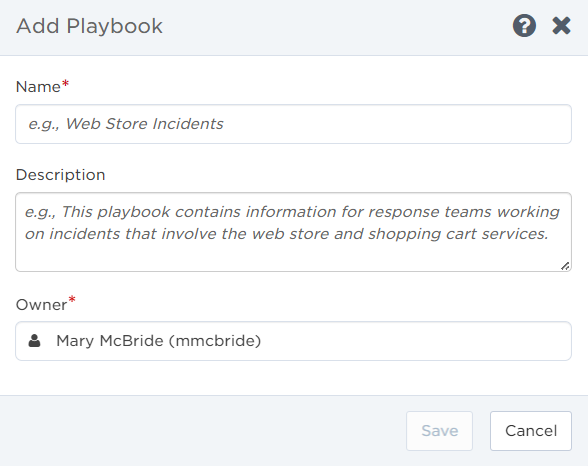
- Select a user to own the playbook. By default, the person who creates the playbook is its owner. For information on how to change a playbook's owner, see Change owner.
- Click Save.
You can now build the playbook by adding conditions and plays to it.
You can delete existing playbooks that are no longer relevant. When a playbook is deleted, its plays are not added to any new incidents, but remain on any existing incidents.
To delete a playbook from the Playbooks page:
- Select the check box next to the name of the playbook or playbooks you want to delete.
- Click Delete.

Once you've created a playbook, you can add conditions to it. Conditions are the parameters used to determine whether a playbook is added to an incident or not. The incident must match all of the playbook's conditions for the plays to be added. If no conditions are added, the playbook's plays are added to every new incident initiated in your system.
To add conditions to a playbook:
- In your playbook, go to Conditions and click Add Condition.
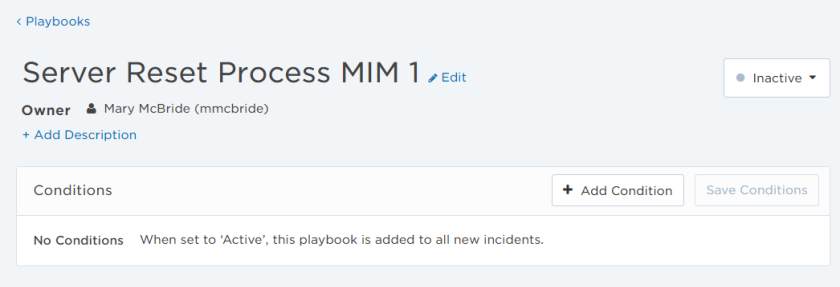
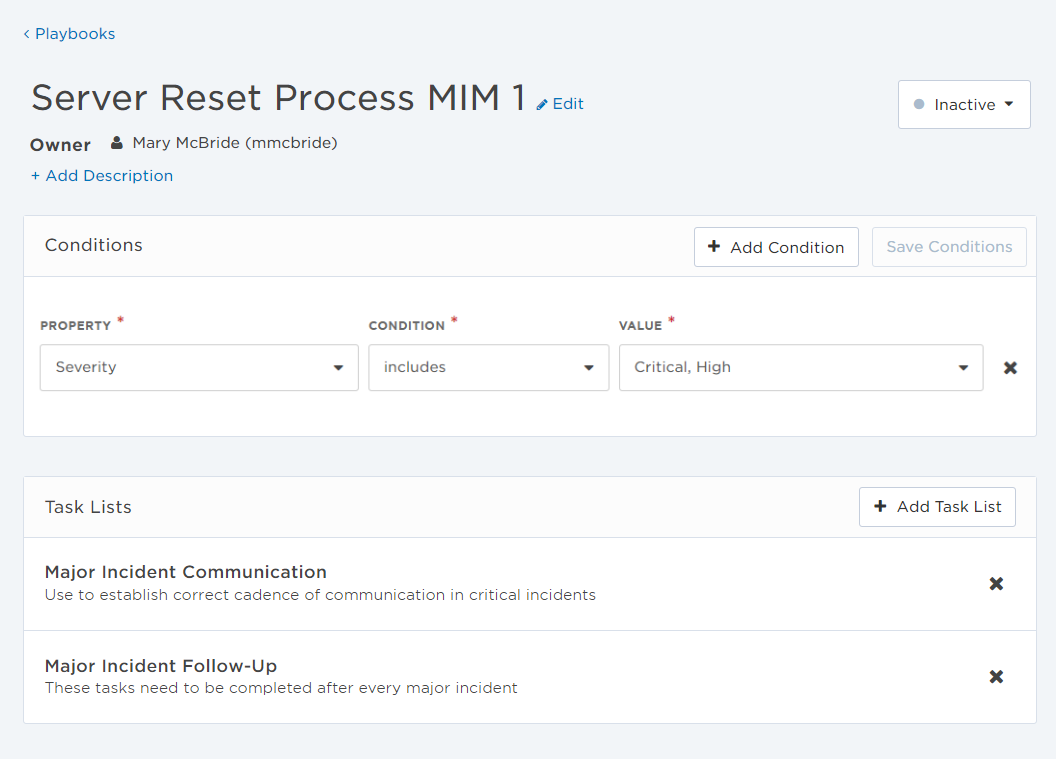
- Select the conditions from the Property, Condition, and Value drop-down menus. You can set the playbook to run on an incident's severity, impacted services, incident types, or incident properties.
- You can add multiple items from the Values menu. Select the items you want, then click outside the drop-down menu to close it.

- To create multiple conditions, click Add Condition for each line you want to add to the list.
- When you've finished adding conditions click Save Conditions.
You can modify conditions or delete conditions from the list at any time without affecting existing incidents. Any changes or deletions you make will only apply to incoming new incidents, and the changes will not take effect until you click Save Conditions.
To delete a condition, click the x located to the right of the condition you want to remove.

Once you've set the conditions, you can add task lists to your playbook. The tasks in the task list are the "plays" that users will see when an incident is initiated.
To add a task list:
- On the Task Lists section, click Add Task List.

- Select the task lists to add to the playbook. If you don't see the task list you need, use the Search bar to locate it.
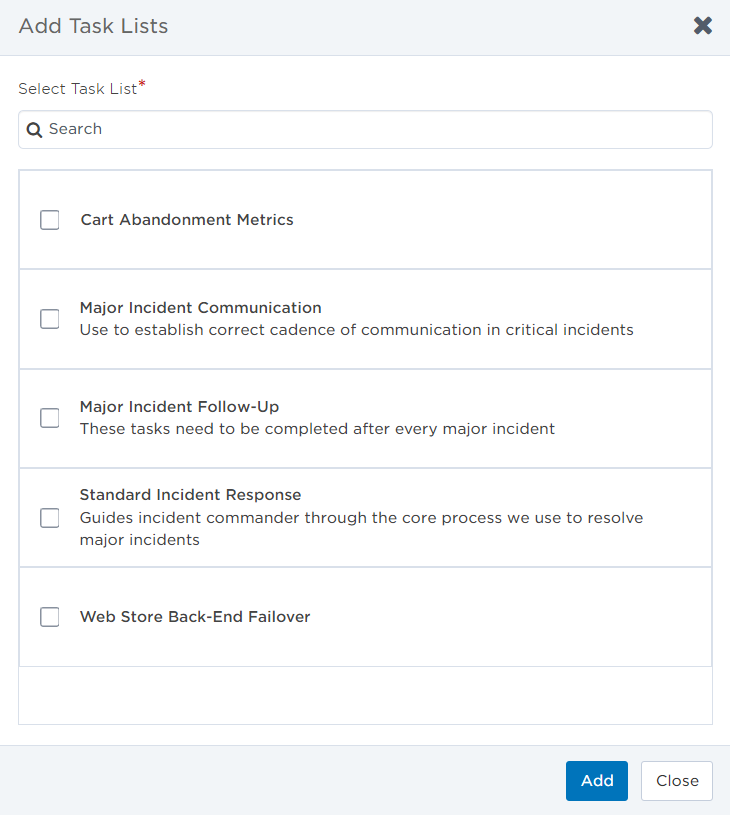
If you do not have any task lists in your system, see Managing task lists for detailed instructions on how to create task lists and populate them with tasks.
- Click Add to add the task lists and save the playbook.
Once you've set the conditions and task lists, you can add attachments to your playbook. Attachments are any files that already exist in your document library. When the playbook runs, the attached files are copied from the Document Library and added as independent attachments to the Incident Console. For more information on adding files to the library, see Manage incident attachments
To add attachments to your playbook:
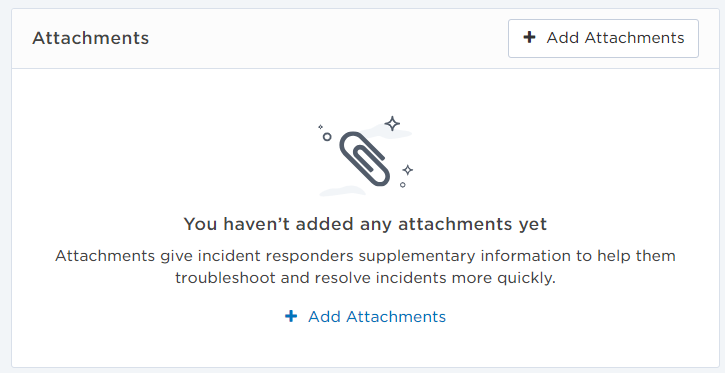
- On the Attachments section, click Add Attachment.
- Navigate the document library to select the files you want to add to the playbook. You can navigate through folders to select multiple files.
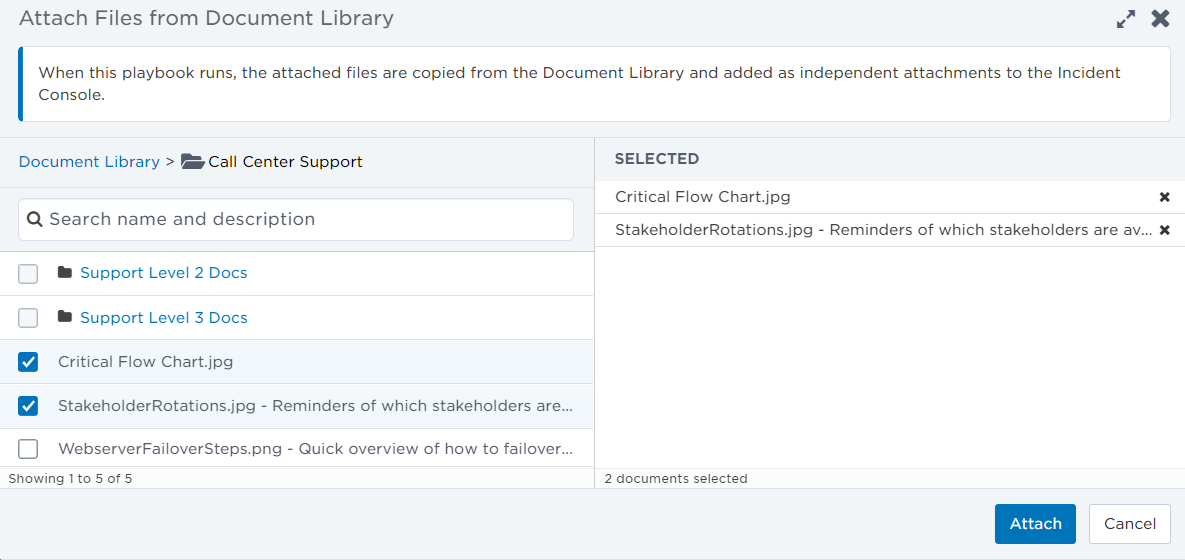
- Click Attach.

Once a file is added to a playbook, you have the following options:
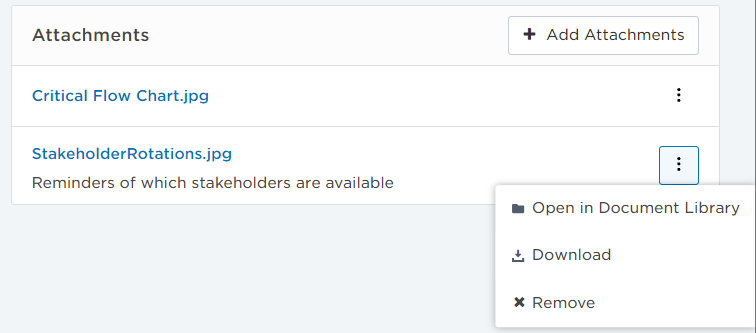
- Click the name of a name in the attachments section. Depending on the file type, the file will either display in a new browser window or download a copy of the attachment for your review.
- Expand the snowman menu to the right of the file name to perform one of the following actions:
- Open file in Document Library: You're taken to the location of the file in the Document Library. The Edit Document window opens and users with the appropriate permissions can edit file information.
- Download: Download a copy of the file in its current iteration from the Document Library to your computer.
- Remove: Delete the attachment from the playbook. This does not remove the document from the Document Library.
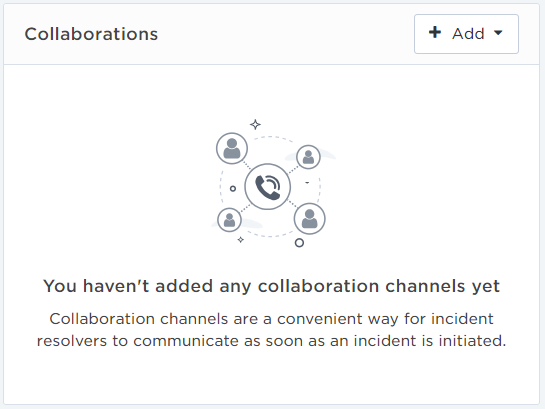
Adding collaboration channels when a playbook runs lets incident responders have a space to begin communicating as soon as they see the incident. In the Collaborations section of your playbook, click Add and select the collaboration channel type from the list of available options.
The following collaboration channels are available:
- Microsoft Teams Channel
- Microsoft Teams Meeting
- Slack
- Other generic collaboration channels
Whether created in an incident, or set up on a playbook, collaboration channels are configured identically. See Collaborate across teams for instructions to set up your specific collaboration channel.
Once created, collaboration channels are listed on the playbook in the order they were created.
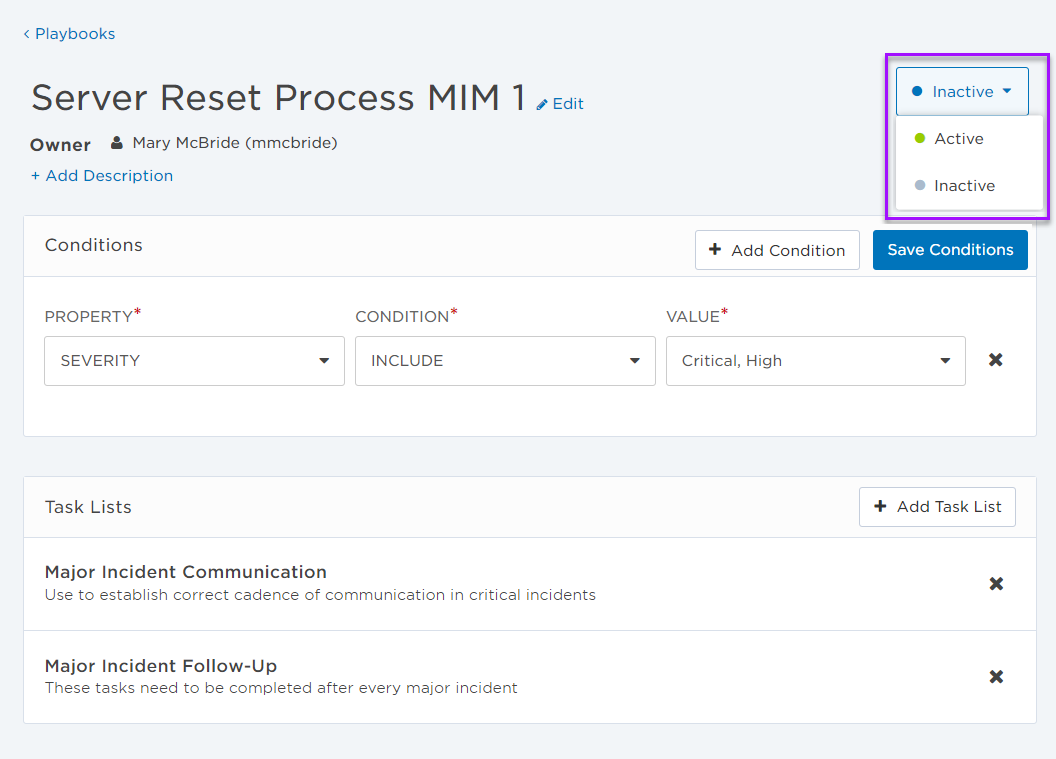
By default, newly created playbooks are Inactive. This lets you build and change playbook parameters without affecting new incidents that come into your system. You can decide when to start or stop using the playbook by changing its status.
- Active: Change the playbook's status to Active, and its plays are added to every new incident that matches the playbook's criteria.
- Inactive: Change the playbook's status to Inactive, and its plays remain on any existing incidents, but are not added to any new incidents.
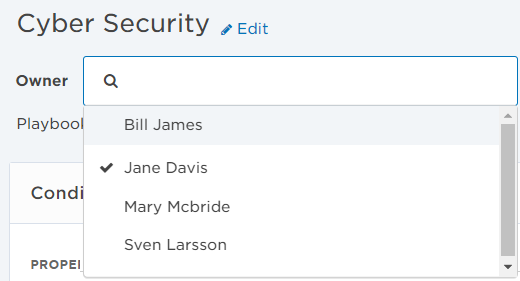
When there are organizational changes, you might need to update the owner of a playbook. To change a playbook's owner, open the playbook and click the owner's name. Start typing to search for a user and then click their name when it appears to assign them as the new owner.
