Voice notification content
The Voice Interaction message option allows you to create content for the voice (phone) notification that is sent when the associated form is initiated. You can create new recordings specify if the system should use text-to-speech (TTS), and preview the voice interaction to ensure that it sounds exactly as you intended.
Before you begin
Before creating a voice interaction script in the editor, it's a good idea to plan what you want the script to achieve, using an outline, flowchart, or another tool. Here are some questions to consider before you begin:
- What existing recordings are needed in the script?
- What new phrases need to be recorded for the script? Whose voice will be used for these?
- What is the key information to present, and where should it be placed in the script?
- What existing properties are needed for the script?
- Do any new properties need to be created?
- Are there any existing policies or procedures that must be reflected in the script?
Once you know the answers to these questions and other issues specific to your organizational needs, you can sketch out each step of the interaction, adding these elements as you work through the plan.
The Voice Interaction editor employs an intuitive drag-and-drop interface that makes it easy to add and remove form properties and voice actions (the basic building blocks of your voice interaction). It's also simple to rearrange content by dragging script elements to another location within the editor.
When you open the Voice Interaction editor or click on the Record icon, you may be prompted to share the computer's microphone with xMatters. Sharing your microphone with xMatters allows you to record new phrases using your computer's microphone. For more information, see Record a new voice interaction phrase.
The following screenshot shows the editor's key features, along with a sample voice interaction:
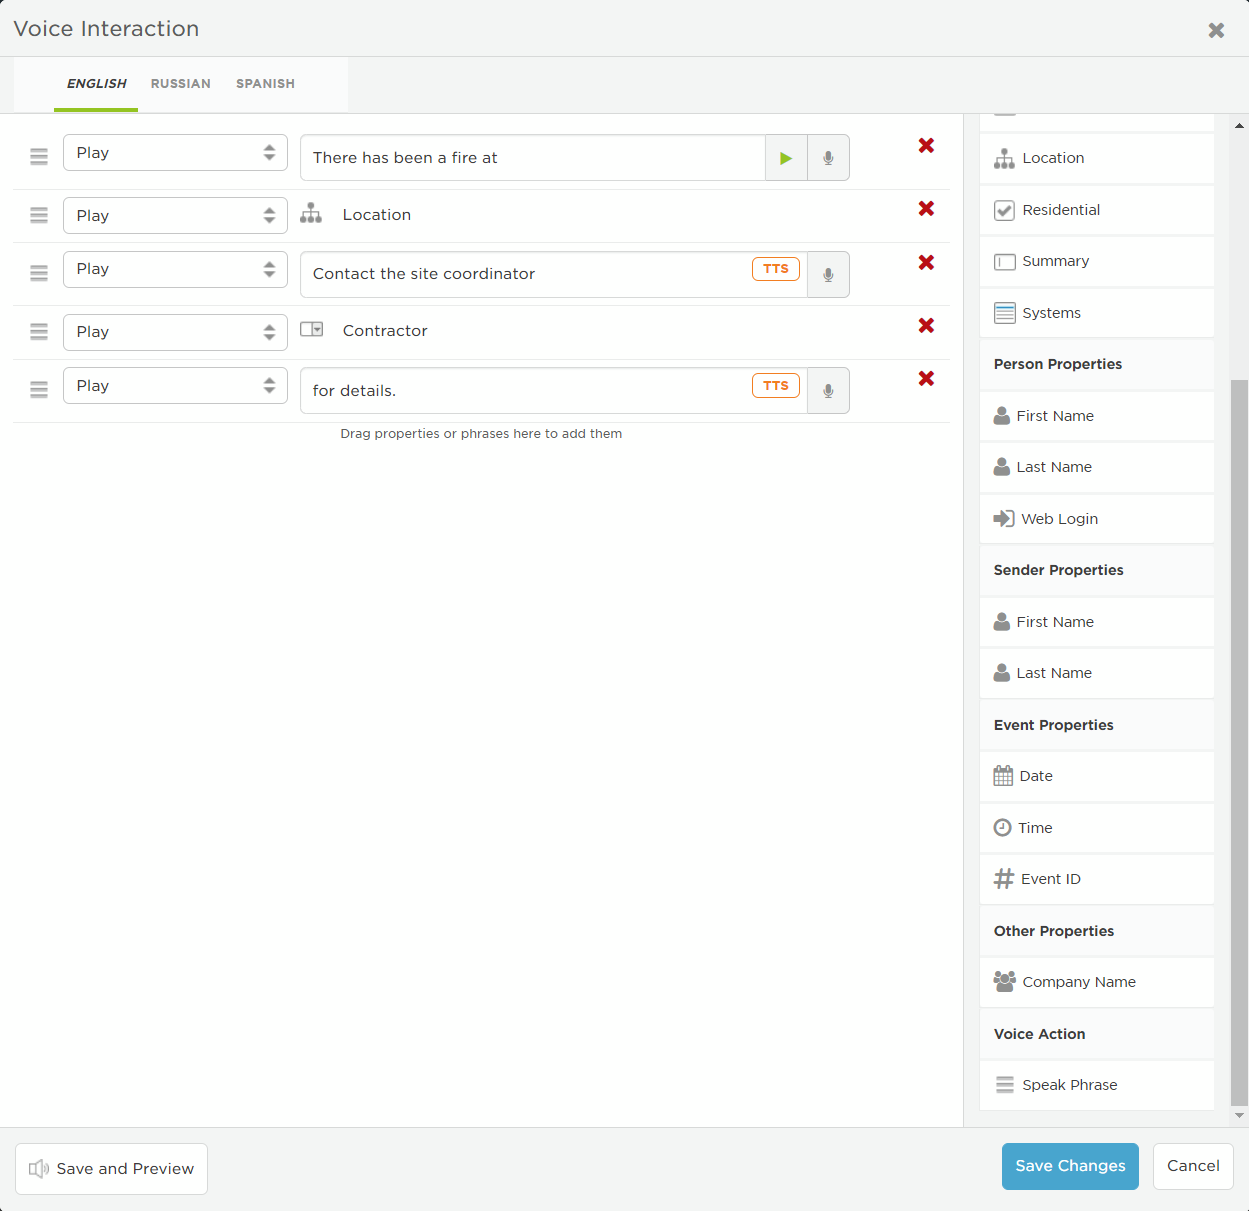
The Voice Interaction editor gives you the ability to add properties to the script by dragging them from the panel to the desired insertion point in the message. The value of the property is inserted into the message based on the information specified when sending the message. You can add form, person, sender, and alert properties to a voice message. See Personalize notifications for more information on using these properties to customize notifications.
Only properties included in the form layout are available in the Form Properties panel. To use person properties, you must have the ability.act.actREBMessagePersonProperties permission.
Add a Speak Phrase element to your script by dragging it from the Voice Action panel to the editor. You can have the system:
- Play a recording that already exists in the system.
- Play a new recording you create from within the Voice Interaction editor.
- Use a text-to-speech (TTS) engine to read the phrase or spell it out one letter at a time.
If no recording exists for a phrase, the system automatically uses TTS to speak the phrase to the message recipient.
After you add a Speak Phrase element to the editor, you can associate an existing recording with it.
- Start typing in the search field. Any existing phrases that match the search criteria appear in a list.
- Select the phrase you want to use to add it to the script.

You can create a new recording and associate it with the Speak Phrase element. See Record a new voice interaction phraseRecord a new voice interaction phrase for detailed instructions.
Click the play icon to listen to the recording associated with a Speak Phrase element.
![]()
You can also preview the entire voice interaction to make sure it flows the way you expect.
If no recording exists for a phrase and you don't want to create one, you can tell the system to use a TTS engine to read the phrase or spell out the phrase one letter at a time: after you add the Speak Phrase element to the editor and typed your phrase, select Force Text-to-Speech or Spell Out from the list of options.
If your xMatters company has more than one language defined, you can click the related language tab to create interactions for each language.

Record and preview a new voice interaction phrase
You can record a new phrase with the Voice Interaction editor using your computer's microphone or an active voice device such as your mobile phone. Once you have recorded a phrase, it becomes available to other users and forms within your company. (For more information about configuring devices, see Manage your devices.)
After you record a voice interaction, you can preview it from the Voice Interaction editor to make sure it meets your needs.
Record a new voice interaction phrase
To use your computer's microphone to record a voice interaction phrase, you must use a supported web browser and give it permission to access your computer's microphone. Recommended web browsers for voice phrase recording include Google Chrome and Mozilla Firefox. The process for granting access to the computer's microphone is different for each browser and may change from version to version. Consult the help for your browser to learn how to grant microphone access to web applications.
For Internet Explorer 11 users, you will need an active voice device to record a new phrase as Adobe has announced that they will no longer distribute or update Flash.
- Ensure that the computer's microphone is working and that you are using a supported browser.
- Your browser may prompt you to allow your xMatters instance to access your microphone. Here's an example from Chrome (your browser may be different):
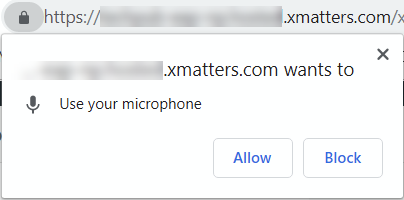
- If you previously denied microphone access to xMatters, you may need to reset this setting in your web browser before continuing.
- Click the Add Recording button (the microphone icon) next to the speech item you want to record.
- The microphone recording dialog appears.
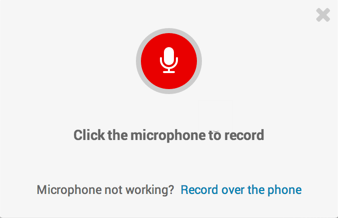
If the browser does not have permission to access the microphone, this dialog is not displayed and you are prompted to select a voice device.
- Click the microphone to begin recording, and then speak your message into the microphone.
- The countdown timer displays how much time is remaining for your message. If you need more time, record another message.
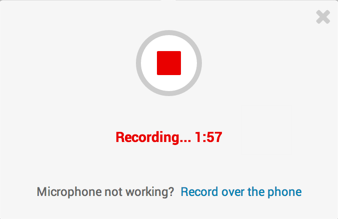
- To stop the recording, click the stop button (the red square).
- To review your message, press the play button (the green triangle).
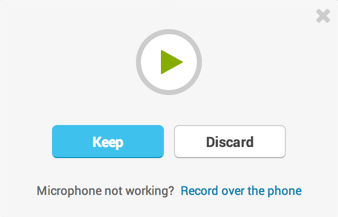
- If you like your recording, click Keep. Otherwise, click Discard and re-record your message.
- Verify your recording has been saved by checking that the TTS icon to the right of the phrase has changed to the play icon.
![]()
- Click the Add Recording button (the microphone icon).
- If you have given xMatters permission to use the microphone, you may be prompted to begin recording into the microphone. Click Record over the phone to record using a voice device.
- Select a voice device that you will use to record the phrase.
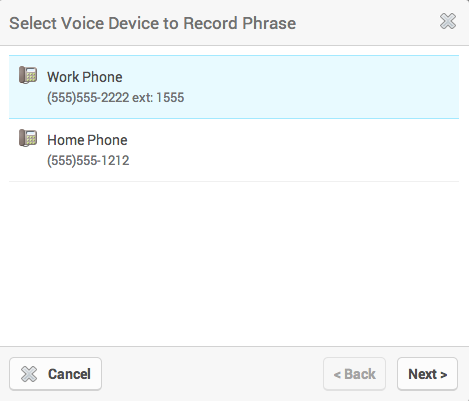
- To initiate a phone call to the selected device, click Next.
- When xMatters calls the selected device, follow the prompts to record, review, and save your message.
- To verify that your recording has been saved, ensure that the icon to the left of the phrase has changed from the TTS icon to the play icon.
![]()
Preview your voice interaction script
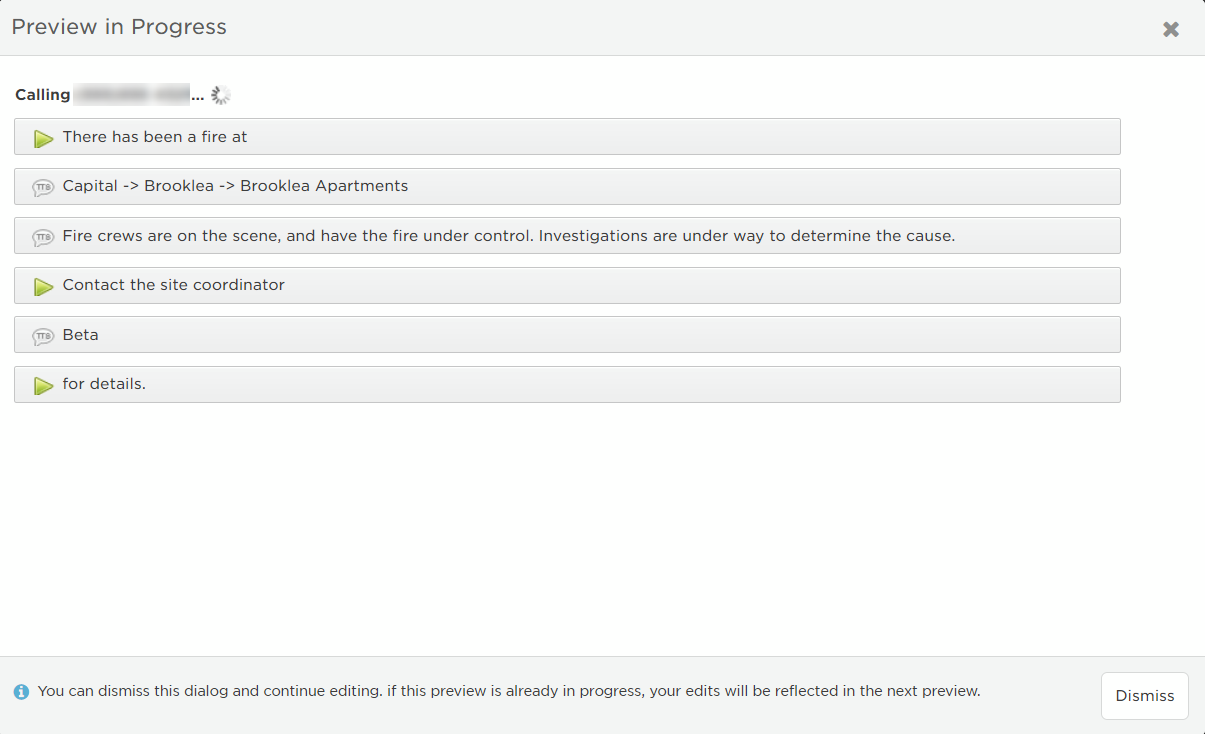
Before using your voice interaction in your notifications, it's recommended that you preview your scripts. The Voice Interaction editor lets you can configure and send a test voice message to yourself to hear how your script sounds, and troubleshoot any issues quickly.
To preview the voice interaction, you need a voice device set up in xMatters.
- Click Save and Preview to open the Preview Voice Interaction dialog box.
- Specify the settings for any properties you added to the script (these are properties a message sender would configure before initiating the form). You're given the opportunity to add a recording for text properties without a recording; if you don't add a recording, TTS will be used.
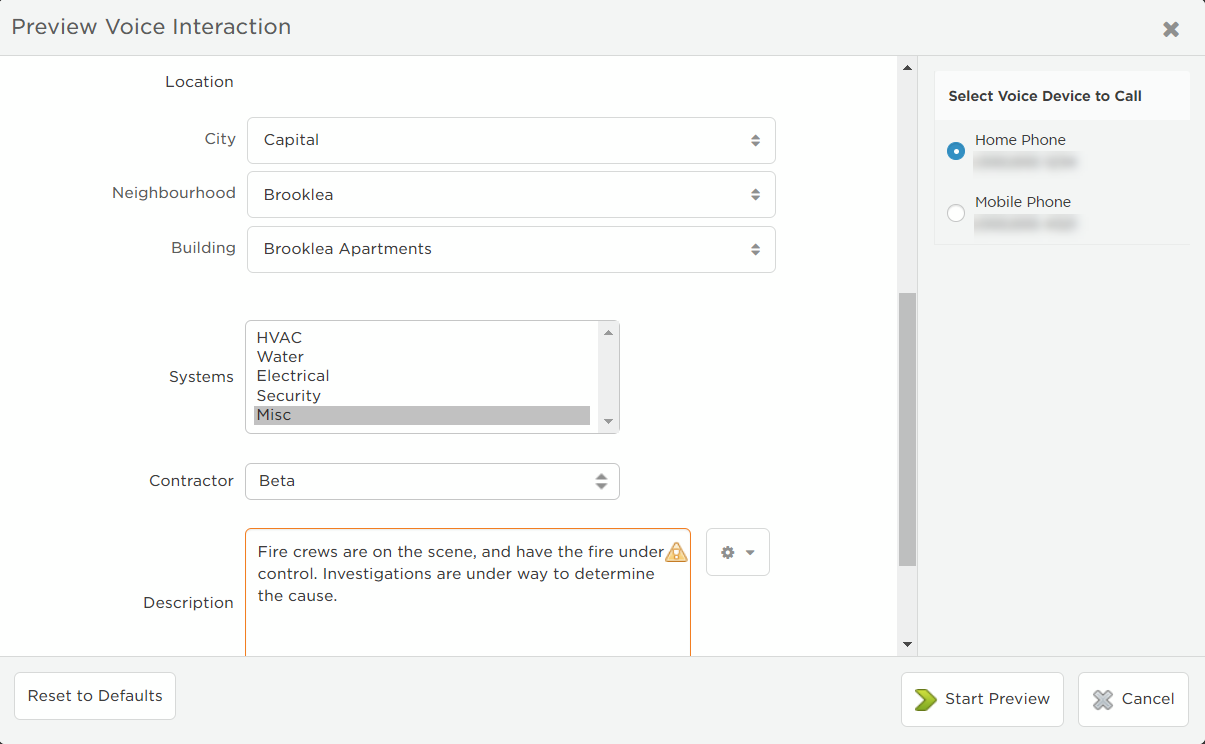
- Click Start Preview and listen to the message when the system calls you, taking note of any changes you want to make to the script.
