Create and manage workflows
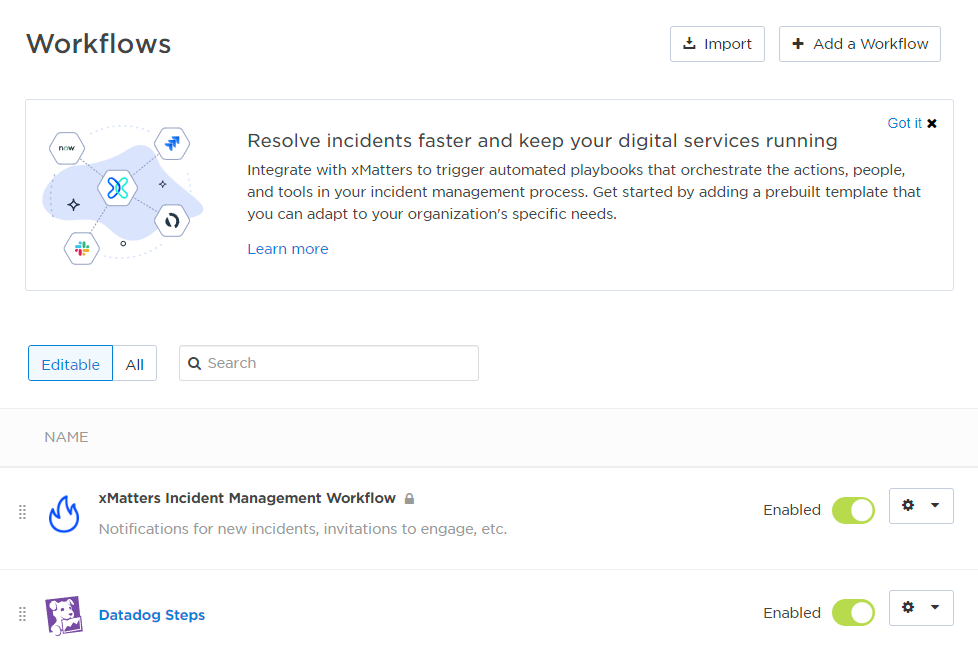
The Workflows page allows you to create and manage workflows, including enabling and deleting workflows, setting editor permissions, creating flows in Flow Designer, designing forms and messages, and setting up properties, responses, and scenarios.
Click the Editable filter to view the workflows you have access to. Click All to display a list of all the workflows in your company, and to change the order their messages are displayed in on the Messaging tab. If you're a Company Supervisor, click Editable to see the workflows you have specific editor permissions for (either set in Editor Permissions or because you created or imported it); click All to see and edit all workflows.
Create a workflow
Ready to get started? If you're looking to integrate with a specific third-party tool, check the available workflow templates for built-in or packaged workflows that you can install into your xMatters deployment. You can also install a basic workflow where you can send alerts and initiate incidents within xMatters.
For more information about the two workflow types (basic workflows and workflows for your tools), see Introduction to integrations.
If you don't see what you're looking for, you can design a workflow from scratch to customize your incident resolution process by building your own flows, forms, properties, messages, and responses.
- Click Create.
- For Free plans, click Add a Workflow to access the available workflow templates directly.
- From the drop-down menu, select Explore templates.
For more information about installing built-in or packaged custom workflows, see Workflow Templates.
- Click Create > Create Custom Workflow.
- For Free plans, click Create Custom Workflow from the Workflow Templates page.
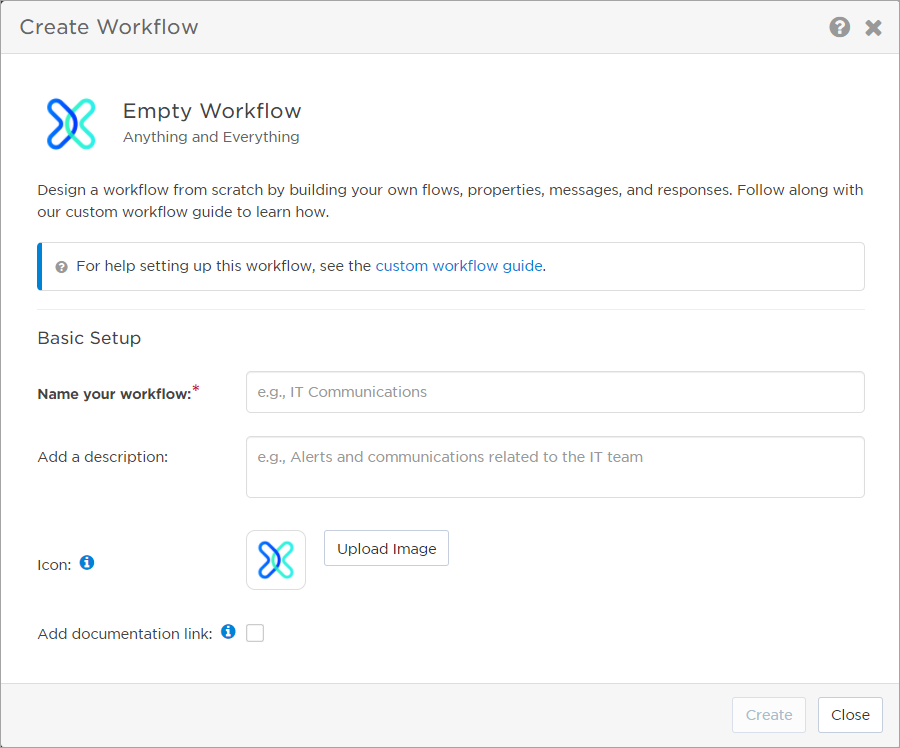
- In the Create Workflow dialog box, specify a Name and Description.
- Optionally, do either of the following (you can do these later, too):
- Change the default icon for your workflow to make it easier to identify in the list of workflows.
- Add a custom documentation link if you've prepared resources with instructions to help other users configure or manage the workflow.
- Click Create.
Congratulations, you've taken the first step in creating a custom workflow! But what do you do next? See the Custom workflow guide.
Import and export workflows
You can export core workflow data for reuse in another xMatters instance, saving time and improving accuracy. For example, you might export a workflow from a test environment to a production environment. You can even share your workflows with people in other organizations or post them to the xMatters Community.
If you downloaded a template for a pre-configured custom workflow from xMatters Labs on GitHub, you'll need to import it into your xMatters environment.
- Click Import.
- Click the Browse to select your workflow link and select your workflow zip file. Alternatively, you can drop your file on the Import Workflow dialog box.
- The Import Workflow dialog box displays the file to import. You can click the 'X' next to the workflow to remove the file.
- Click Import.
- If you import a workflow with a name that is already in use, xMatters requires that you give the workflow a new name before continuing.
- Any messages about the import process appear on the Import Logs tab (for example, if you have languages in your instance that aren't configured in the workflow).
- Click Close.
Some things to keep in mind after you import a workflow:
- Imported workflows and their related forms have the same deployment status as when they were exported.
- You are the only one with editor permissions, regardless of what permissions the workflow had when it was exported.
- Any steps used on a flow canvas are imported. If the version of a step used on the canvas is not the base version (v1), both the used version and the base version are imported as separate steps in the palette.
- HTTP triggers and custom steps retain their existing states. They are owned by you and not shared with any other users. If a step of the same name already exists in your instance, you'll end up with two steps with that name. You might want to look at the Usage tab for the steps and rename them to something unique.
- The trigger ID used in the email address of an email trigger is set to a unique value for the imported flow. Update the trigger ID, if needed, and make sure you use the new email address to target the new email trigger.
- Endpoints using Basic Authentication will always have the "Preemptive" check box selected. This setting is almost always required and can be easy to miss, so having it enabled by default (as it is when creating a new Basic endpoint) can save a lot of troubleshooting.
- Any libraries you import are owned by you. If you already own a library with the same name, the name of imported library is appended with a number (-1, -2, etc.). The reference to the library in any scripts still work because the script calls the library by the reference name set in the step. However, you might want to rename the library to something unique.
- If the workflow has existing integrations created using the Integration Builder, these appear on the flow canvas for the associated form (except for inbound Run a Script integrations, which appear on their own canvas). You can leave them as-is and they'll continue to function. If you need to edit them, you can use either the Integration Builder or Flow Designer. We recommend reviewing your integrations and to see if you want to convert them into more flexible, observable flows — refer to our guides for converting inbound and outbound integrations.
The export option is available only for custom workflows.
To export a workflow:
- Do one of the following:
- On the Workflows page, click the gear icon for the custom workflow you want to export, then select Export.
- When viewing a custom workflow, click the gear icon at the top and select Export.
- Note the download location, which is typically your browser's default Downloads folder.
When you export a workflow, it's saved as a zip file with the name of the exported workflow for the filename (spaces and special characters are removed). For example, a workflow named Runway Response would have an export filename of RunwayResponse.zip.
Exports include the following workflow data:
- Name
- Description
- Properties
- Forms:
- Layout (position of all sections)
- Properties (all settings)
- Conference bridges (all settings)
- Attachments (section only)
- Handling (all settings)
- Recipients (section only, but retains status of Count Responses flag)
- Device filters (section only)
- Site recipients (section only)
- Response overrides (section only)
- Flows:
- Any triggers, steps, and connections between steps that are used on a flow canvas (as well as Callable triggers or Callable flow steps used on different canvases in a workflow).
- Flow components, including endpoints, constants, and any libraries used by steps in the flow.
- Messages
- Responses
- Integration Builder integrations:
- Inbound integration services
- Outbound integration services
- Endpoints
- Constants
- Shared libraries
Exported workflows do not include subscription forms, scenarios, or sender override settings.
Manage workflows
Most of the settings for workflows are accessible from the gear icon on the main Workflows screen. Built-in workflows include a few additional settings.
If you have multiple workflows, you can search for them using terms in the name or description. From the Workflows page, select All or Editable workflows, and start typing in the search bar to view workflows that match your search term.

New custom workflows are enabled by default, and a workflow only appears on the Messaging page when at least one of its forms is deployed to the web user interface.
You can enable or disable a workflow by clicking its toggle on the Workflows page. Disabling a workflow will stop all of its flows and triggers and make its associated forms unavailable.
Initially, only company supervisors and the user who creates or imports a workflow can edit it. Workflow editor permissions can be granted on a per-workflow basis to all users, individual users, specific groups, or roles.
Users that do not have permission to access a workflow can see it on the Workflows page, but they are not able to enable or disable the workflow, modify it, access its settings, or delete it.
To configure workflow editor permissions:
- Do one of the following:
- On the Workflows tab, click the gear icon beside the name and select Editor Permissions.
- When viewing a workflow, click the gear icon at the top and select Editor Permissions.
- Search for the name of a user, group, or role and click it when it appears in the drop-down list results.
- Type two spaces to return all possible values.
- If you want to remove a user, group, or role, click its X icon.
- To allow access to all users with permission to edit workflows, select the All Users option.
- Click Save.
Automations can be shared to other workflows by enabling the toggle in the Incident Automation trigger. You can manage these shared automations from the Workflows page.
To add or remove shared automations from a workflow:
- On the Workflows tab, click the gear icon beside the name and select Manage Shared Automations.
For more information about adding available shared automations to your workflow or removing them from your workflow, see Manage shared automations.
Notification flood control is a company-level setting that can be enabled for individual workflows (and inbound integrations). Notification flood control prevents users from being flooded with multiple notifications from a workflow when they've already been notified about an incident and are working on resolving the issue. You can use this feature to control the maximum number of notifications that are delivered to specific device types during a defined period, such as: no more than two messages every ten minutes to SMS and mobile app devices.
By default, notification flood control is disabled for all workflows. You must enable notification flood control for individual workflows.
To enable notification flood control for a workflow:
Do one of the following:
- On the Workflows tab, click the gear icon beside the name and select Notification Flood Control.
- When viewing a workflow, click the gear icon at the top and select Notification Flood Control.
For more information about notification flood control for inbound integrations, see Enable notification flood control for inbound integrations.
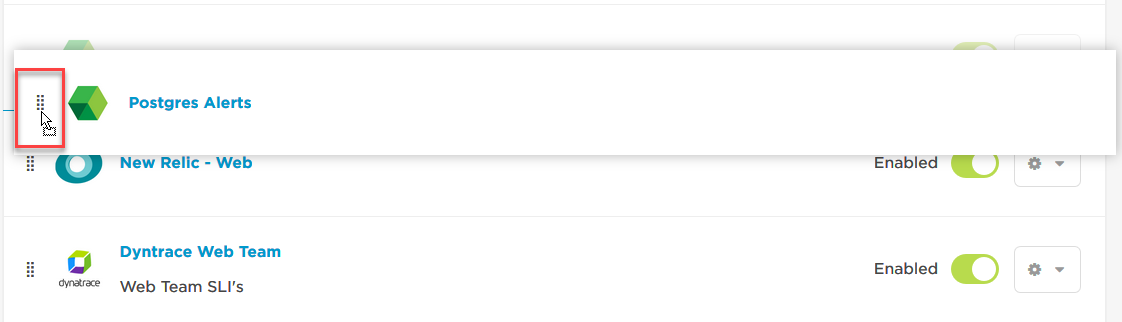
You can only change the order of workflows from the All workflows view. The order of workflows in this view determines the order they're listed on the Messaging tab.

To change the order of the listed workflows, grab the handle icon next to its name and drag it into a new position in the list.
To edit a workflow's name and description:
- On the Workflows page, click the name of the workflow to open it.
- When viewing the workflow, click Edit next to its name.
- Update the page's name and description.
- Click Save.
By default, the xMatters icon represents custom workflows. Application-specific icons represent built-in workflows, including those that have been converted to custom workflows. You can optionally change the icon for a workflow to make it easier to identify in the list of workflows.
To change a workflow's icon:
- On the Workflows page, click the name of the workflow to open it.
- When viewing the workflow, click Edit next to its name.
- In the Edit Workflow dialog box, click Upload Image. This opens the workflow Image Library.
- Click an icon in the library to select it. To add a new icon to the library, drop the file into the window or click browse to select one and choose the file you want to use.
- For best the appearance in the Workflows list, we recommend using images that are 120 x 120 pixels. The maximum file size is 250 KB, and you can use a variety of common formats: jpg, jpeg, gif, and png.
- Once you've selected an image, click Select to return to the Edit Workflow dialog box.
- Click Save.
You can reset a workflow to use the default xMatters icon by selecting Reset to default in the Edit Workflow dialog box.
You can optionally add a custom documentation link to the top of your workflow. This is useful if you've prepared resources with instructions or important information to help other users configure or manage the workflow.
To add a documentation link to a workflow:
- On the Workflows page, click the name of the workflow to open it.
- When viewing the workflow, click Edit next to its name.
- In the Edit Workflow dialog box, enable the Add documentation link check box.
- In the Link Text field, type the text that will appear as a hyperlink below the workflow's name and description.
- In the URL field, provide a valid http or https web address for the resource you want to make available to users of this workflow (for example, https://www.example-documentation.com).
- Click Save.
To delete a workflow, do one of the following:
- On the Workflows tab, click the gear icon beside the name and select Delete.
- When viewing a workflow, click the gear icon at the top and select Delete.
Built-in workflow settings
Prior to the availability of low-code, Flow Designer-based workflow templates, some workflows for popular applications were available as "built-in integrations". These workflows had limited configuration options, but can be converted to custom workflows to unlock additional configuration settings.
You can convert your built-in workflow to a custom workflow to customize it beyond what is possible with the streamlined, built-in format. Converting to a custom workflow allows you to access the features and functionality of the workflow designer, such as forms and properties, the message and response editors, and enhanced security options.
To convert a built-in workflow to a custom workflow:
-
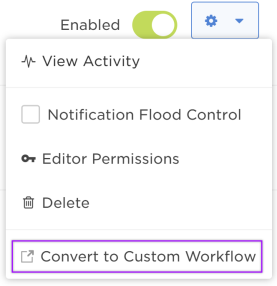
- If you're on the built-in workflow configuration page, click the gear icon and select Convert to Custom Workflow.
- If you're on the built-in workflow configuration page, click the gear icon and select Convert to Custom Workflow.
- On the warning dialog window that appears, click Convert to Custom Workflow.
Converting a built-in workflow to a custom workflow is permanent. Once converted, your workflow will function exactly as the previous built-in workflow, including the same URLs and notification flood control settings.
Built-in workflows link to the Activity panel in Flow Designer, where you can monitor requests in the system and view the details and history of completed alerts. (For custom workflows, viewing activity functions a little differently.)
To view the activity for a built-in workflow:
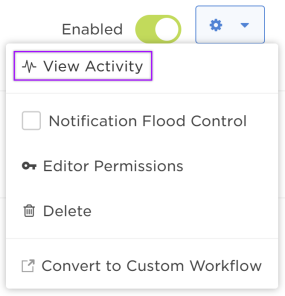
On the Workflows tab, click the gear icon for a built-in workflow and select View Activity.
- If you're on the built-in workflow configuration page, click the gear icon and select View Activity.
-
If the built-in workflow has more than one associated flow canvas, you will be prompted to select which canvas to view in the Activity panel when you click View Activity.
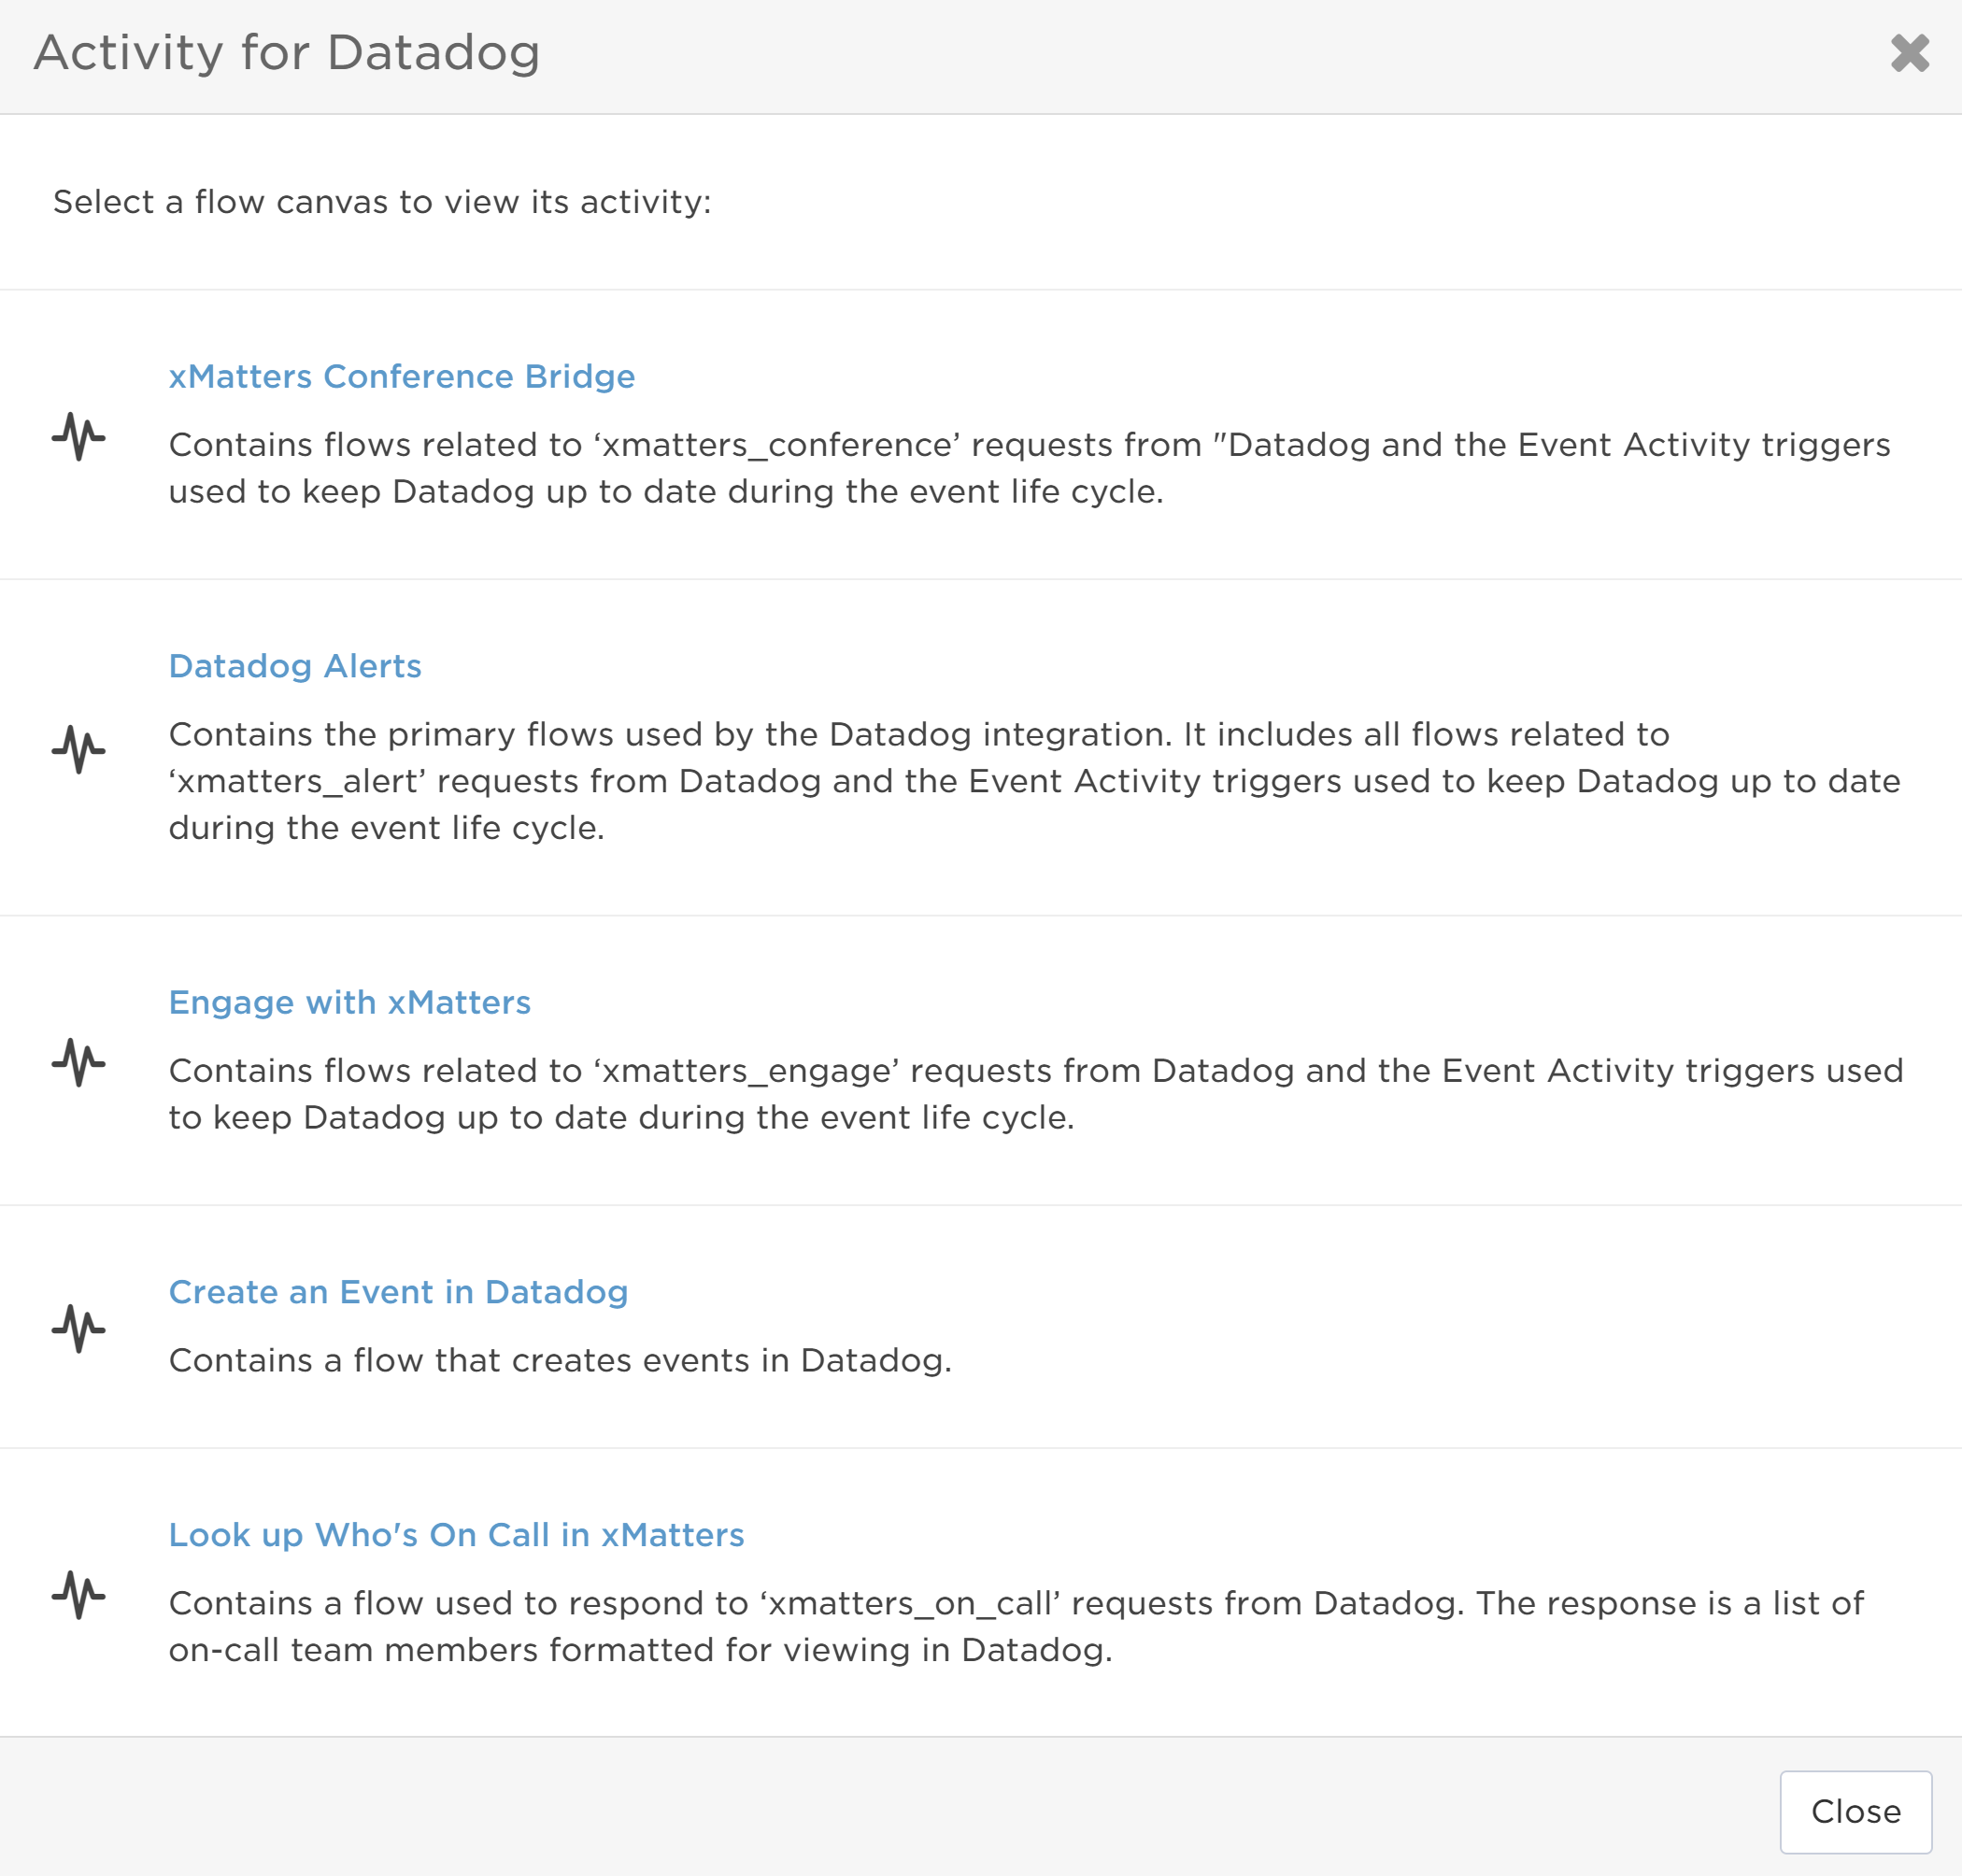
For more information about interpreting the request log in the Activity panel, see Log details.