Group options and settings
The groups user interface allows you to configure group settings. From here you can define who is allowed to access and modify the group, which holiday calendar the group uses, and various options for how xMatters contacts group members.
To access these settings, you must have permission to view groups in the xMatters user interface (such as when you have the Group Supervisor role) and the group must be configured to allow one of your assigned roles to access the group. To modify a group's settings you must be a supervisor of the group.
Group options
The Overview tab allows you to modify group settings, including the group name and description. For on-call groups you can also modify other advanced settings that determine how xMatters notifies on-call group members.
The group name and description identify the group in xMatters. Even though the group description is optional, providing a meaningful description can make it easier for message senders to target the correct group and for group members to understand why they belong to a group.
To change the group name and description:
- On the Groups tab, locate the group and click the group name. The group Overview tab is displayed.
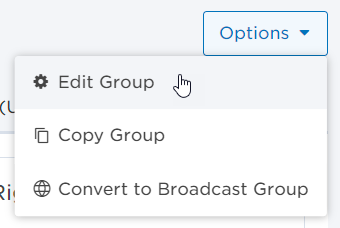
- To edit the group name, click the Options drop-down menu and select Edit Group.
- In the Name field, type a new group name.
- In the Description field, type a new group description.
- Click Save.
Active groups are able to receive notifications. Inactive groups may be viewed and accessed in xMatters but do not receive notifications. You may want to set a group to be inactive while you initially configure it or if you want to temporarily disable the group without deleting it.
To set a group to be active (or inactive):
- On the Groups tab, locate the group and click the group name. The group Overview tab is displayed.
- Next to the name of the group, click the status drop-down box and select Active or Inactive.
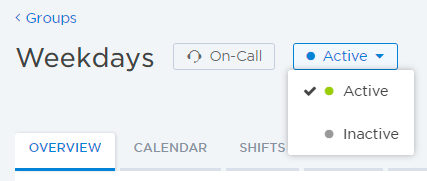
Inactive groups appear grayed-out and struck through in the web user interface.
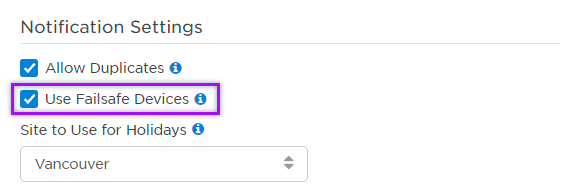
Use failsafe (default) devices
This flag determines whether xMatters will contact a group member's failsafe (default) devices when they do not have any devices with active timeframes.
To set a group to use (or not use) failsafe devices:
- On the Groups tab, locate the on-call group and click its name to open the group's Overview tab.
- Click the Options drop-down menu and select Edit Group.
- In the Notification Settings area, select or clear the Allow Duplicates check box.
- Click Save.
Broadcast group options
You can update the group's details, notification settings,, or copy a group from any tab in the on-call group interface.
From the Options drop-down menu you can copy the people and settings of a broadcast group to a new group by selecting Copy Group. Copied groups are independent from the original group, so it needs to be added separately to any messages or forms.
You can only copy 1000 people or less for broadcast groups.
From the Options drop-down menu you can select Convert to On-Call Group to convert the group type if the group is not a member of another broadcast group. The converted group replaces the original group.
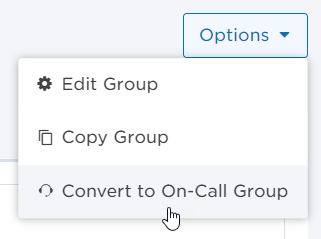
You can only convert broadcast groups with 200 people or less to an on-call group.
On-call group options
You can update the group's details, notification settings, time zone, or add a shift from any tab in the on-call group interface.
The Allow Duplicates check box controls whether the member of an on-call group can be added to the escalation timeline more than once, and whether group members can receive more than one notification for an alert (including members that may be targeted indirectly through their membership in another subgroup).
A user may be contacted more than once if they are a member of multiple groups (not subgroups) that are directly targeted for an alert.
The Inbox in xMatters and the mobile app display only one notification per alert, even if a user receives duplicate notifications for the same alert on their other device types.
Allow duplicates behavior with subgroups
When an on-call group contains child group members, the allow duplicates setting of the parent group applies, regardless of how this setting is configured in the child group.
Consider the case where the Sales group does not allow duplicates, but its child group, Accounts, does allow duplicates. Bob Smith belongs to the Sales group twice, once directly as a member of the Sales group and once indirectly as a member of the Accounts group. When the sales group is targeted, Bob will receive only one notification because the Sales group does not allow duplicates, even though the Accounts group permits them.
To set an on-call group to allow (or not allow) duplicates:
- On the Groups tab, locate the on-call group and click its name to open the on-call group's Overview tab.
- Click the Options drop-down menu and select Edit Group.
- In the Notification Settings area, select or clear the Allow Duplicates check box.

- Click Save.
Response actions can also be used to control the notification flow, by selecting to stop notifying a user or target once they have responded to an alert. Response behaviors can become complex for groups with nested subgroups. For more information about the response behavior of subgroups, see Response action examples.
On-call groups use the holiday calendar from a specific site to determine which days are holidays.
Once you configure your on-call group to use site holidays, review the schedule and ensure that you have configured the appropriate holiday coverage. By default, shifts are off-duty on holidays, so if you want on-call group members to receive notifications on holidays create a holiday shift or modify an existing shift to have holiday coverage.
For more information about managing holidays for your on-call group, see Schedule holiday shifts.
If your on-call group does not use a holiday schedule then it does not require a site to use for holidays. In this case, holiday configuration settings do not appear in the user interface.
To set the site to use for holidays:
- On the Groups tab, locate the on-call group and click its name to open the on-call group's Overview tab.
- Click the Options drop-down menu and select Edit Group.
- In the Notification Settings area, click the Site to Use for Holidays drop-down and select a site.
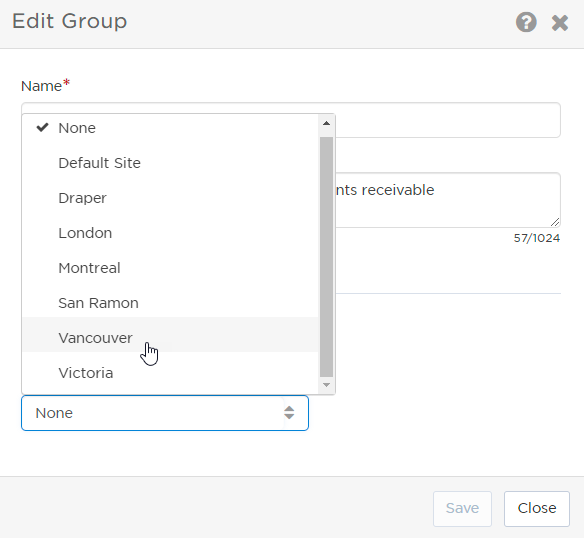
- Click Save.
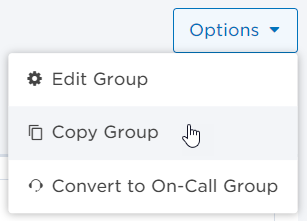
From the Options drop-down menu you can copy the people and settings of an on-call group to a new group by selecting Copy Group. Copied groups are independent from the original group, so it needs to be added separately to any messages or forms.
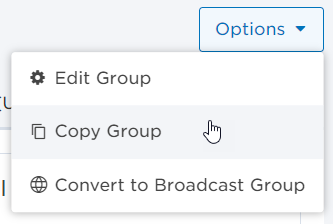
You can only copy 200 people or less for on-call groups.
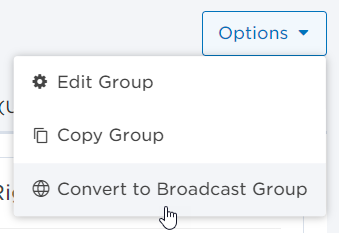
From the Options drop-down menu you can select Convert to Broadcast Group to convert the group type if the group does not use on-call scheduling and has no on-call groups as members. The converted group replaces the original group, and any scheduling options (such as shifts, escalations, and rotations) will no longer be available.
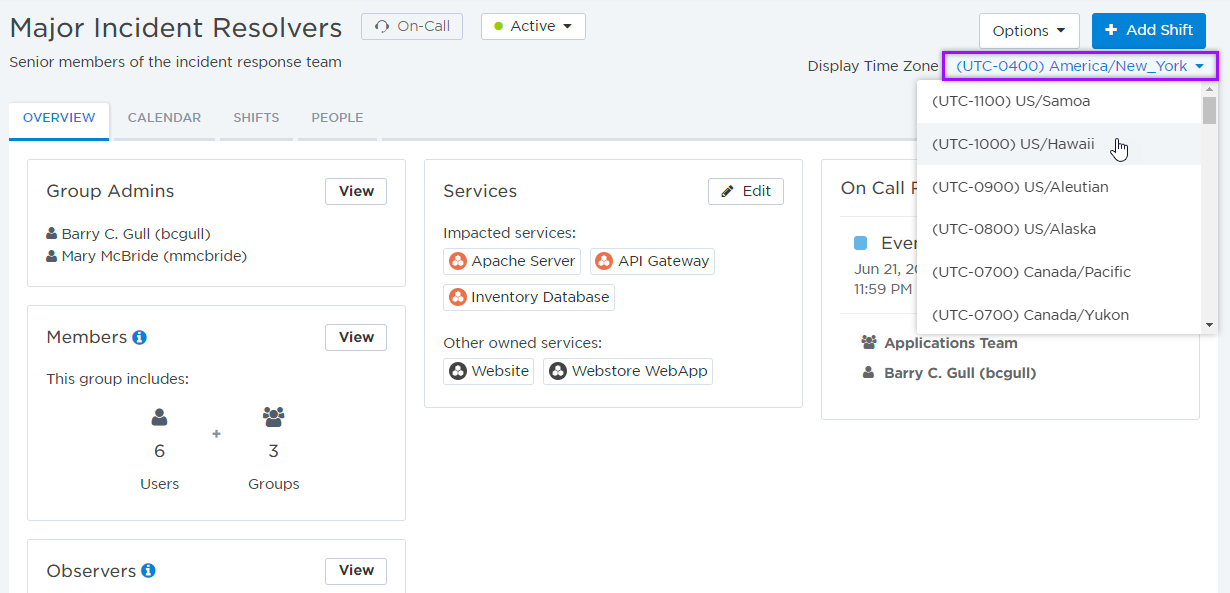
The time zone drop-down list allows you to display dates and times in any time zone. Use this feature when you are working with on-call groups that operate in a different time zone than your own, as it may be easier to adjust shift schedules using the group's local timezone.
From the Schedule tab, click the Add Shift button to create a new shift. After you specify a name and description, navigate to the Shifts tab to add members and set other options.
The calendar view also allows you to add a new shift directly to the calendar.
