Incident Management 101
Incident Management in xMatters lets you initiate, work, and review an incident from a simple, intuitive command center. In this overview, we go over the parts of the Incident Console and how to use them. If you'd like a deeper dive into any of them, we'll point you in the right direction.
If you're the type who learns by example, check out our walkthrough of working an incident, which goes through the process — from incident initiation to resolution to review. To access the incident management features in xMatters, click Incidents in the main menu to open the Incidents list.
The Incidents list
Use the Incidents list to quickly find incidents where you're the incident commander, or narrow the list based on severity or status. You can also search for a keyword in the summary or description to find incidents you need to engage with.
Do you have multiple signals initiating incidents created by the same root cause? Set the status or severity of multiple incidents at once to reduce the noise and give your resolution team space to think. Set the status to "Rejected" to easily filter it out of the Incidents list and remove it from your analytics.
Click a specific incident to view its details. Don't see any incidents? You can initiate a new one manually using the Initiate Incident button or the dashboard widget, or automate incident initiations — learn how.
The Incident Console
The Incident Console is your heads-up display for working an incident. Find and update incident details, gather your resolution team, and add notes to help in the incident postmortem.
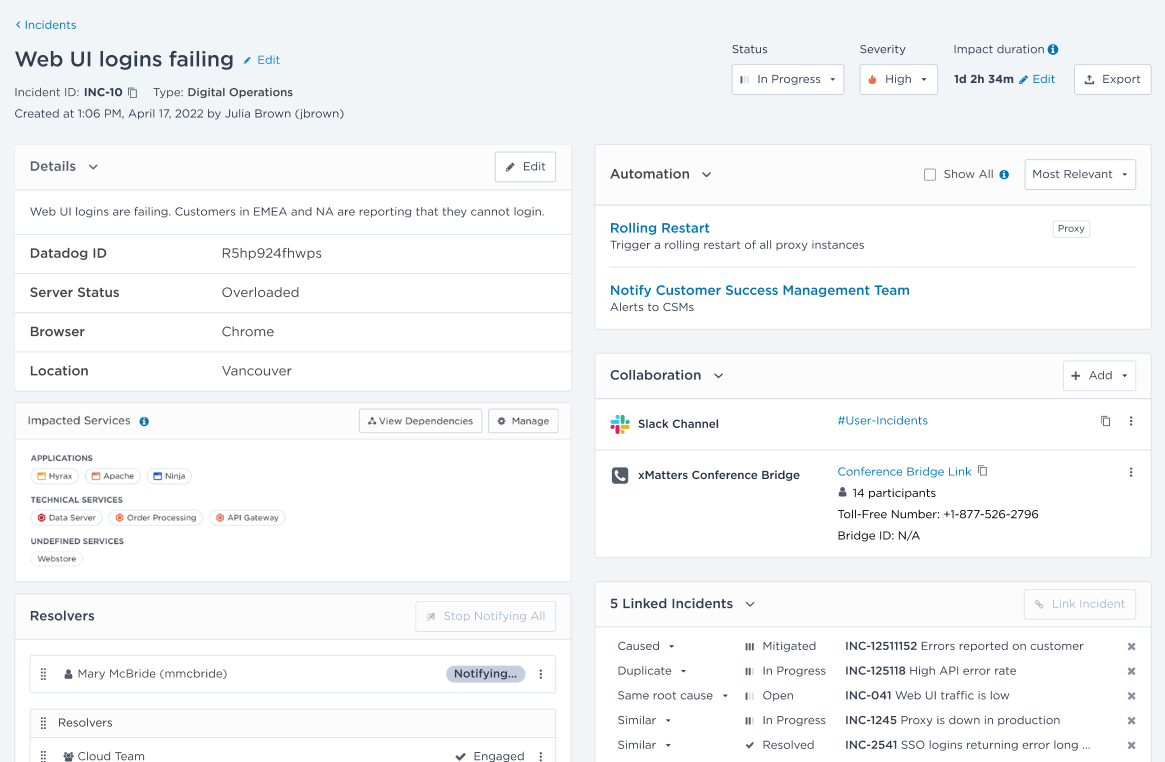
You can expand and collapse the Description, Automation, Collaboration, and Linked Incidents sections on the Incident Console so that information important to resolving your incident is more visible at a glance. By default, all the sections on the console are expanded except for Linked Incidents.
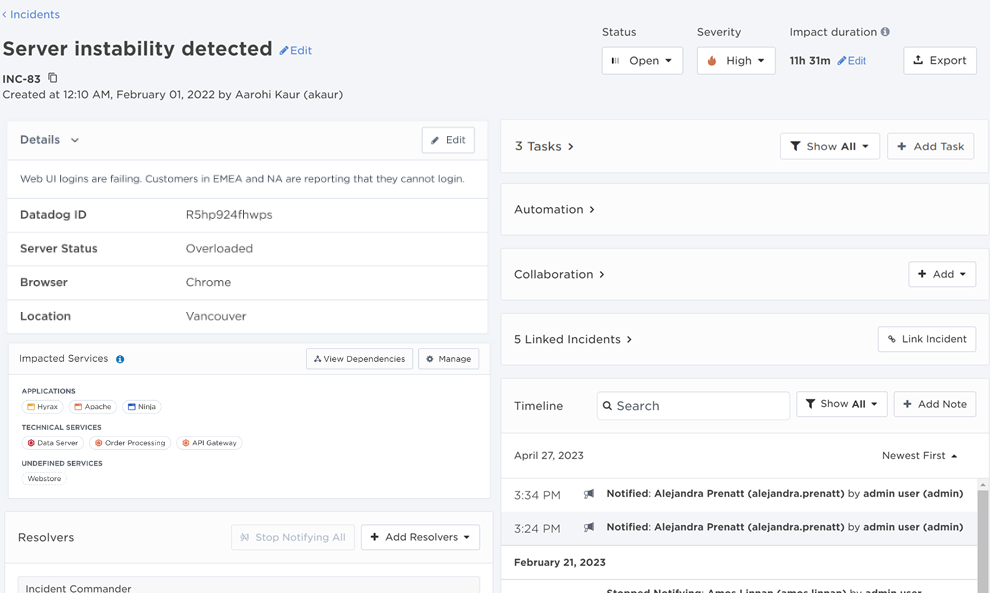
Basic incident details
First up are the basic incident details:
- The incident ID, when it was created, and who initiated it.
- The summary and description help you find the incident in the incidents list and give resolvers context on the issue.
- Depending on the incident type, key incident properties and their values.
- Use severity and status to understand and monitor the impact on your services, business, and end users.
- Set the impact duration to record how long the incident impacted the business.
Impacted Services
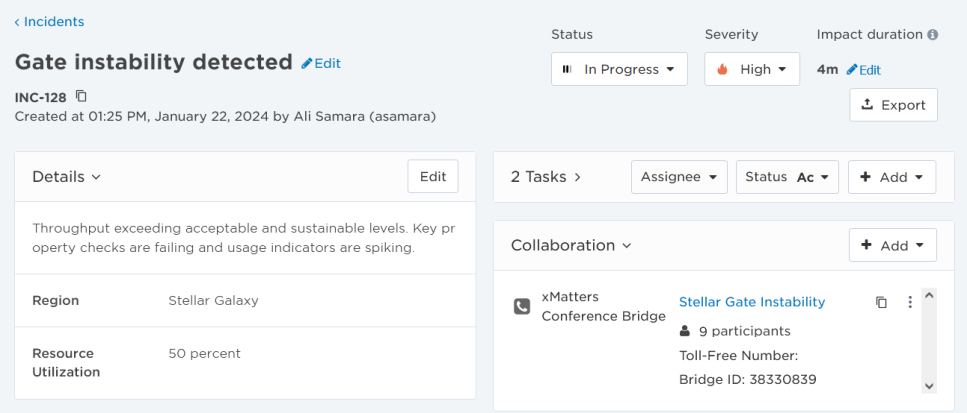
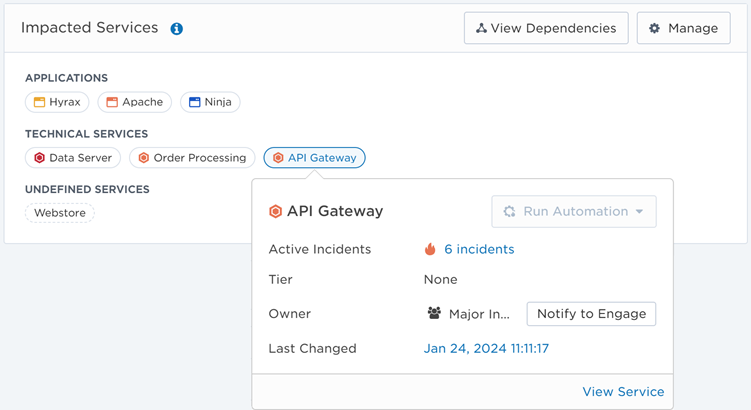
View and update the services impacted by the incident. Impacted services are categorized by their service type. Within each type, services are sorted by their tier from highest to lowest. See which group is responsible for maintaining the service, if the service is being impacted by any other active incidents, and if the service was changed within the last 24 hours. Notify the group that owns the service to engage as an incident resolver. Run an automation related to the service without leaving the Incident Console. View a service dependencies map for the incident to identify possible root causes and explore recently changes services.
Linked Incidents
Link incidents with other active and historical incidents. You can glean insights from related incidents such as merging resolution teams for similar incidents, reusing steps that were used to resolve a historical incident, or reducing time to mitigate or resolve the incident by combining duplicates.

Resolvers
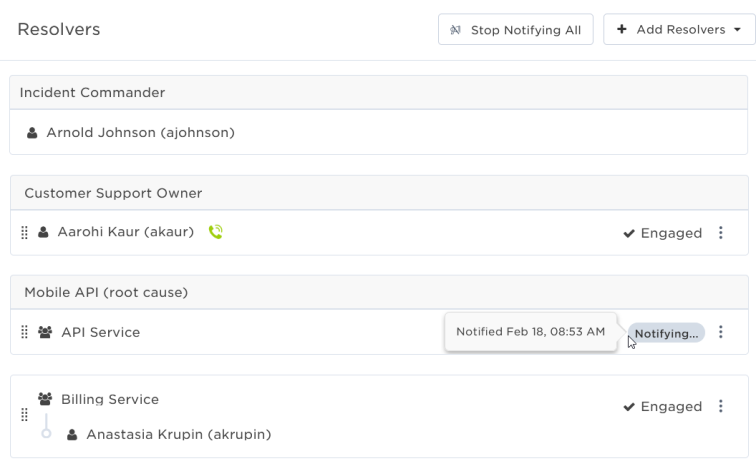
Use Resolvers to see what teams and individuals are engaged in the incident resolution process and who might need to be notified again, and to engage new resolvers as the incident progresses, or dismiss people whose expertise you no longer need. Add a description of the resolver's role to their resolver card so everyone knows what they're responsible for.
Automations
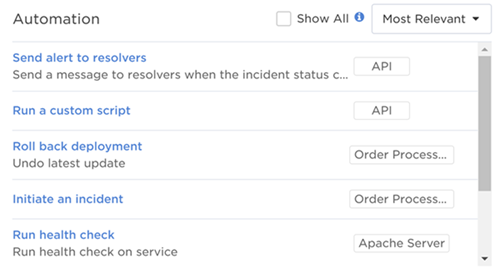
Automations are a quick way to run common tasks related to an incident such as notifying resolvers, sending alerts, and creating Jira tickets without interrupting your incident management process. You can also run tasks related to an impacted service, such as rolling back a previous deployment, running health checks, and collecting logs for information purposes.
Collaboration
Stay connected with your incident resolution team using collaboration channels. If you have channels associated with the incident, they show up in Collaboration. Click the conference link to go to the Conference Report in xMatters or click a chat link to quickly join the conversation. Click the copy icon to share the information with others.
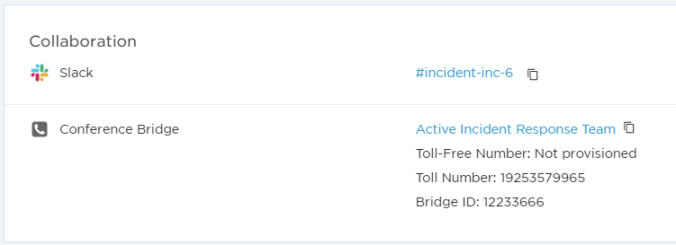
Add collaboration channels to your incidents by dragging and dropping steps into the flow in Flow Designer. Learn more in our Incident Resolution workflow guide.
Tasks
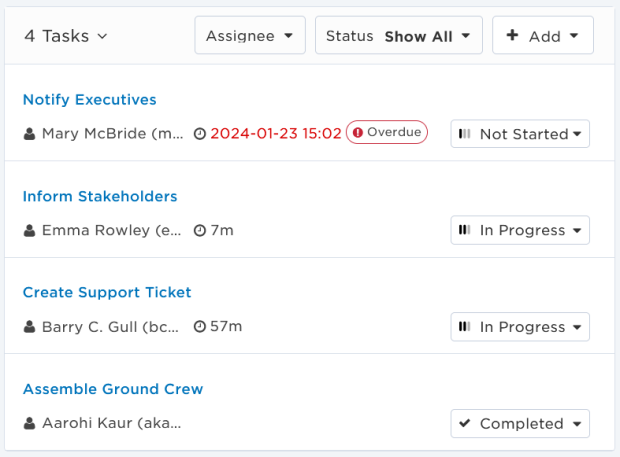
The Tasks section allows you to easily create and manage what needs to be completed when responding to an incident. From the Incident Console, click the + Add Task button to create a new task, assign a user, update its status, and add a due date. Tasks can be added and updated throughout the response process and during the post-incident review.
Timeline
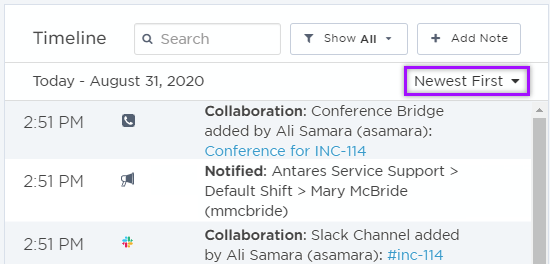
The Timeline lets you keep track of everything that happened during the incident, recording incident activity in real-time and noting who made the change — when the incident was initiated, who's been notified and their response, and changes to incident details, such as status and severity.
You can also add notes, recording resolution activity to help in post-incident analysis.
Attachments
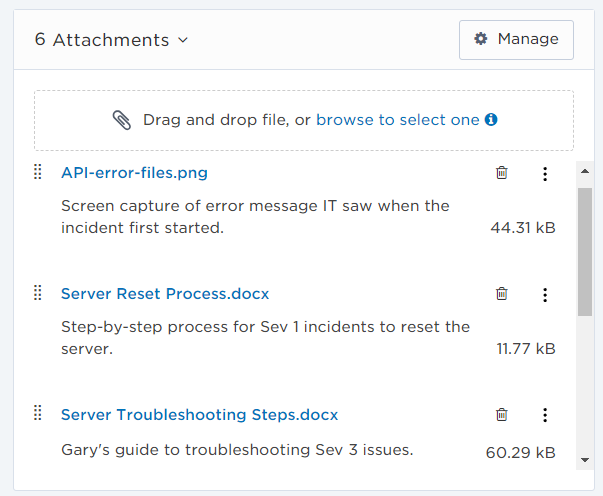
The Attachments section lets you add files that give additional context to incident resolvers or stakeholders. Attach videos or screen captures of an error, or process documents users need to resolve the incident. From the Incident Console you can add, preview, set attachment order, download, and delete attachments. You can also access the Manage Attachments window to edit file names and add descriptions to give users additional information about the attachment.
Linked Status Pages
The incident's Linked Status Page section displays all of the xMatters status pages currently linked to the incident. Click the name of the status page takes you directly to that status page where you can view and manage its details. Changing an incident’s details on a status page will not affect or update its details on the Incident Console.

Tailor it to adapt to your incident management process
The Incidents list streamlines the process of working an active incident, letting you find critical incidents, reduce noise by eliminating duplicates, and monitor the progress of an incident on the Incident Console.
But, with a customizable workflow and the power of Flow Designer, you can tailor xMatters adaptive incident management to suit your needs. For example:
- Initiate an incident in response to another step in a flow, or initiate an incident when xMatters receives a signal to an HTTP trigger.
- Customize notifications and responses.
- Gather more information to send to the resolvers before the incident is initiated.
- Set up your own collaboration channels.
- Add automated steps to help incident resolution, such as rebuilding a Jenkins project or automatically post to a Statuspage to let your customers know you're aware of the problem and are working on the issue.
Learn more about how to customize the installable incident management workflow.